
A few weeks ago, I saw a photo of some pies.......
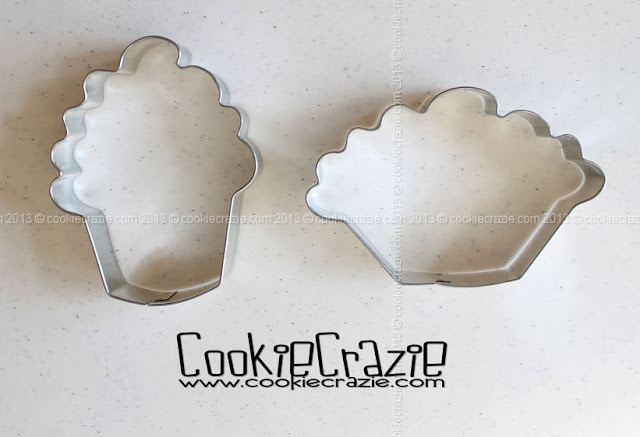
and it reminded me of the top of the CookieCrazie Custom Cupcake Cutter.
So I took one of my extra cutters and squished it to look like a pie. :)
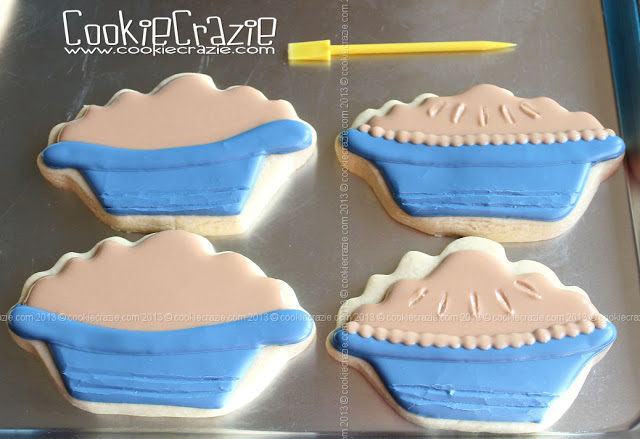
Outline and flood the pan in your choice color of 10-second glaze.
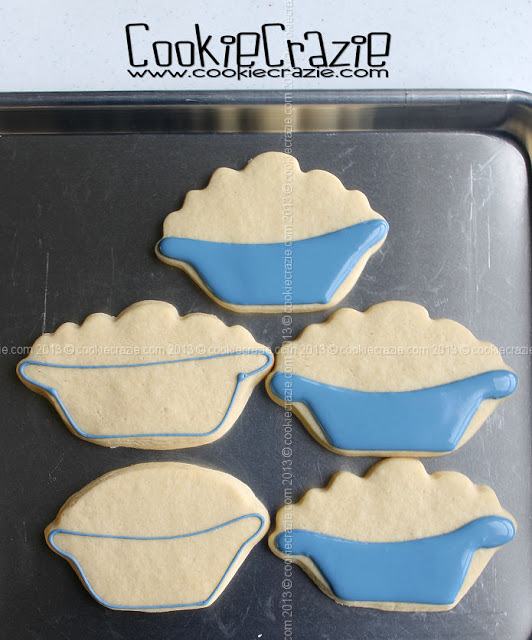
After it has dried for at least one hour, use a long tool like a cake tester and
make creases across the bottom of the pan.
Also, outline and flood the top rim of the pan in the same glaze color.

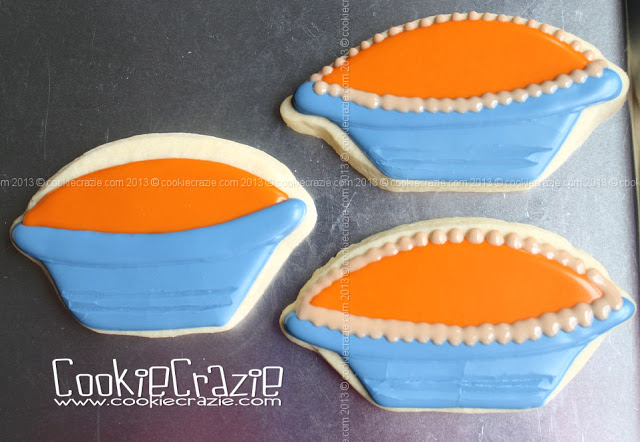
After it has dried for at least 30 min (longer if using dark colors that bleed i.e. red, black, navy),
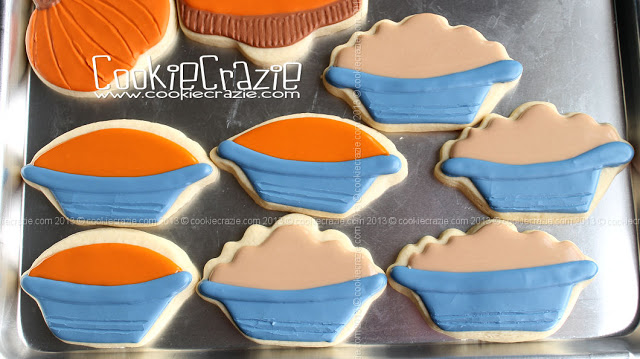
add the "filling" on top.
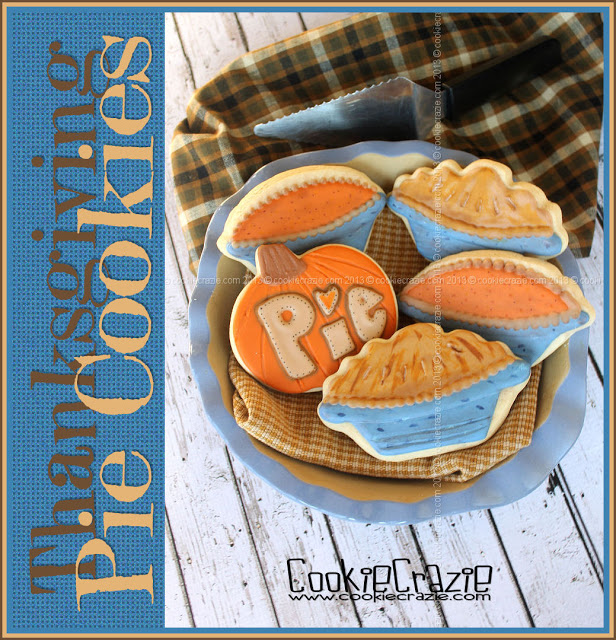
For this set, I made "pumpkin" and "apple" pies.
The pumpkin has a rounded look on top using orange glaze,
the apples has a tan crust following the curvy lines of the cutter.
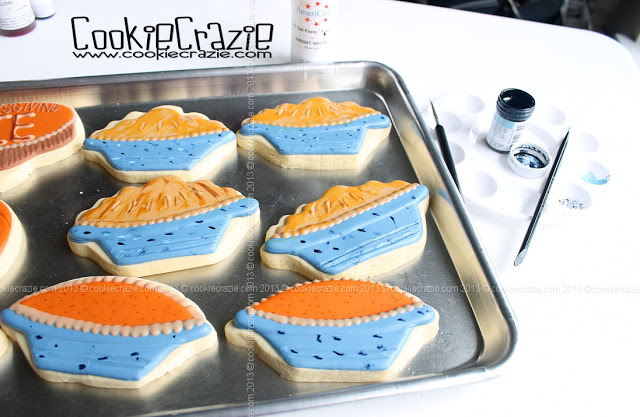
Once the crust has dried for at least one hour, use a "boo-boo stick" to make air vents in the top.
Also, add the crust edges by making dots of glaze that run together.
For the pumpkin pies, make a crust rim around the bottom and top.
Allow the cookies to dry overnight.
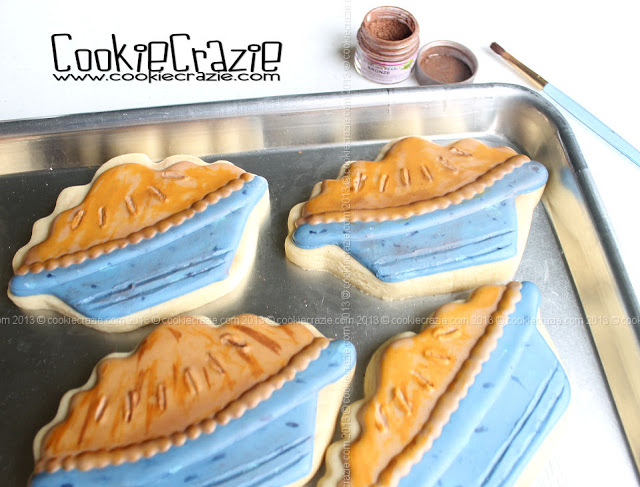
To give the pans a stoneware-look,
paint random blobs of darker blue and lighter blue food color gel onto the pan.
Using a slightly wet paper towel, blot the spots to help them blend in better.
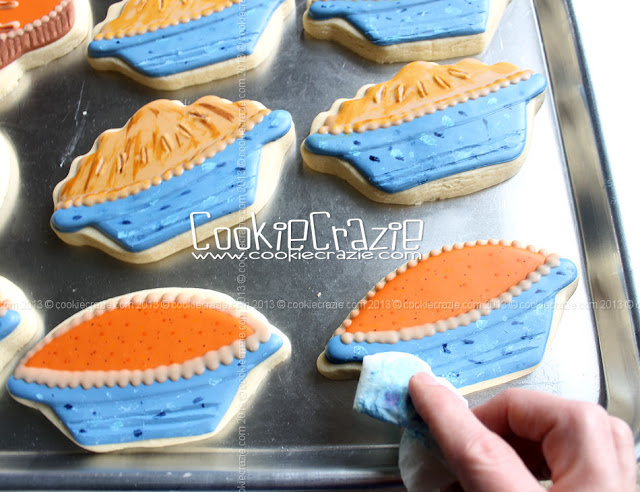
To give the entire pie more dimension,
paint dry bronze pearl dust randomly on the crust and pan.


It's time to bake up some pies for that Thanksgiving dinner. :)
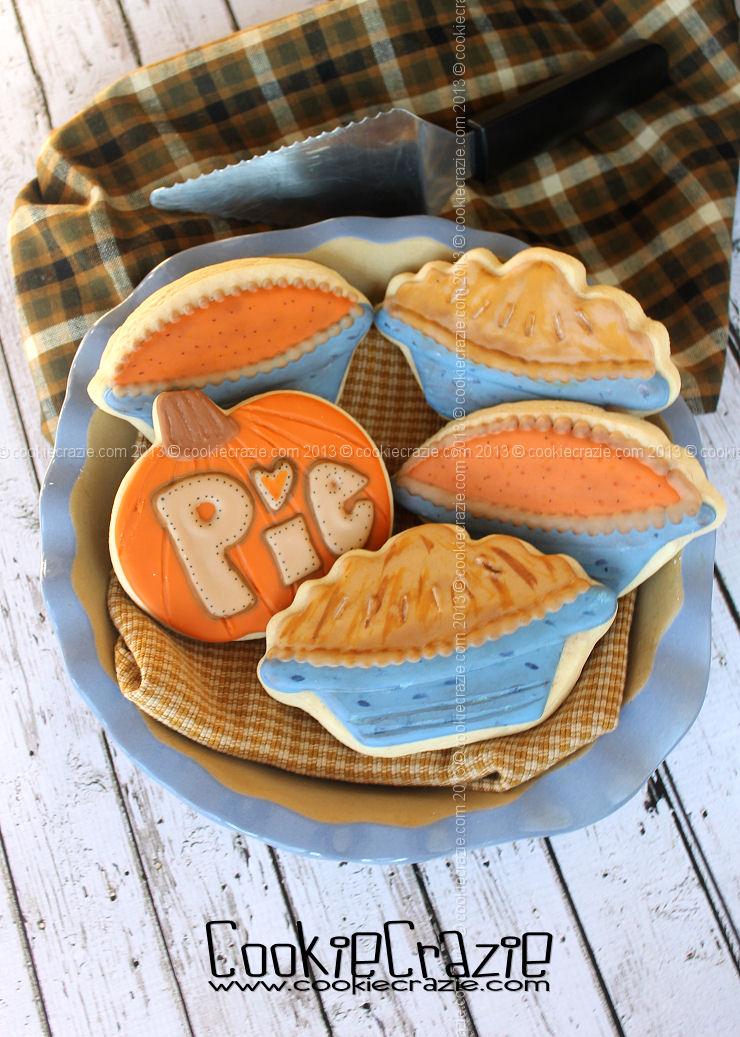
Harvest Cookie Collection