Here's to adding a little antiqued shabby chic/rustic feel to this year's spring cookies.....
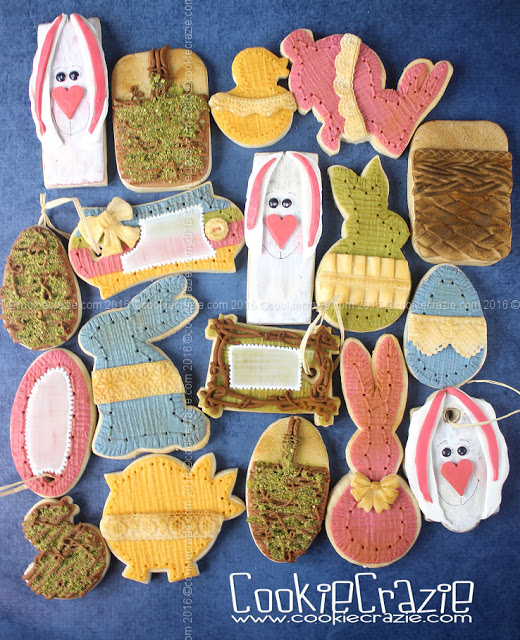
2016 Easter & Spring Decorated Cookie Collection
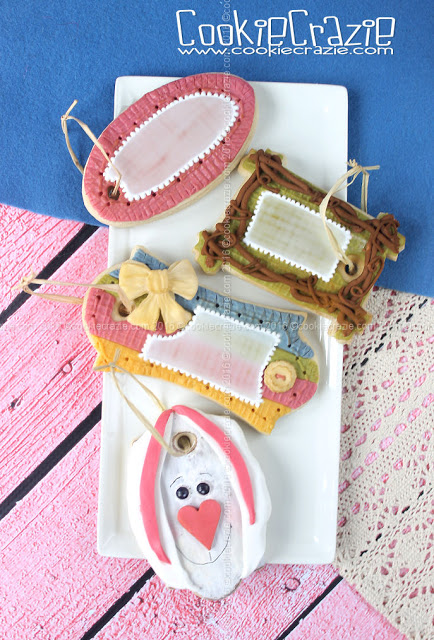
Windowed Easter Egg Decorated Cookies (Tutorial)
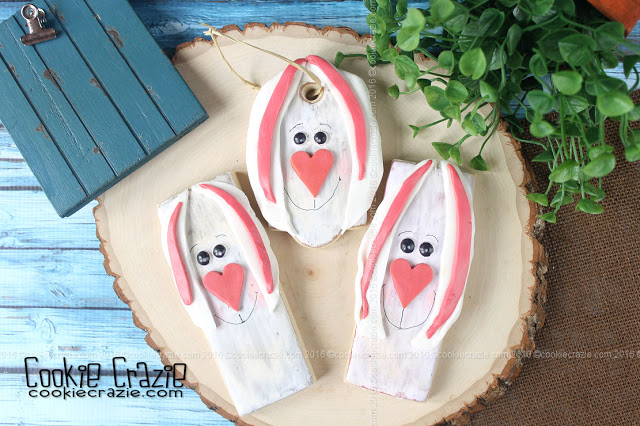
Floppy-Eared Bunny Decorated Cookies (Tutorial)
Spring Basket Decorated Cookies (Tutorial)
Burlap 'N Lace Bunny Decorated Cookies (Tutorial)
Spring Basket 'N Burlap Decorated Cookie Collection
2016 Easter Decorated Cookie Collection
Spring Tree Decorated Cookies (Tutorial)
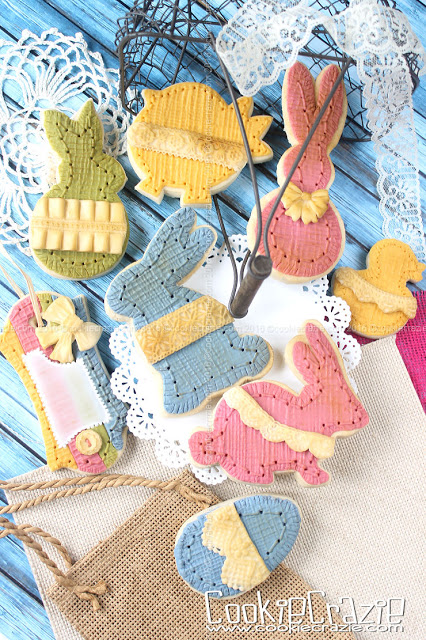
Spring 2016 Decorated Cookie Collection
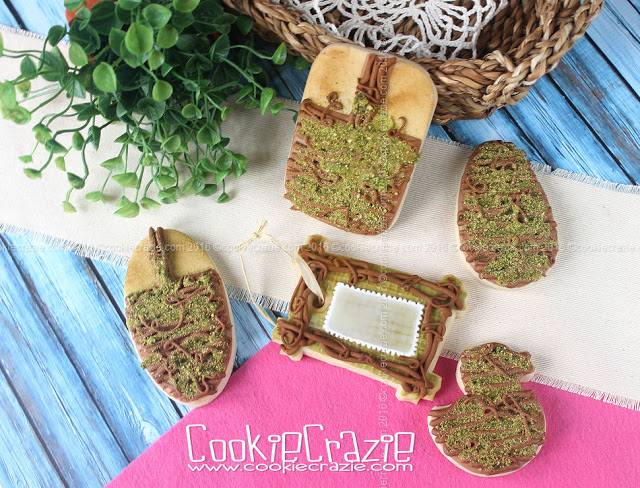
Wood Planked Wall Cut-Out Decorated Cookie (Tutorial)
Tree Trunk Slice Decorated Cookie (Tutorial)
Spring Woodland Decorated Cookie Collection
Floppy-Eared Bunny Decorated Cookies (Tutorial)
Spring Basket Decorated Cookies (Tutorial)
Burlap 'N Lace Bunny Decorated Cookies (Tutorial)
Spring Basket 'N Burlap Decorated Cookie Collection
2016 Easter Decorated Cookie Collection
Spring Tree Decorated Cookies (Tutorial)
Spring 2016 Decorated Cookie Collection
Wood Planked Wall Cut-Out Decorated Cookie (Tutorial)
Tree Trunk Slice Decorated Cookie (Tutorial)
Spring Woodland Decorated Cookie Collection