
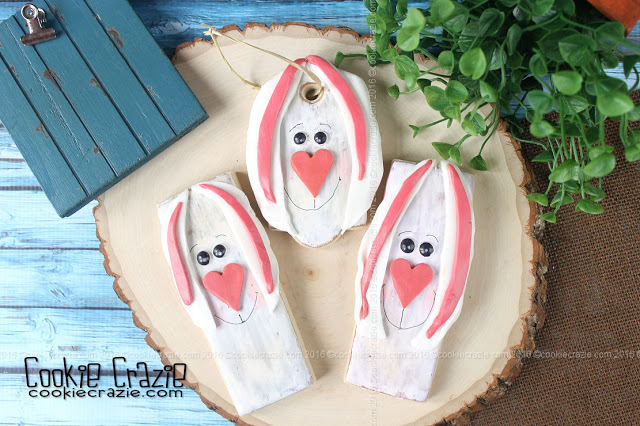
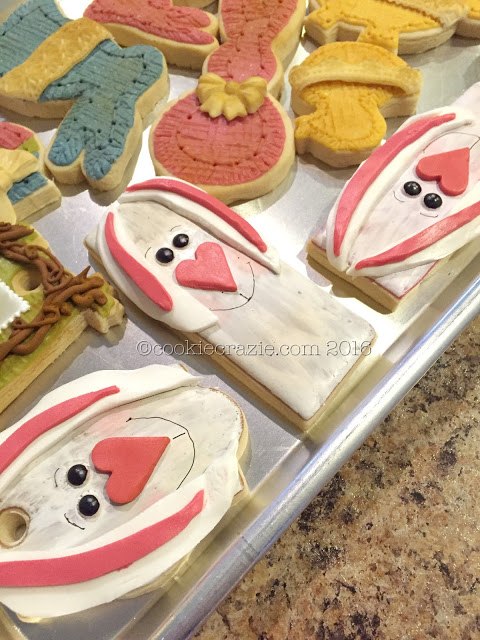
Floppy-eared bunnies are the cutest. :)
To simplify them in cookie form use a long rectangle cookie for their faces.
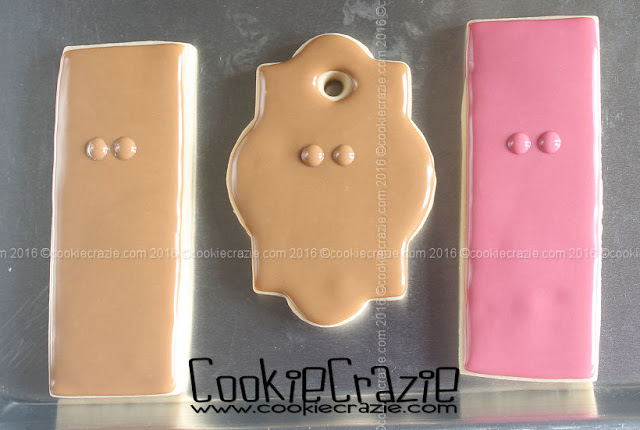
To give the cookie a distressed painted look,
start by outlining and flooding the cookie with a medium colored glaze.
Tan and pink were used in the featured cookies, but I preferred those with a tan base.
After at least 30 minutes, add two large dots for the eyes, as shown below.
To simplify them in cookie form use a long rectangle cookie for their faces.
To give the cookie a distressed painted look,
start by outlining and flooding the cookie with a medium colored glaze.
Tan and pink were used in the featured cookies, but I preferred those with a tan base.
After at least 30 minutes, add two large dots for the eyes, as shown below.
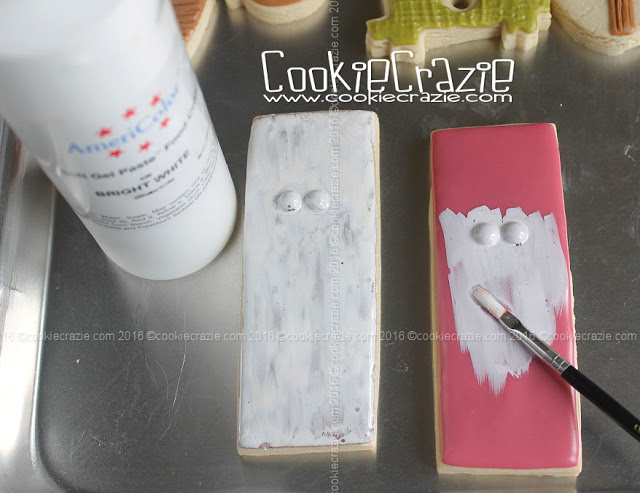
Allow the cookies to dry overnight.
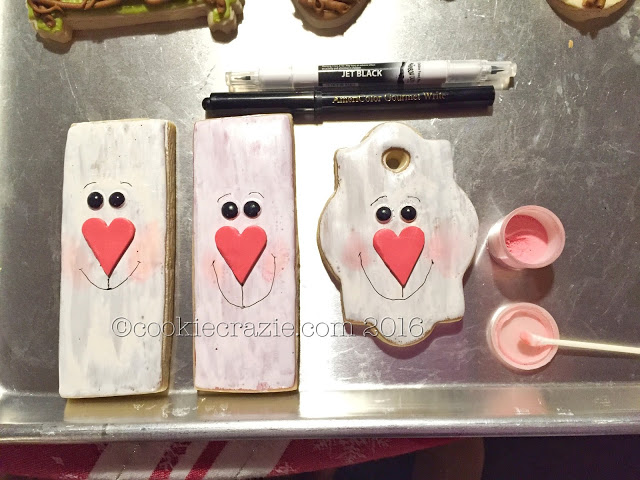
Paint the cookies with Americolor Bright White color gel.
The more strokes added, the better......to give it that distressed look.
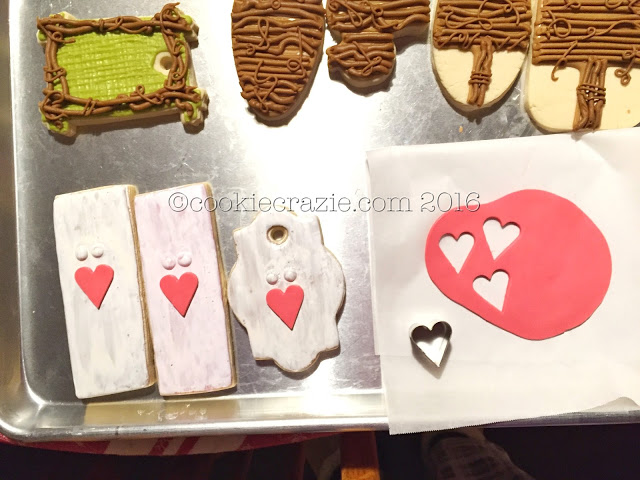
Roll out some pink edible clay between parchment paper.
Freeze for 1 hour.
Cut out small hearts for the bunny noses.
Allow the cookies to dry overnight.
Use an Americolor black marker to color over the tops of the dots for eyes.
If desired, add some pink "blush" to the bunny cheeks with pink dust.
Use the fine tip of a Rainbow Dust double-sided pen (Jet Black) to make the mouth and eyebrows.
For the floppy ears, roll out white edible clay between parchment paper and freeze for 1 hour.
Cut random oblong ears and attach to the tops and sides of the cookie as seen below.
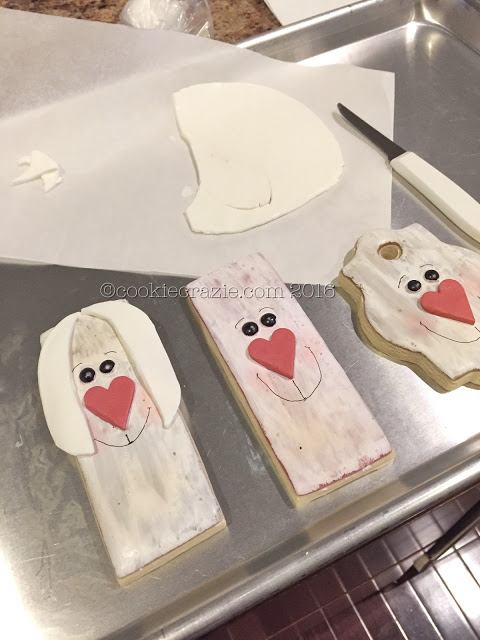
If desired, freeze some rolled out pink edible clay, and
cut out an "inner ear" to place in the center of the white clay.

2016 Easter & Spring Decorated Cookie Collection
Windowed Easter Egg Decorated Cookies (Tutorial)
Floppy-Eared Bunny Decorated Cookies (Tutorial)
Spring Basket Decorated Cookies (Tutorial)
Burlap 'N Lace Bunny Decorated Cookies (Tutorial)
Spring Basket 'N Burlap Decorated Cookie Collection
2016 Easter Decorated Cookie Collection
Spring Tree Decorated Cookies (Tutorial)
Spring 2016 Decorated Cookie Collection
Wood Planked Wall Cut-Out Decorated Cookie (Tutorial)
Tree Trunk Slice Decorated Cookie (Tutorial)
Spring Woodland Decorated Cookie Collection