nautical

Tranquil Decorated Cookie Collection

As I’ve shared before……since my cancer diagnosis, my cookie decorating has become more than a hobby. It is a way to express the messages of my heart…..whether that is where my heart actually is right now, or where it NEEDS to be.

Stress contributes to physical illness. So as my doctor has continued to reiterate every time I see her…..the goal is to practice relaxation and learn to dwell on the blessings of life. I’ve picked many words that have become part of my mantra and tranquil is one of them.

tranquil [trang-kwil]
adjective
1) free from commotion or tumult; peaceful; quiet; calm
2) free from or unaffected by disturbing emotions; unagitated; serene; placid

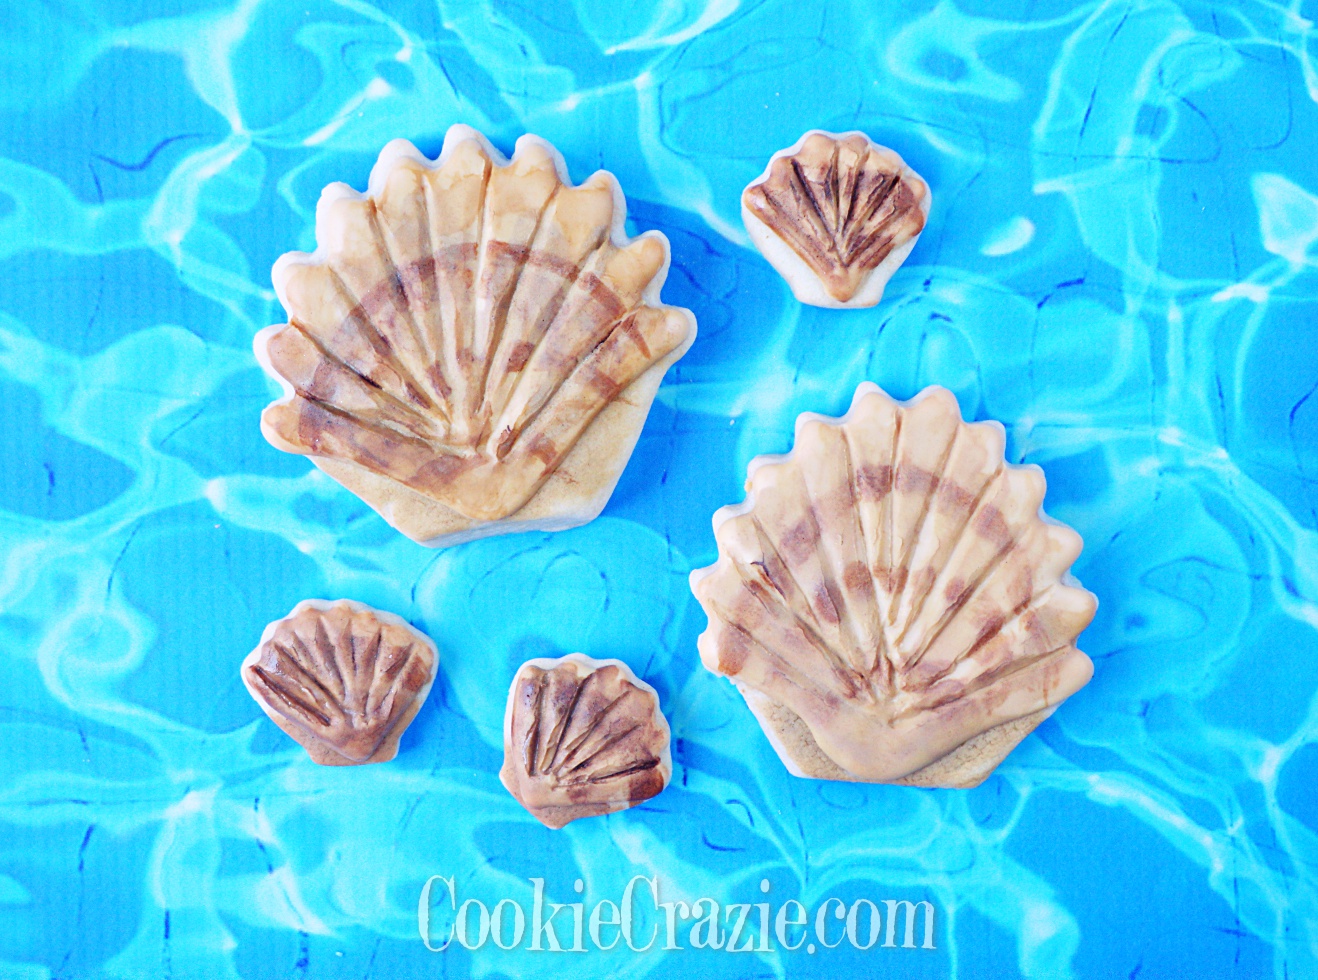
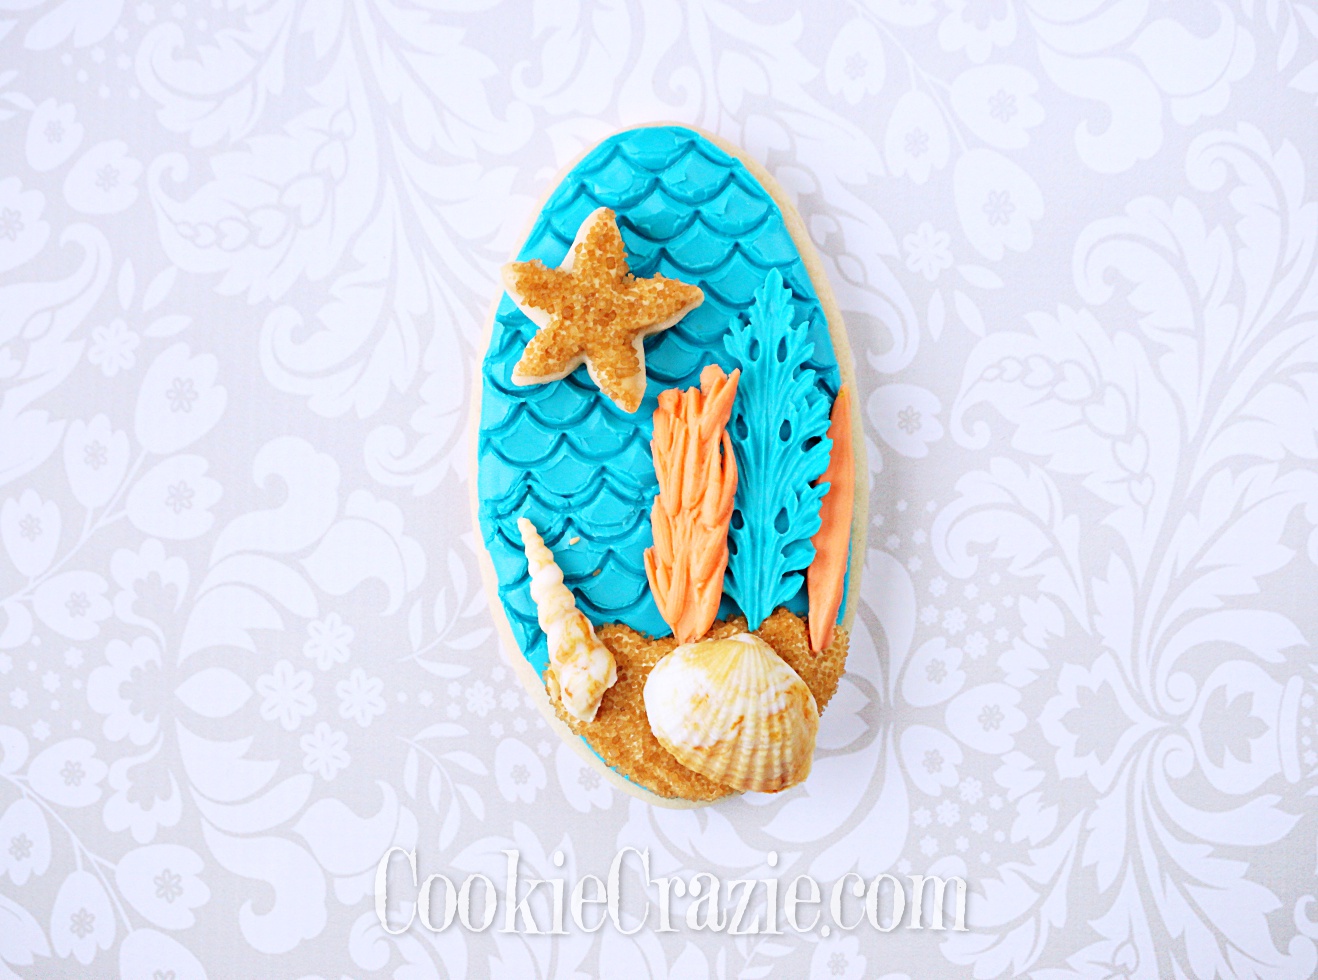
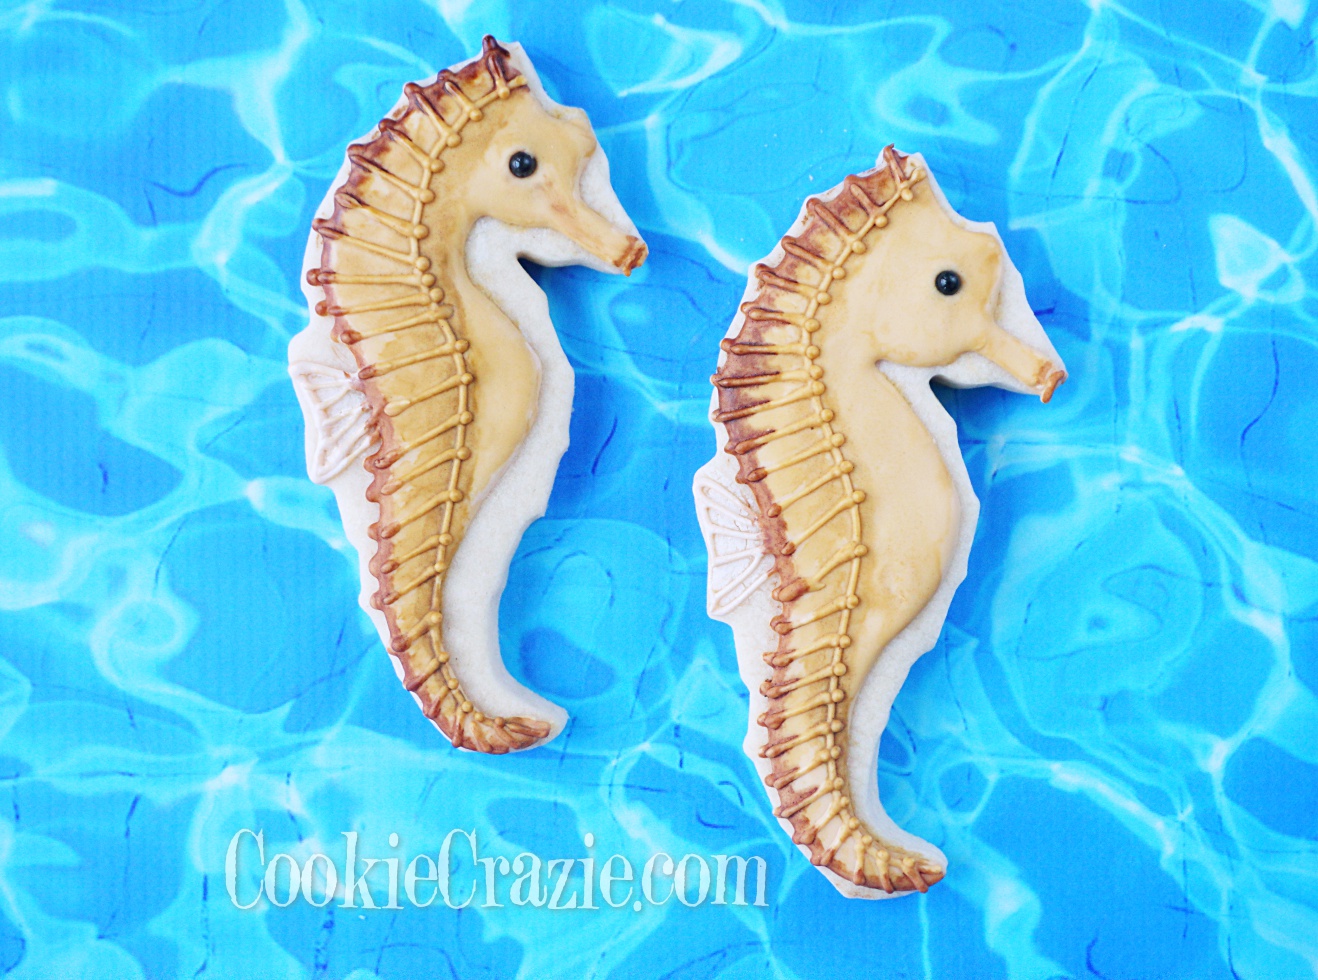
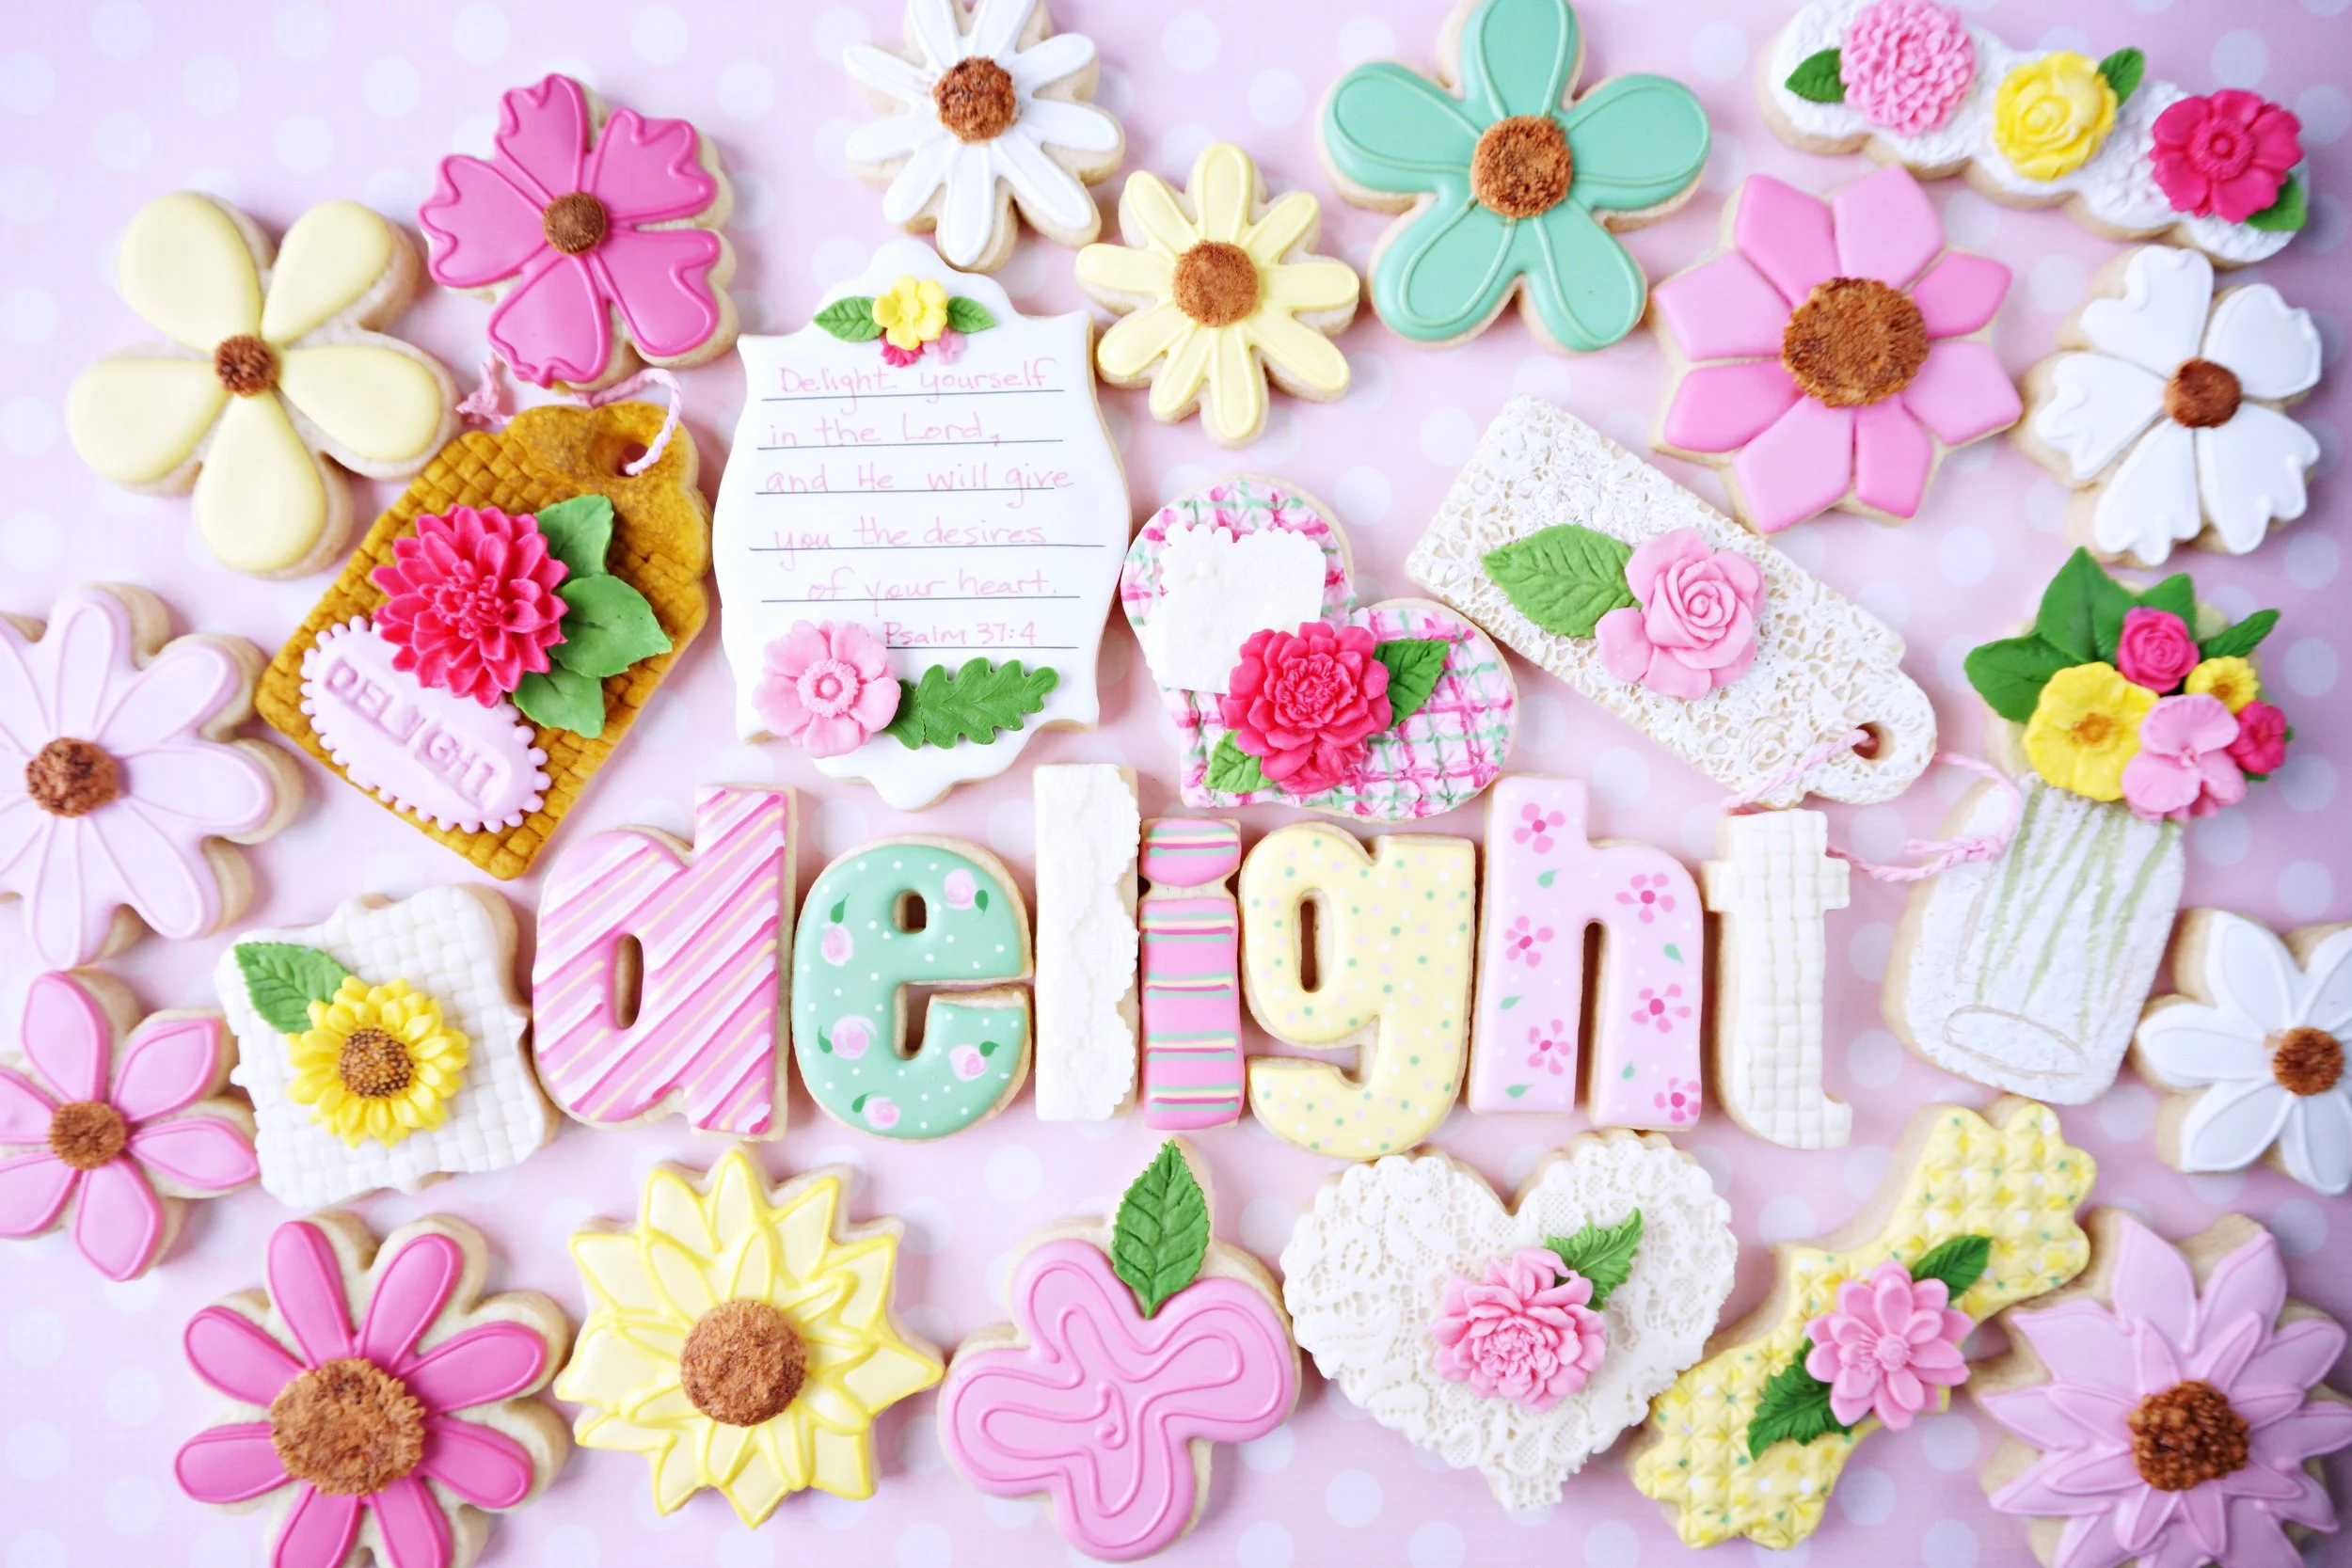
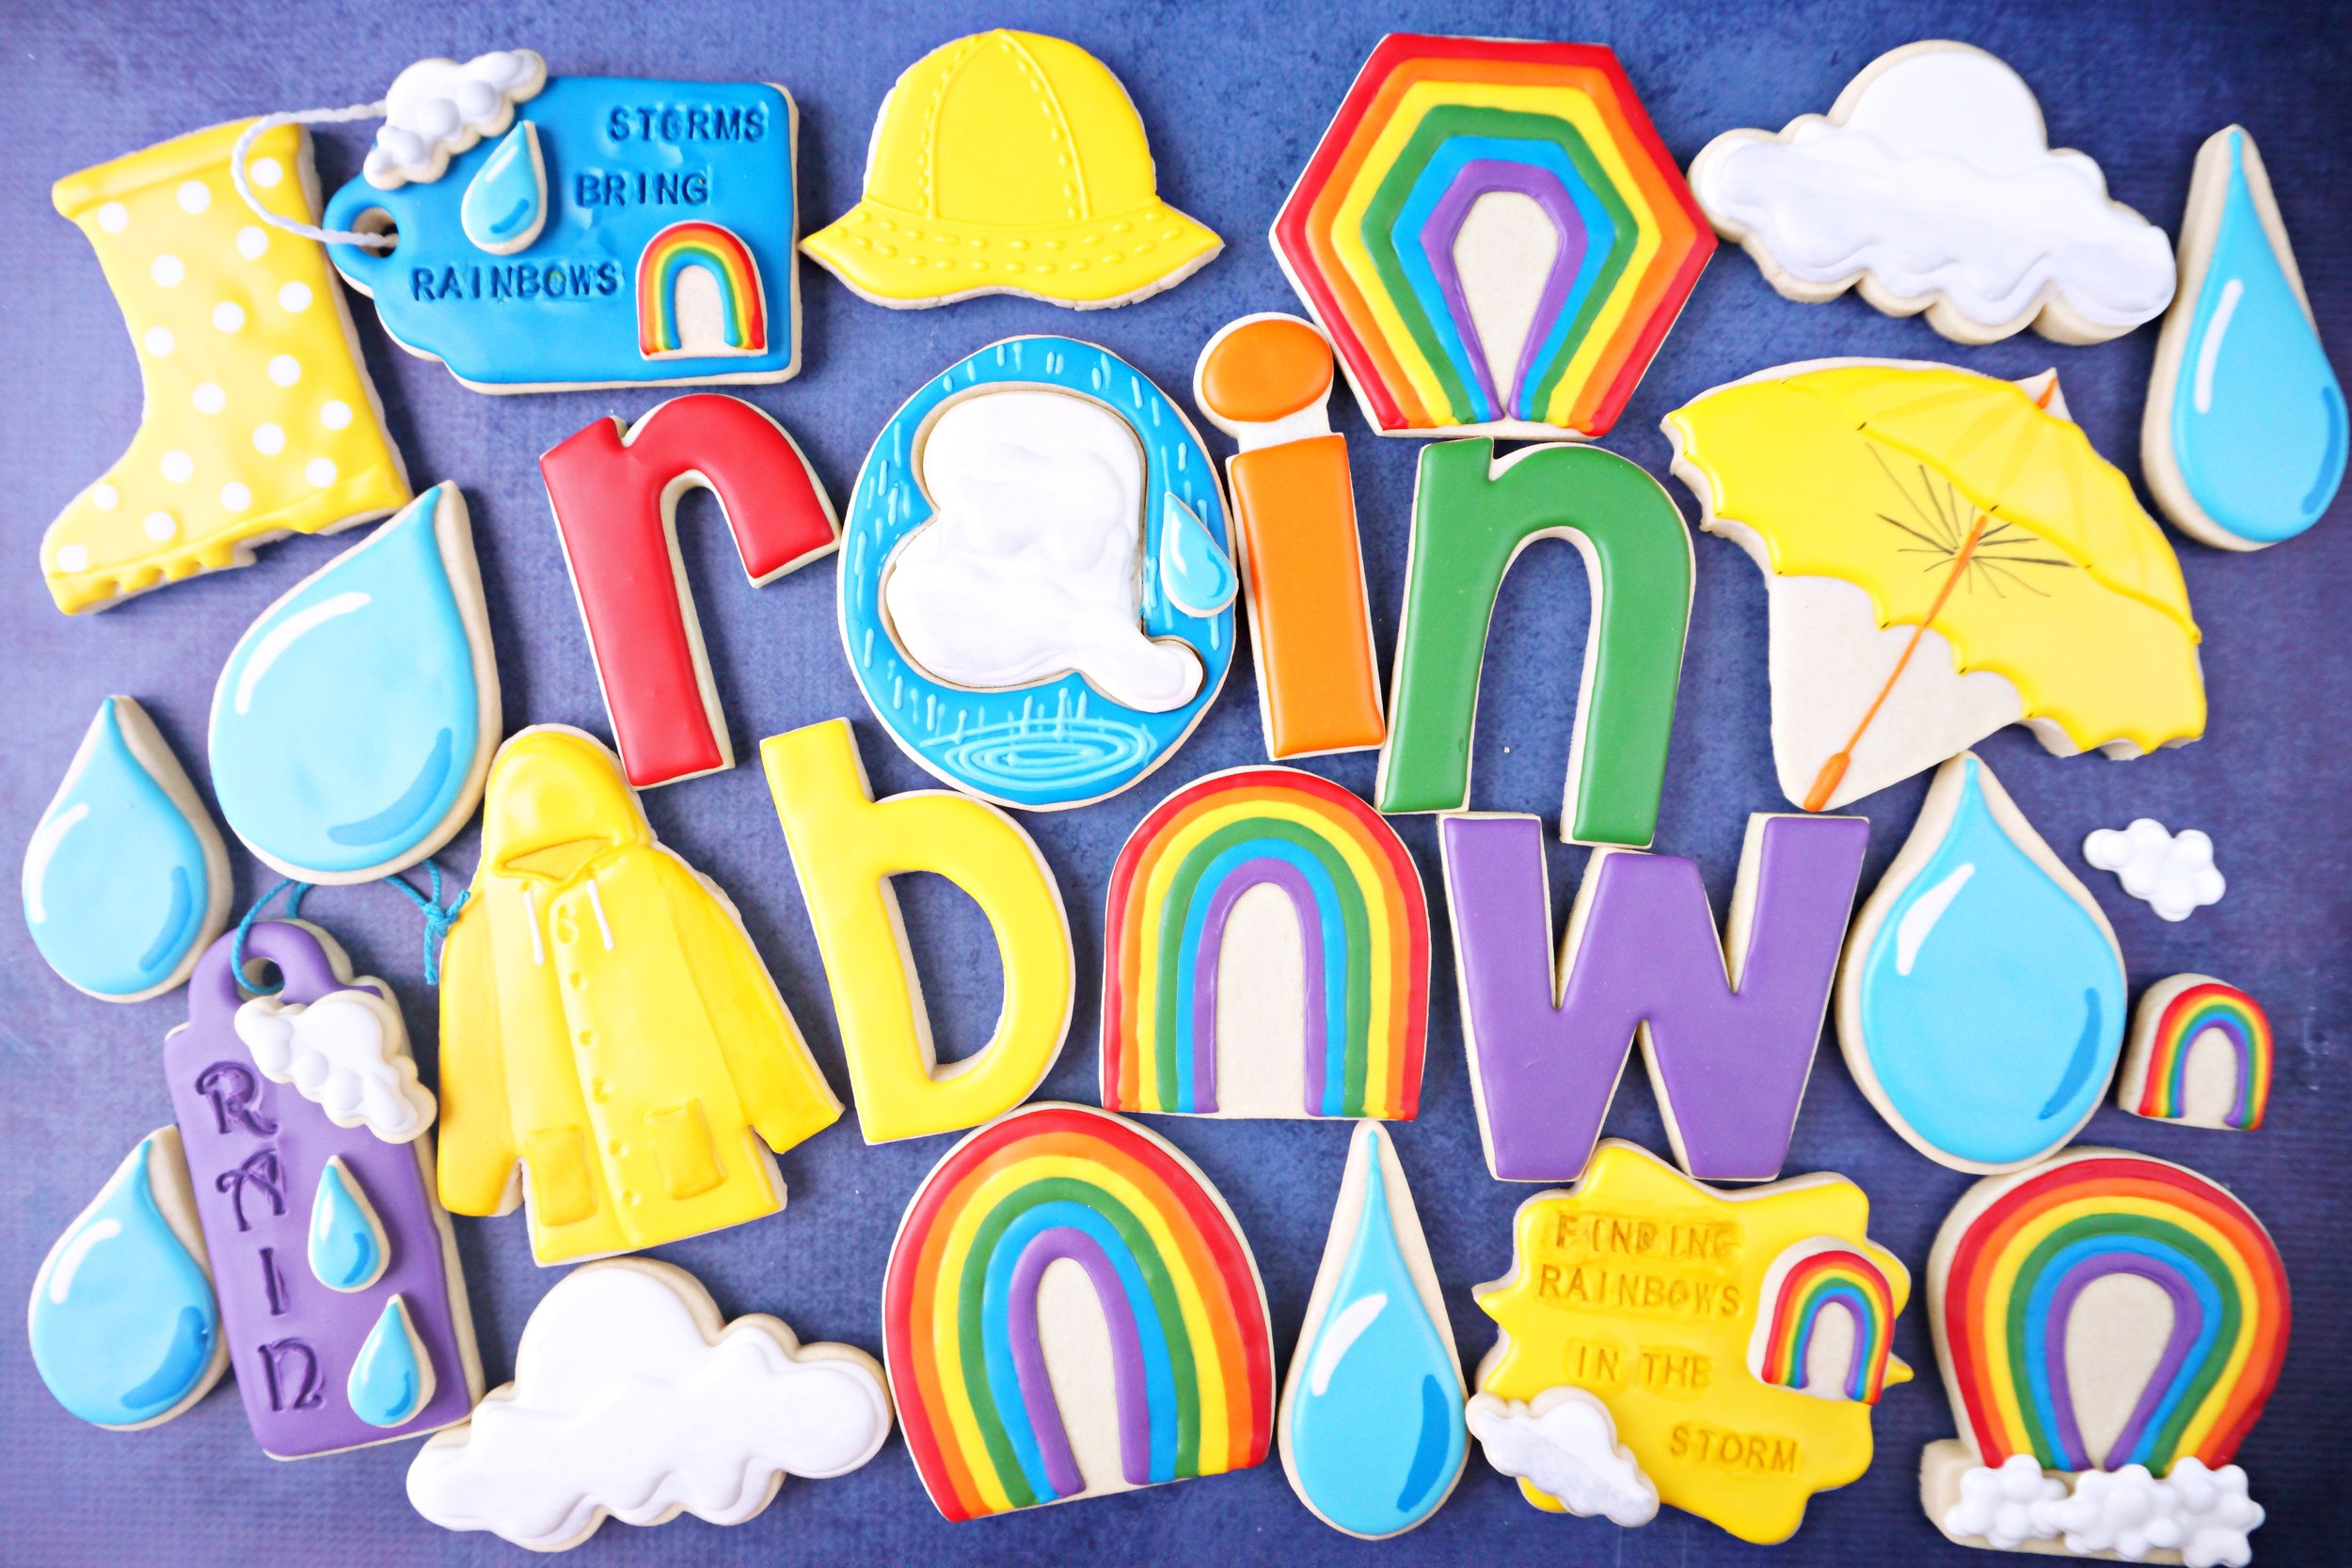
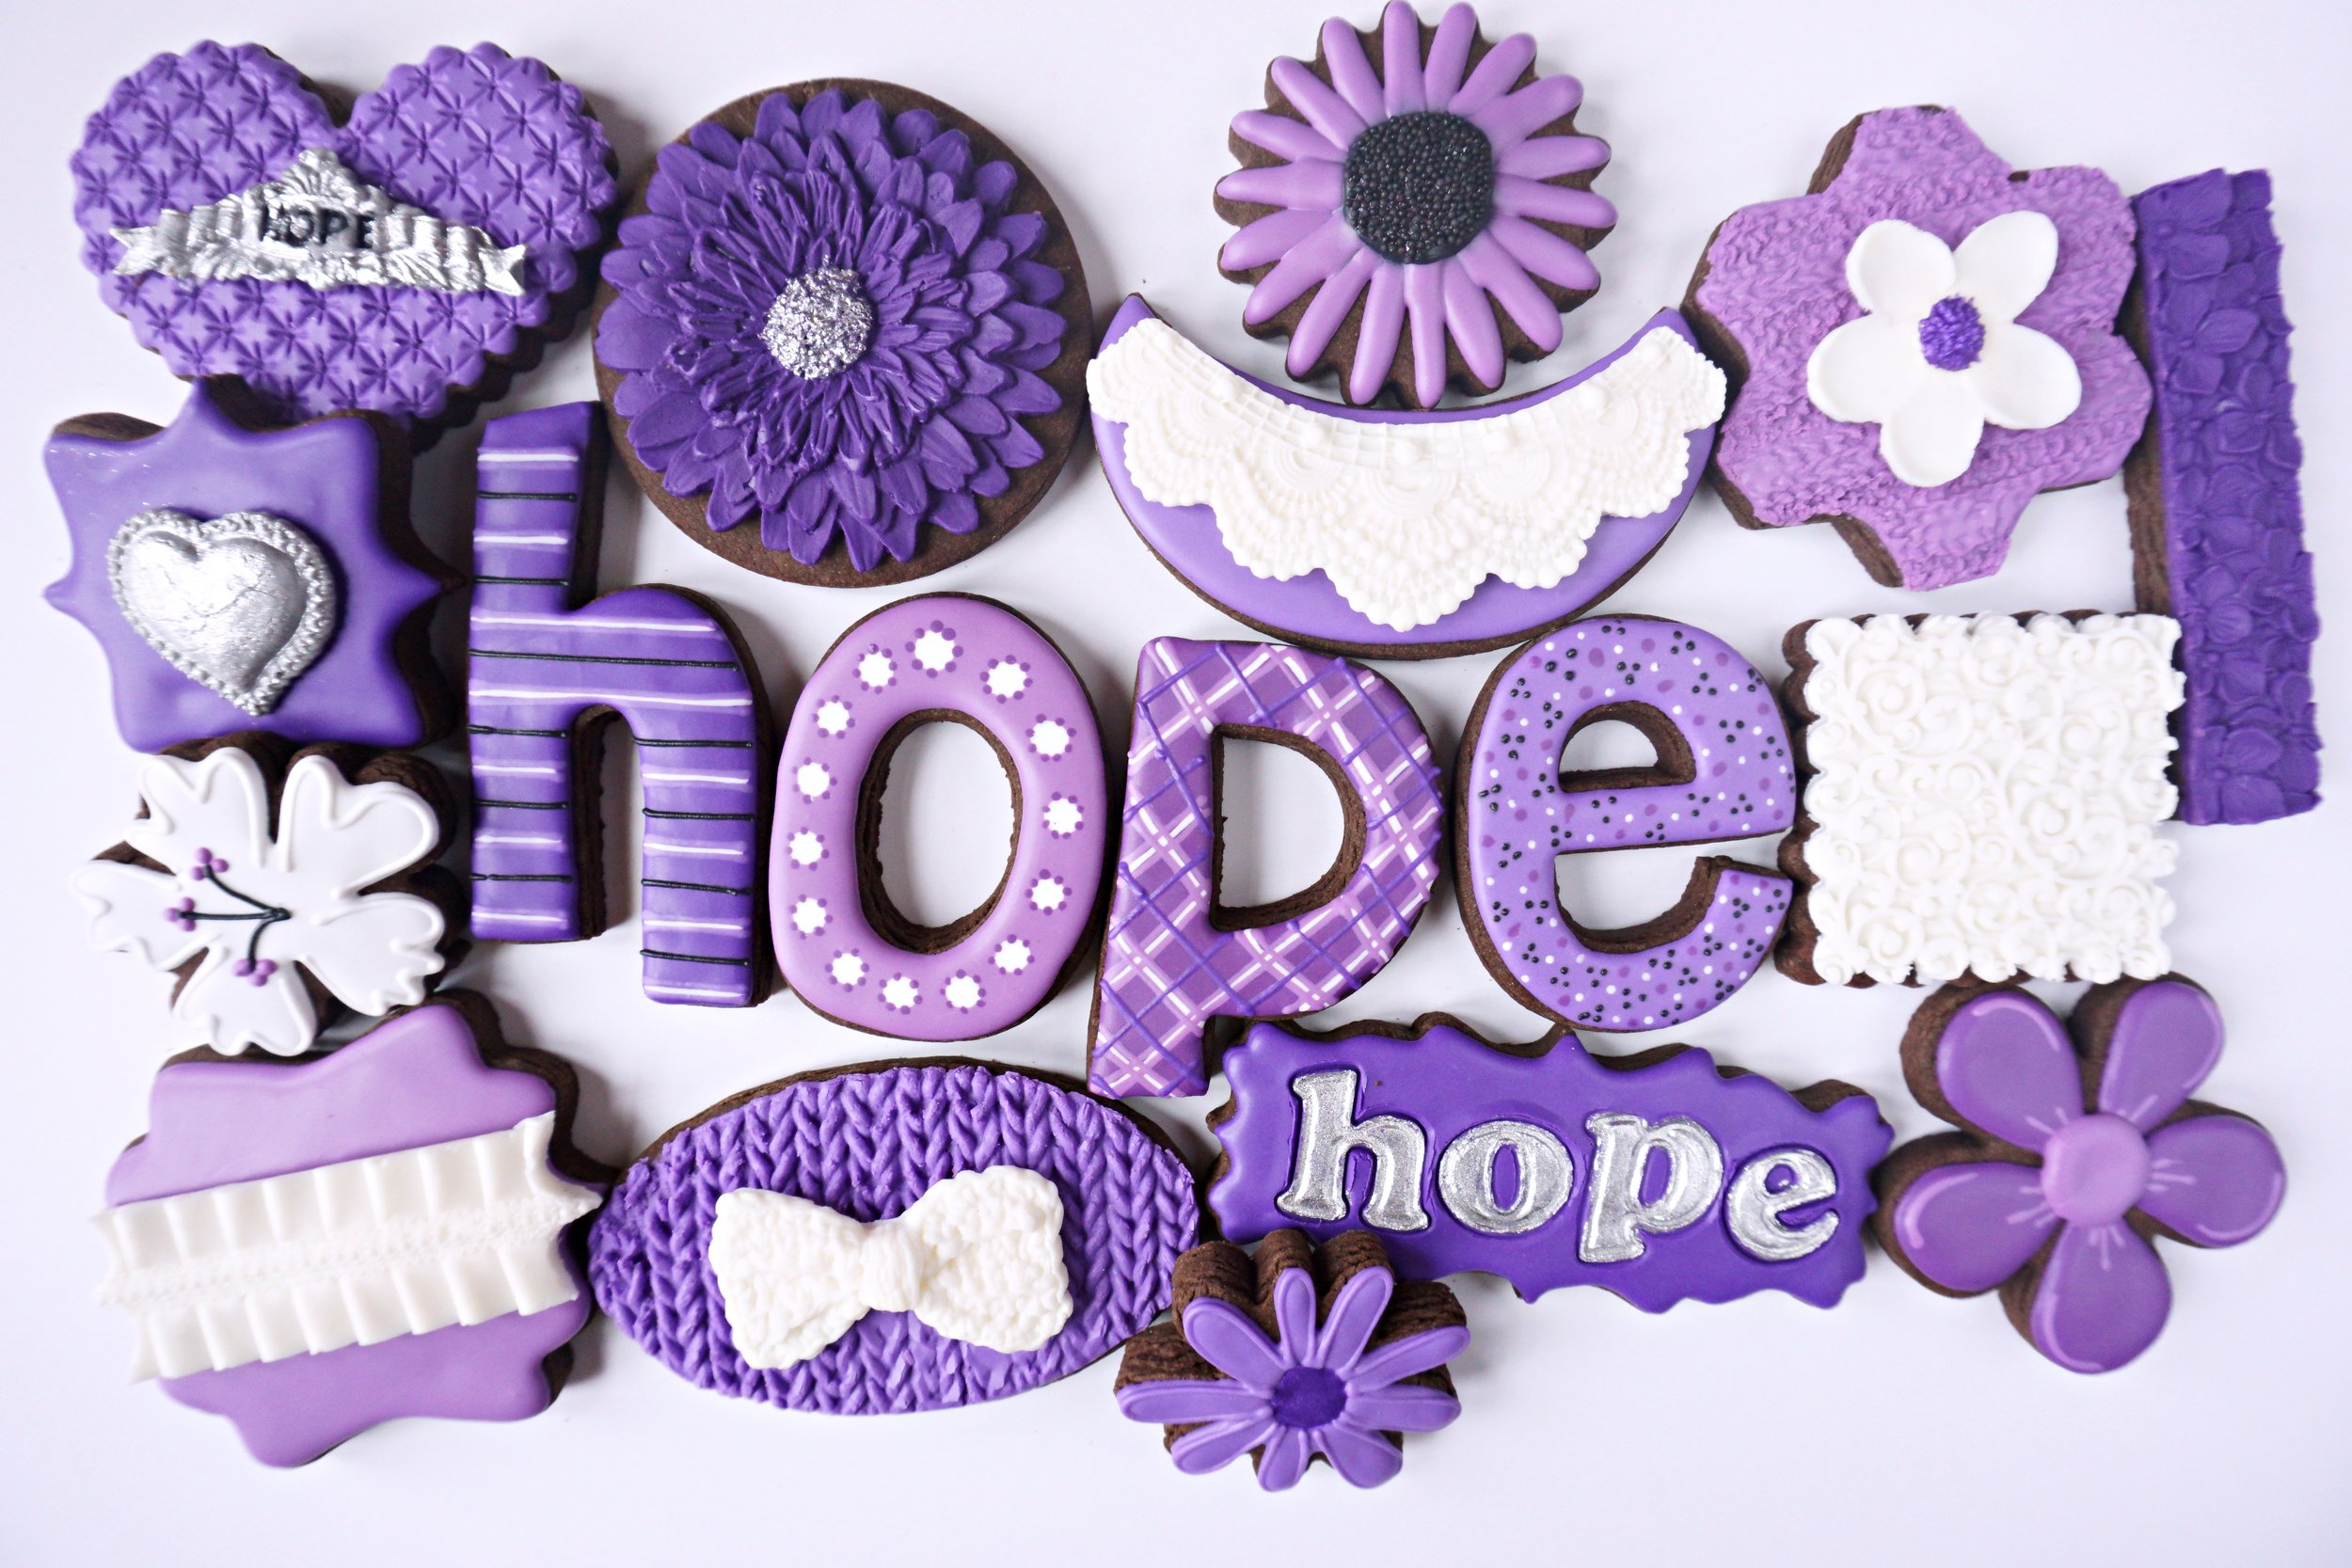
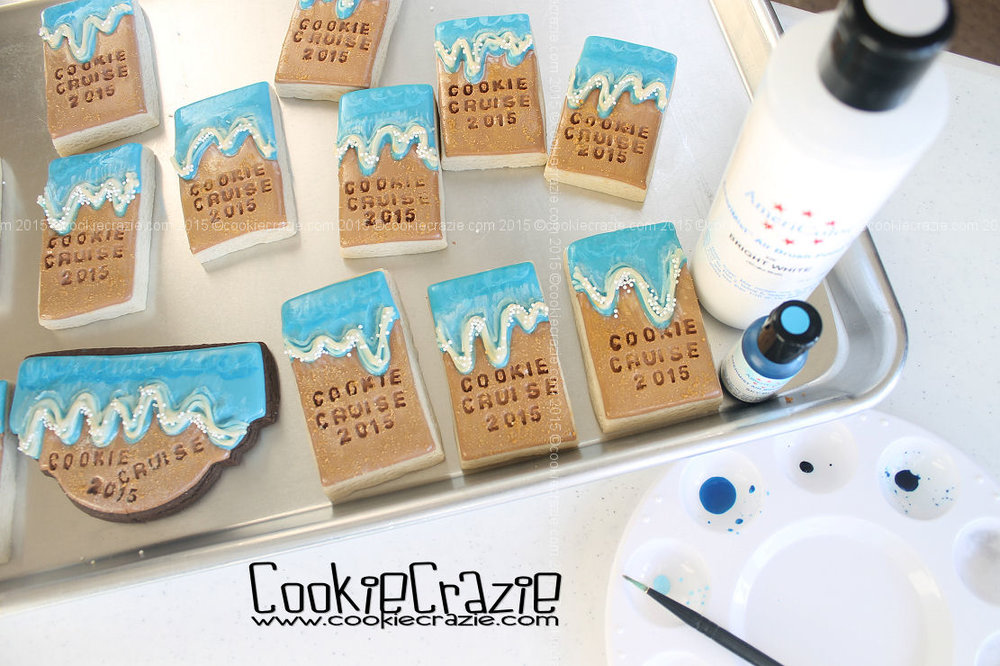
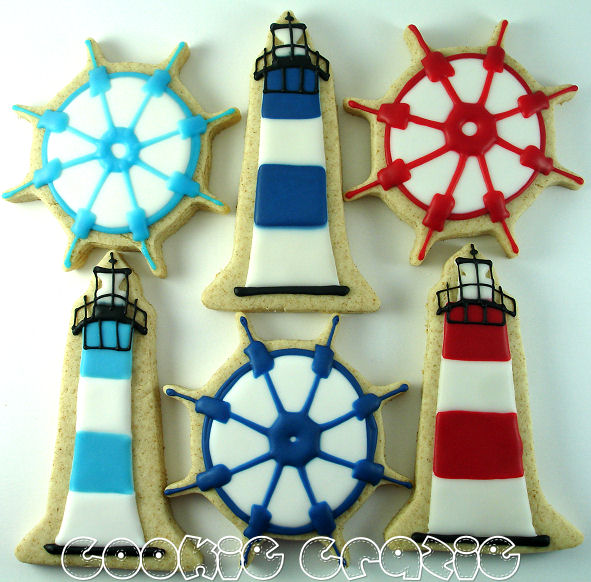
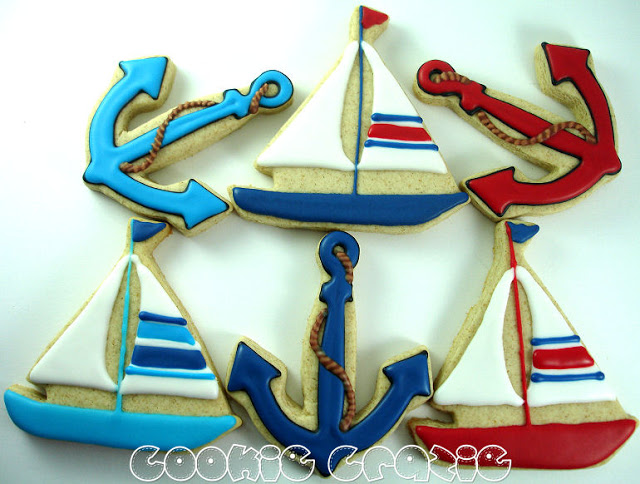
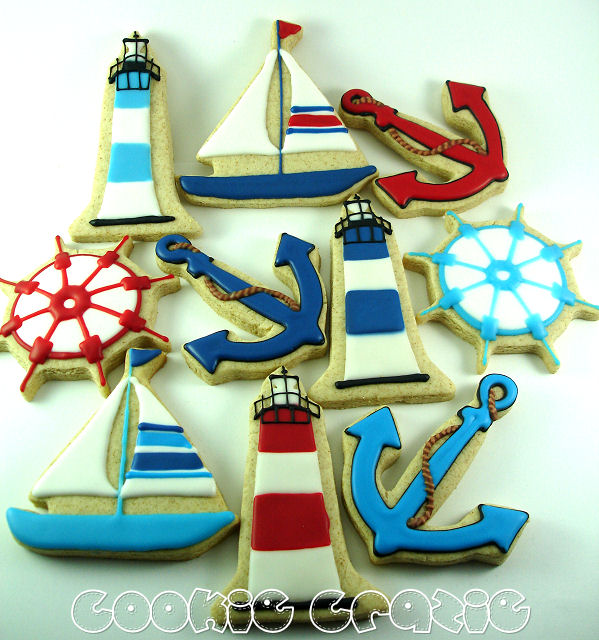
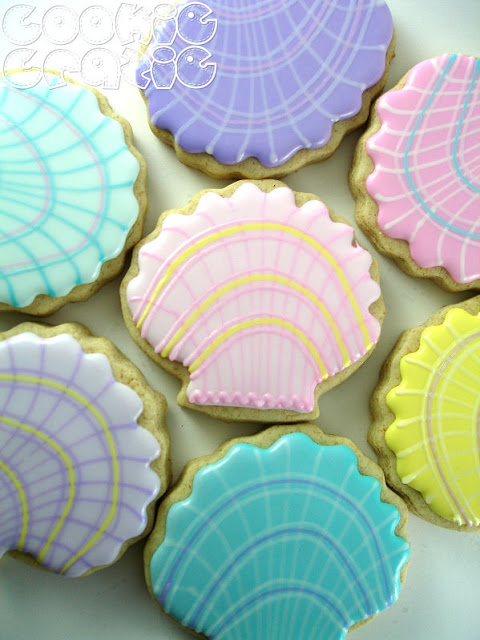
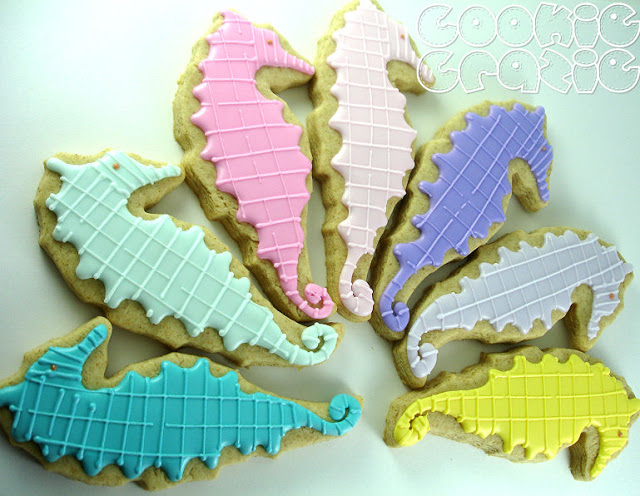
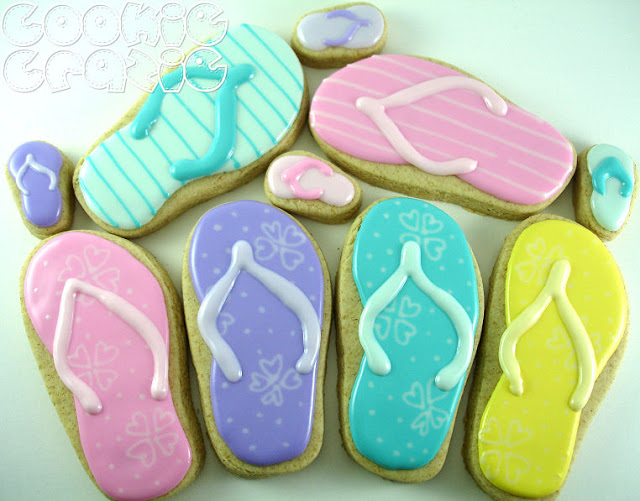
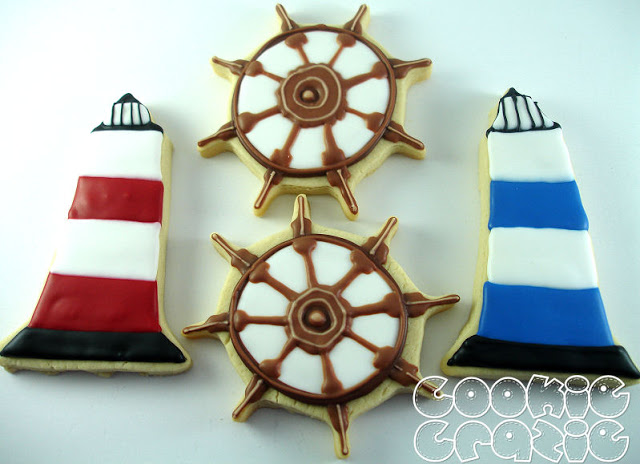
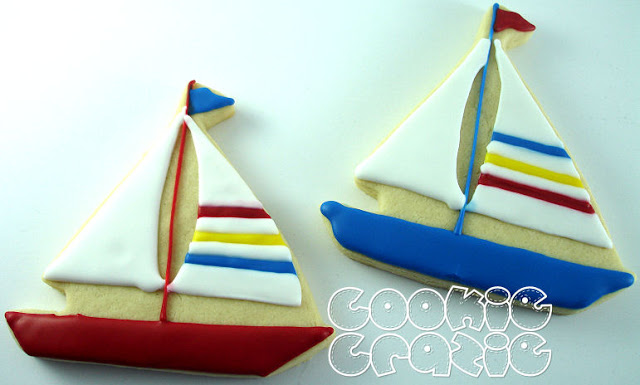
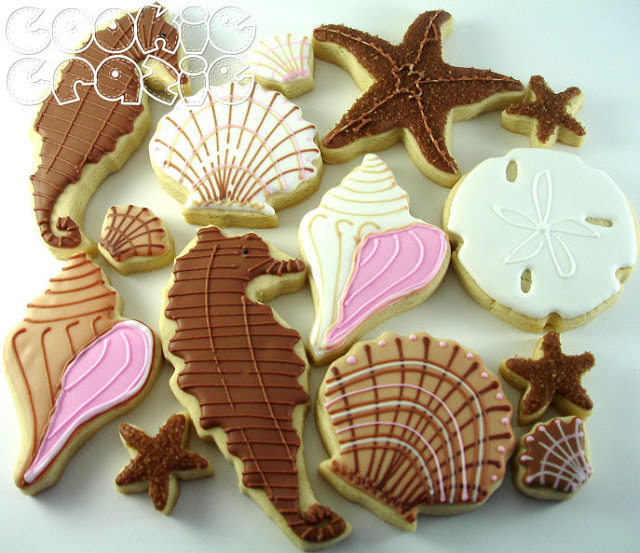
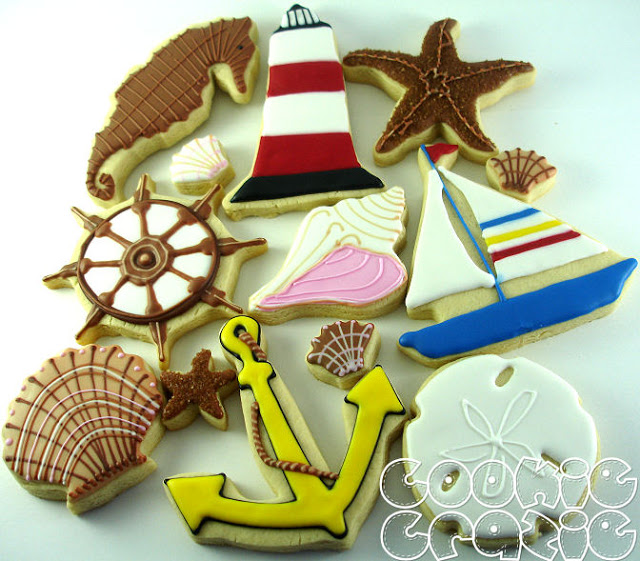
All of these cookies help me to dwell on peace, quiet, and calm and not be affected by all the mayhem around me. So I offer them to you as a gift……
to bring you to that sweet quiet place of serenity. ❤️

A heart at peace gives life to the body. Proverbs 14:30


Summer Beach Wave Cookie (Tutorial)


This cookie tutorial was filed away back in January after these cookies
were made for the 2015 Cookie Cruise.

And now that it is summer.....it's time to share it. :)


The design can be put on any shape.....but for traveling purposes,
I chose a basic rectangle cookie that would be less likely to break.

Outline and flood one end of the cookie with a light tan glaze,
 including a ripple effect for the water wave.


Outline and flood the other end of the cookie with blue glaze.


Allow the glaze to dry for about 4 hours before attempting to "write something in the sand".
You can use the letter press set (as I did on these cookies) or a scribe to carve out letters.

Press the letters into the tan glaze as shown below.


To make sure the white nonpareils stick only to the edge of the wave,
allow the cookies to dry overnight before adding the white outline on the edge of the wave.
Sprinkle white nonpareils over the wet white outline to catch a few for a "bubbly" look.

Paint Americolor Bright White gel over the edge of the waves to make them look foamy.


To give the sand some texture, make a mixture of light brown sugar, white & ivory gels,
and paint it over the surface of the dried tan glaze.


Finally, mix together some Sky Blue gel with Bright White gel
to add some dimension to the water on the cookie.


Nautical Themed Baby Shower

Someone I met last year through Flickr ordered cookies from me and we've become friends. Now every time she needs cookies, she comes to me. :) She designed these awesome baby shower invitations.....and then together we decided on cookies that would match the invitations in color and shapes. Fun stuff!


I've done all these cookies before.....but not in the volume I just did for a large baby shower. ;)


That's it for me this week.

I've got one more order next week.....and then it is time to make special cookies for my son, Keith, and his Army buddies as they graduate from Basic Training! Only 11 more days until I see him. Can't wait!!!!

Lucy's First Birthday....A Beach Party

After all those bright colors in my "Fruit Salad" yesterday.....today's cookies will be quite a change. 

These are all done in pastels since the order is for a baby girl who's having her first birthday. I'm finding that pastels are hard to photograph. Is that true? I'm not liking the overall color in these pics.....but it's the best I could do.

Lucy's turning "1"......so her Momma and Daddy wanted to have a fun beach party with lots of sea critters and some flip flops. :)  I choose pastels because a sweet little baby girl needs a special softness in the coloring.


That's it for me this week.

I need to make some baby cookies next week.....so hopefully I'll have something to post. :)

Down By The Sea

So I rested for a week after my trip and then this week I couldn't wait any longer. It had been four whole weeks since I'd decorated cookies......and it was TIME. lol 

I haven't had a chance to do summer themed cookies yet, so after choosing seventeen shapes and fourteen colors (I've got to keep the "crazie" in my name!), I set to work. Boy have I had fun these last two days.....learned lots of new things, and thoroughly covered the summer theme. =)

I'll take two posts to show you all the cookies. Since I kind of went overboard (no pun intended!) with variety, I figure I wouldn't overwhelm you in one post.

Here's ship wheels and lighthouses.......these are not extremely exciting, but they look cool when you put them with all the other ocean themed cookies.
 
Sailboats..... 
I'm very happy with how the ship anchors came out......one of my new cutters :) 
And I'm thrilled with this "sea critter" collection.
 

Group shot.....
I'll post the rest of my summer collection tomorrow. Stay tuned for LOTS of color.

P.S. I just added a new feature to my blog. You can sign up to receive an email every time I add a new blog post. Click on the link on the top of the right side bar.
Member Login
Welcome, (First Name)!

Forgot? Show
Log In
Enter Member Area
My Profile Not a member? Sign up. Log Out