cookies make the world go round

Cookies for Ukraine 2017

Here are the simple and small cookies that I took on our Ukraine 2017 trip.
To read about the actual trip, check out this blog post.

Every year when I'm prepping for the Ukraine trip, the foremost thought I have is what shape and design of cookie I should take. (I know.....what a shocker?!)

I need to take at least 150 cookies, so they can't be too big.
And since I'm making so many, I want them to be as easy as possible.
But I also want to make something unique and beautiful to delight the recipients. :)

After CookieCon 2017, I branched out and tried The Painted Box's gorgeous watercolor techniques. Angela was especially helpful to me and answered all my questions. (Thanks Angela!) So it seemed fitting to decorate some watercolored cookies since the total decorating time is fairly minimal....especially when you're just dabbing on a rainbow of colors. 

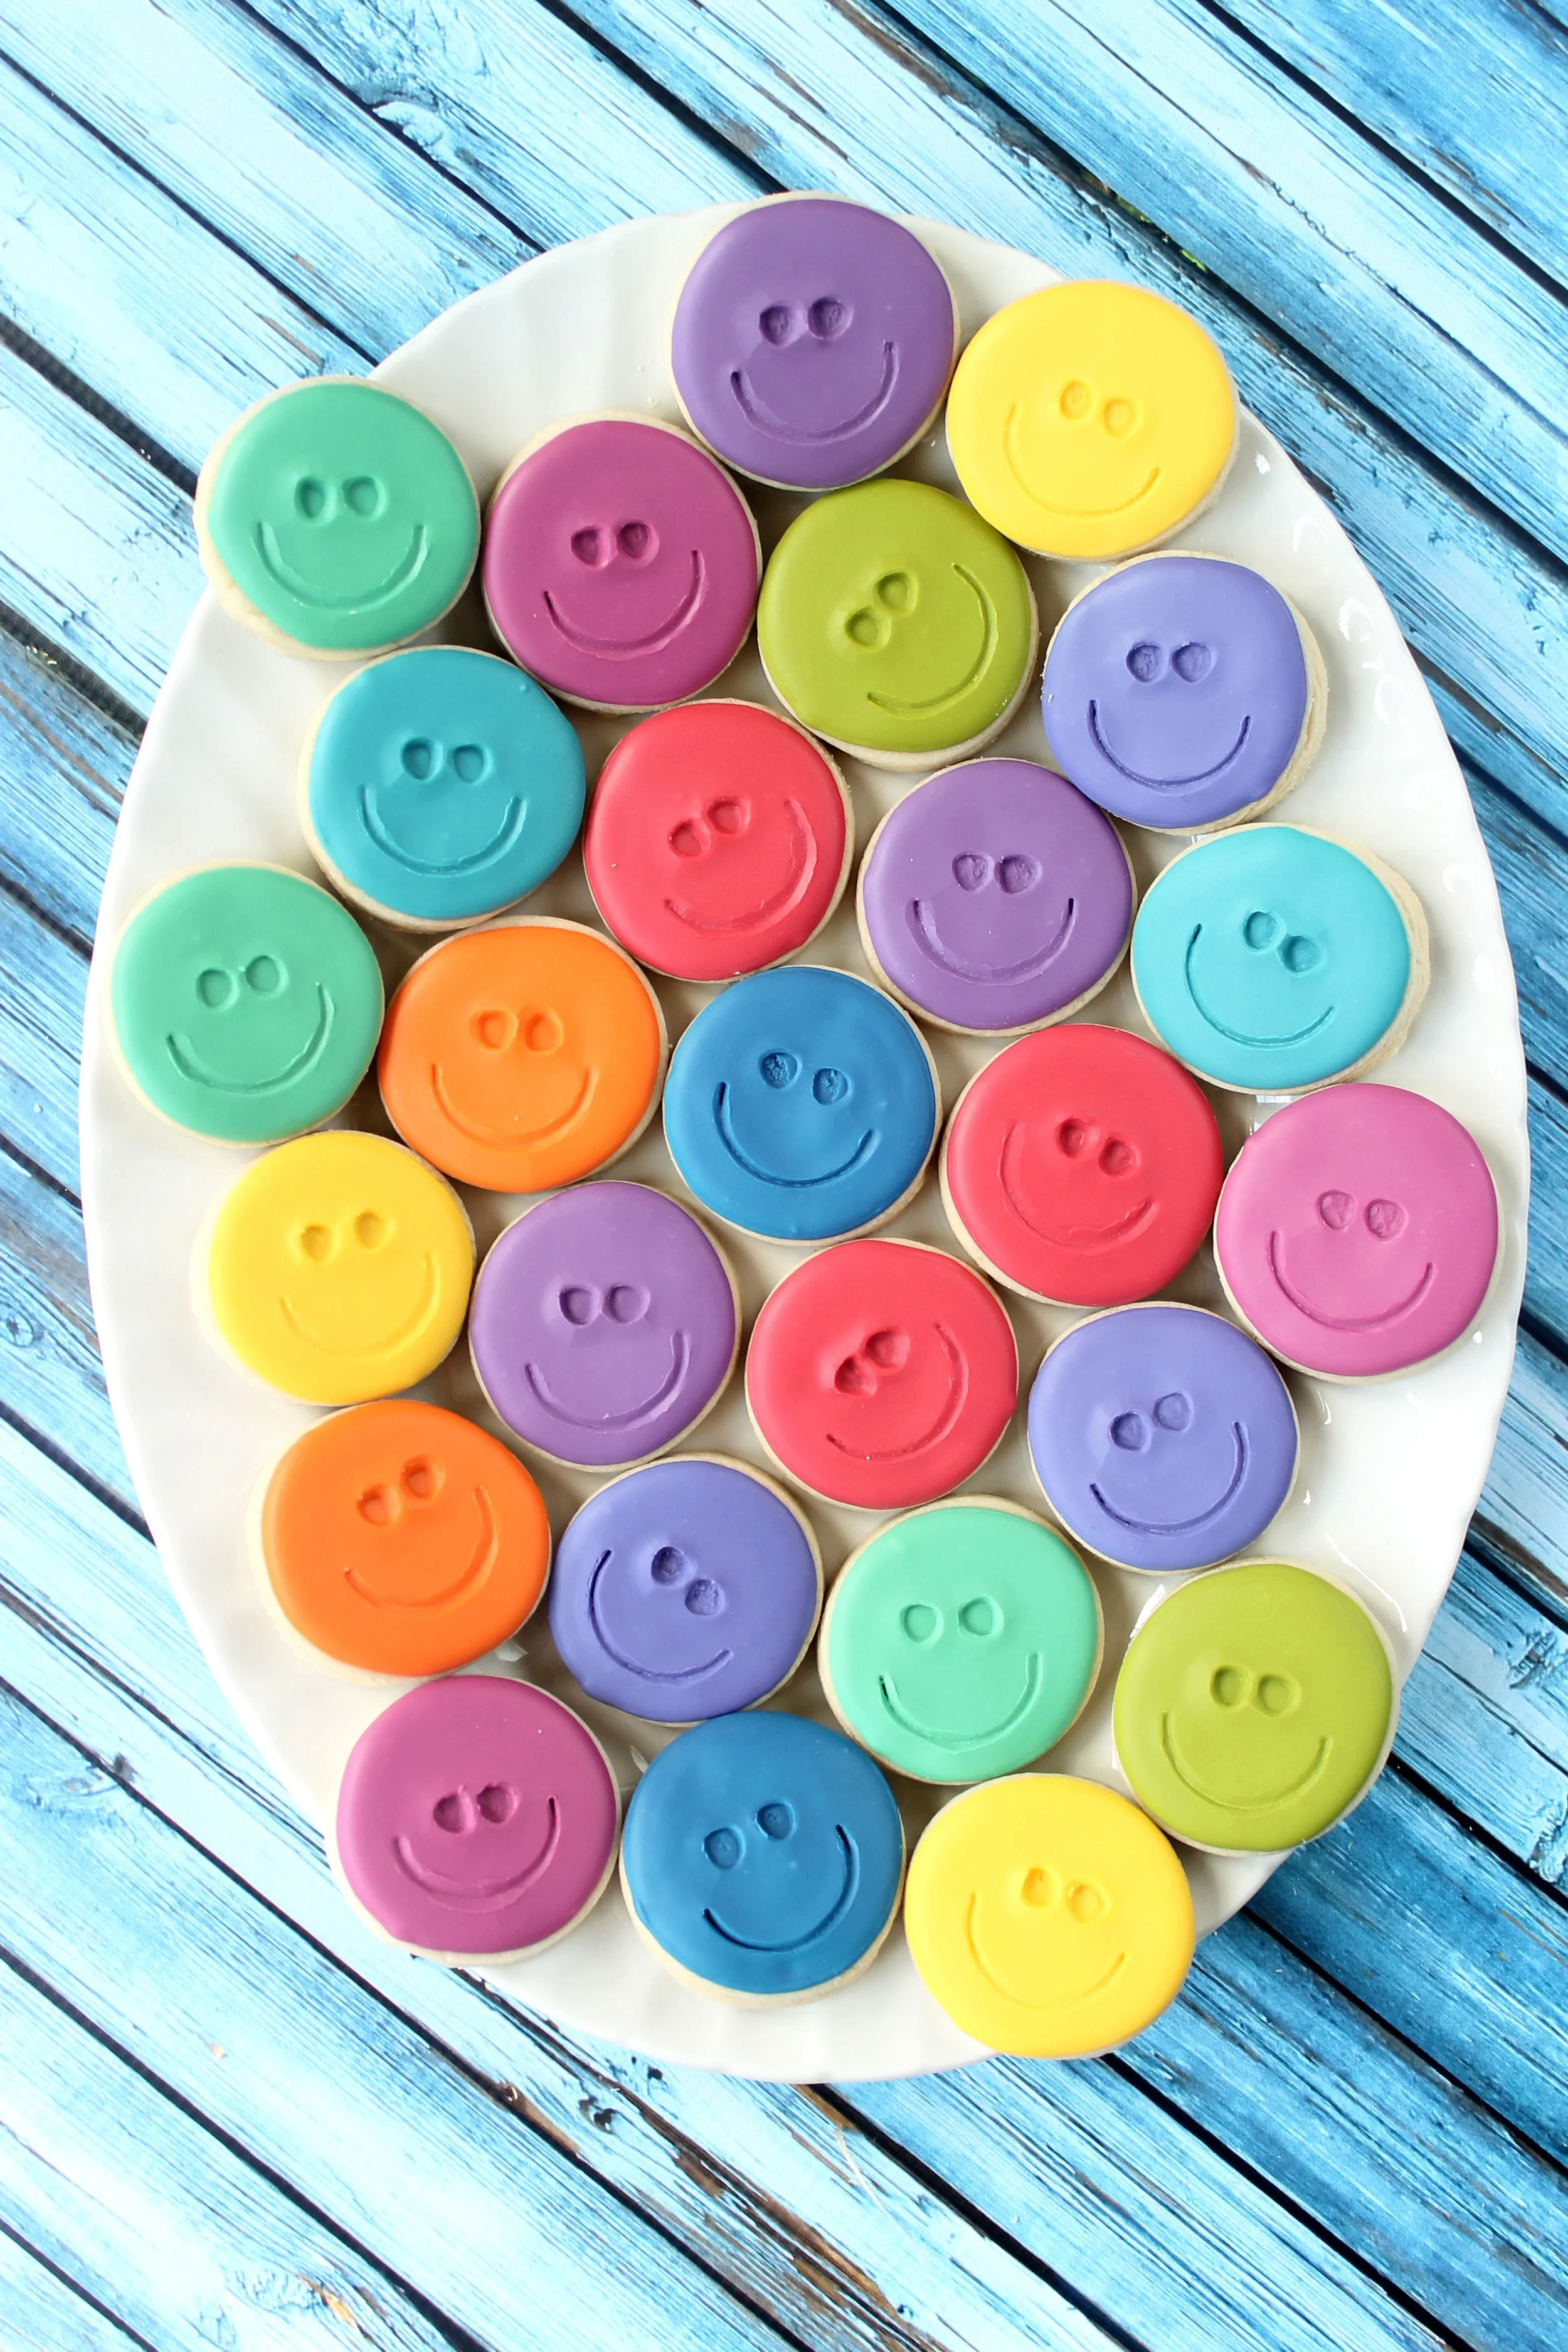
For these cookies I flooded all of them with white glaze and let them dry overnight.
The next day, I just painted various colors across each rectangle and then splattered some wet gold luster dust over them. (The videos below depict my methods fairly well.)

The cookies were well received and brought many smiles. 


Smiley Face Decorated Cookies (Tutorial)

For the 2016 Ukraine trip, I made and took smiley face cookies and button cookies to share with everyone I encountered.
The smiley design is super easy using these tools from Autumn Carpenter's collection of fondant tools.

Outline and flood the cookie with glaze.
Allow it to dry for about 3-4 hours.

Press the arc of your choice into the partially dried glaze to form a smile.

Use the eye tool of choice to make two eye impressions.

So simple.....and fun!


Simple Button Decorated Cookies (Tutorial)

Every year when I go to Ukraine, I take tons of small cookies to share with everyone I encounter.
It is always fun to try to think of a simple design that will be easy to replicate 150-200 times, travel well without breakage, and yet bring a smile to each face.
This year I chose simple round cookies with either a button design or a smiley face.
Each of them ended up being very simple to make.....and I had a blast creating a whole rainbow of fun colors.

For the button cookies, I used this  Button Hole Cutter.
It made the whole process super simple and created an authentic looking button.

Outline and flood the round cookie.
Allow the cookie to dry for 3-4 hours.
Use a round cutter to create a circle cut just inside the original outline.
Then impress the middle of the cookie with the button holer.

Waa laa......a button cookie. :)


Member Login
Welcome, (First Name)!

Forgot? Show
Log In
Enter Member Area
My Profile Not a member? Sign up. Log Out