button cookies

Simple Button Decorated Cookies (Tutorial)

Every year when I go to Ukraine, I take tons of small cookies to share with everyone I encounter.
It is always fun to try to think of a simple design that will be easy to replicate 150-200 times, travel well without breakage, and yet bring a smile to each face.
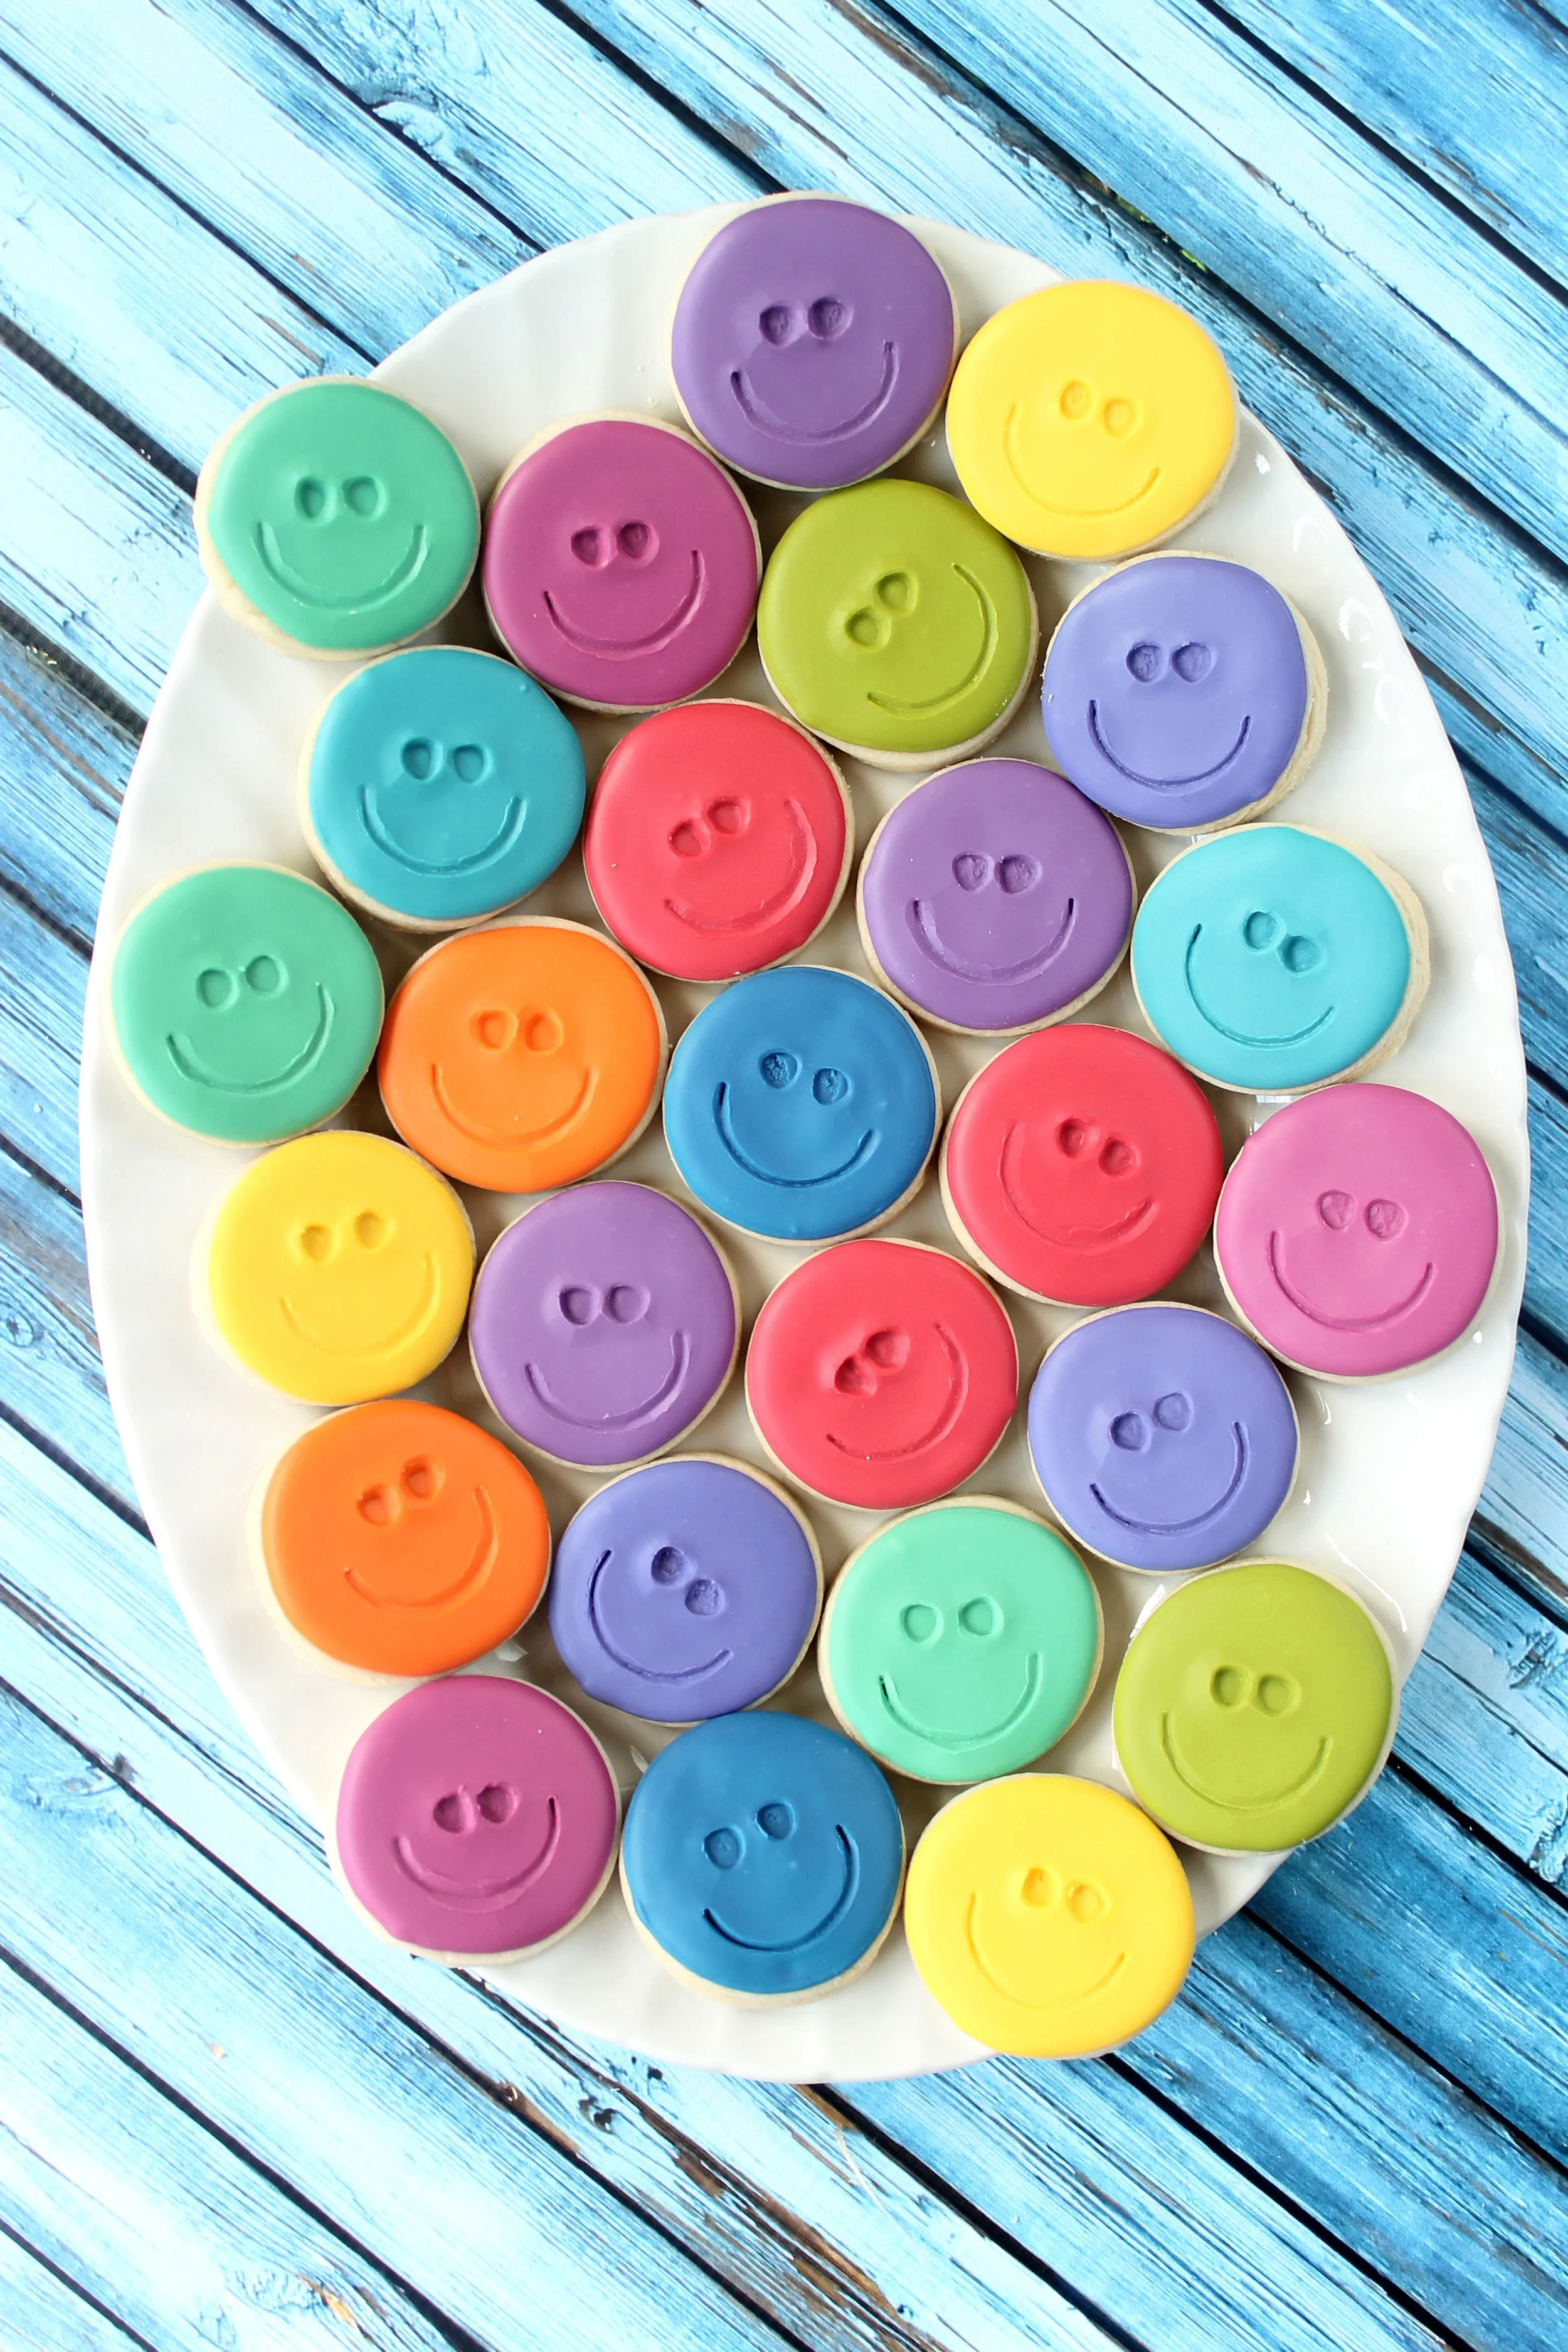
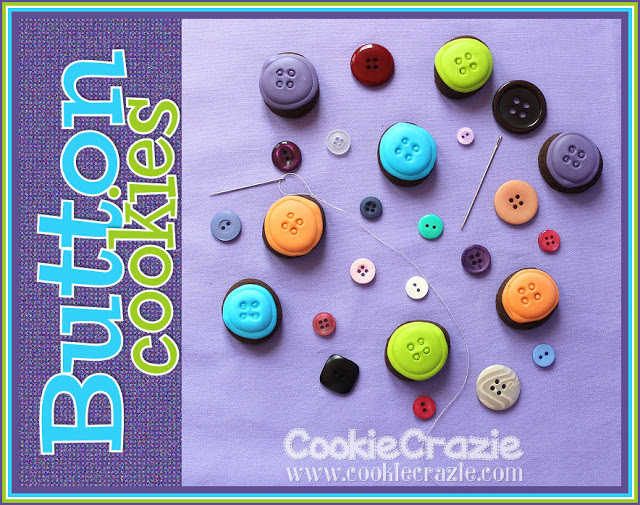
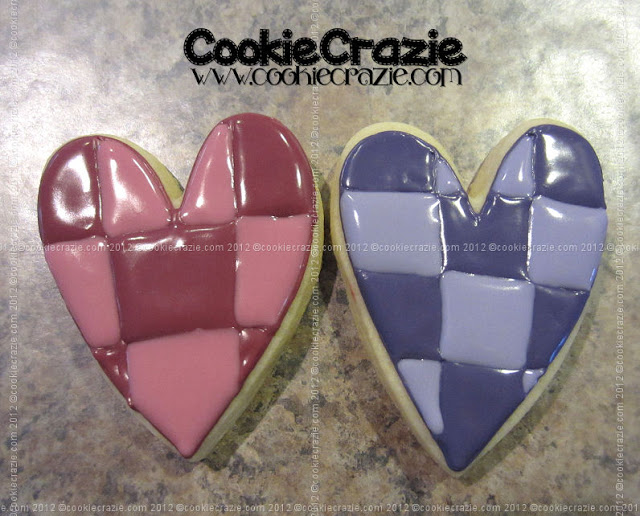
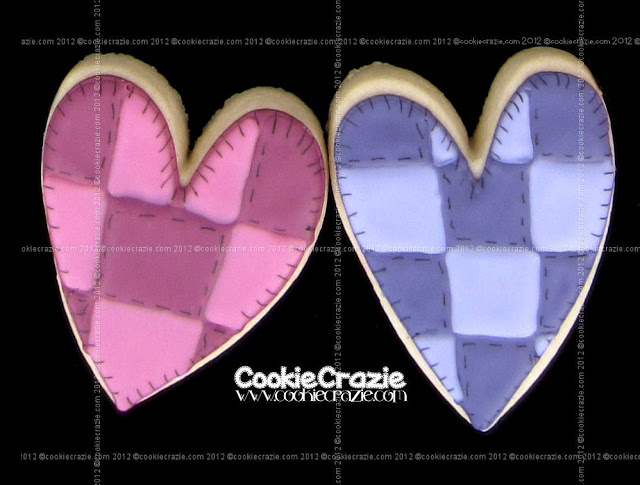
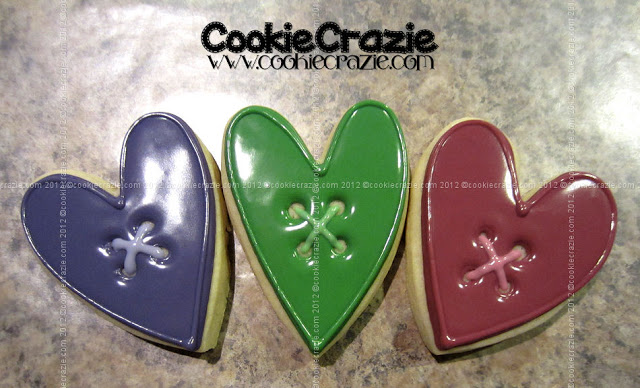
This year I chose simple round cookies with either a button design or a smiley face.
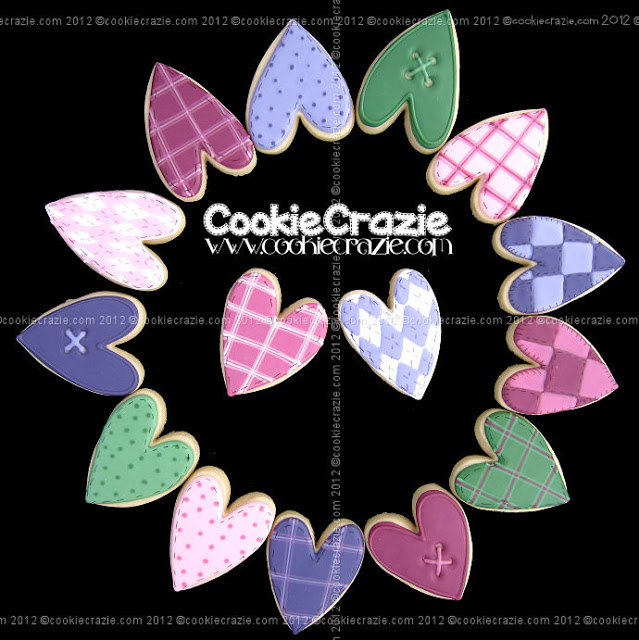
Each of them ended up being very simple to make.....and I had a blast creating a whole rainbow of fun colors.

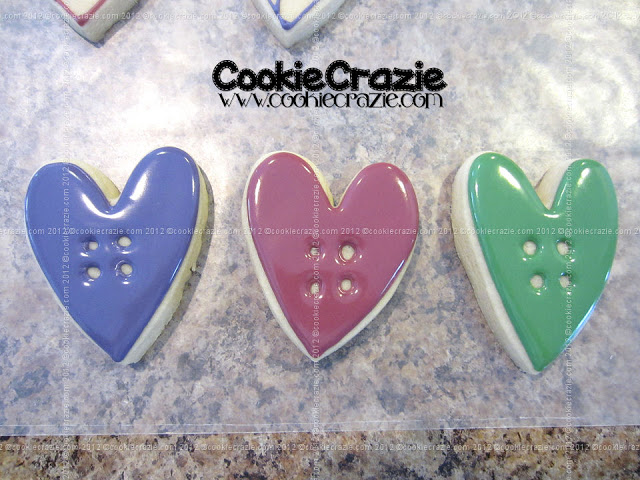
For the button cookies, I used this  Button Hole Cutter.
It made the whole process super simple and created an authentic looking button.

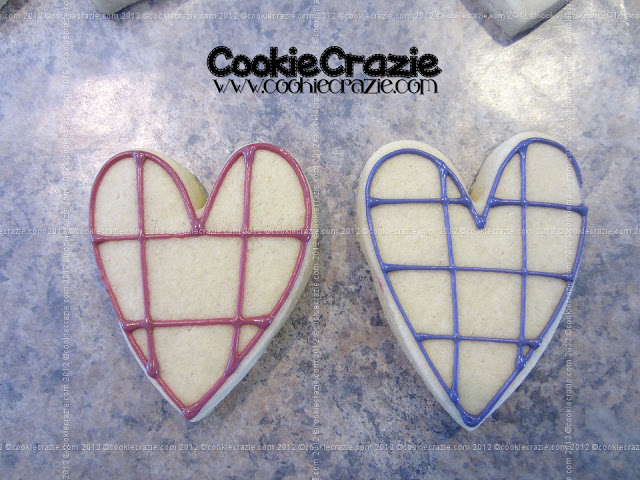
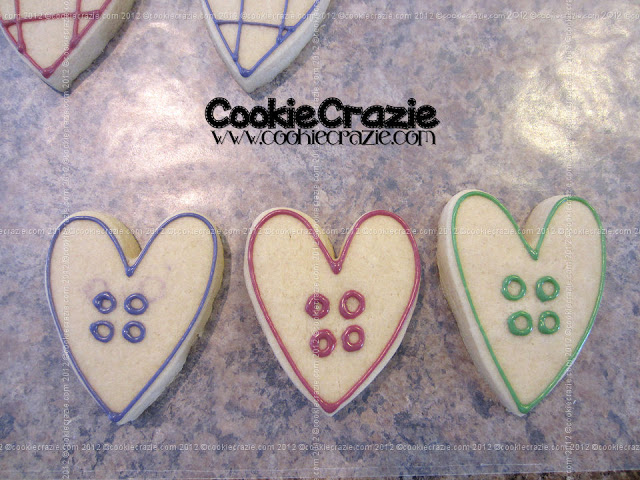
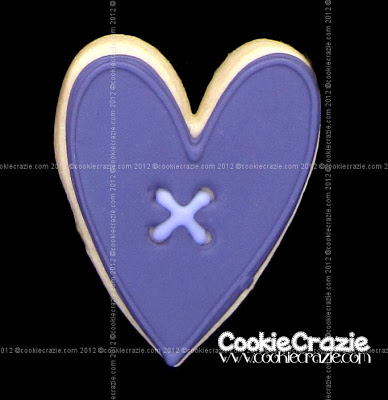
Outline and flood the round cookie.
Allow the cookie to dry for 3-4 hours.
Use a round cutter to create a circle cut just inside the original outline.
Then impress the middle of the cookie with the button holer.

Waa laa......a button cookie. :)


Sewing Cookie Collection


I had the fun privilege last year of making some sewing cookies for my sister's neighbor. :)

I don't sew......but I'm fascinated with those who do.

I love quilts and patchwork, buttons and pretty fabric.
So this theme was pure joy to make.


Button Cookies (Tutorial)


Making button cookies is fairly simple.
I love buttons.....and I love simple. :)

Make some circle cookies.
Outline with 10-second glaze using a #4 round tip.
Allow the outline to dry for 10 minutes.
Flood the circle cookie.

Allow to dry for about 1 hour.
Using a #4 Round trip, make the button holes in the crusted glaze.

Buttons! Yeah. :)

This is also the way I make glaze transfers buttons.....minus the cookies. haha
I make a circle outline on parchment paper......allow it to dry.
Flood the center. Wait an hour.
Add the button holes......


Stitched Valentines Cookies (Tutorial)

Wanting to make some Valentines heart cookies to share for the holiday?

I've put together a little tutorial to help you make some of the simpler designs you see in my
Stitched Hearts collection.


_________________________________
To make the polka dot hearts.....


Outline and then flood the cookie in your base color.....then immediately add your polka dots (wet on wet). For the size polka dot you see here.....I used a #2 round tip.
But if you want larger dots, use a #4, and for smaller, use a #1.


_______________________________

To make a checkerboard heart......


Use a #2 round tip to make your criss-cross pattern.
Dry with heat gun and then let it air dry for 20-30 minutes.


Fill in the darker of the two colors. Dry with heat gun and then air dry 20-30 minutes. 
Then fill in your lighter color. Dry with heat gun and air dry overnight.


_____________________________________
For the button hearts......

Outline the heart and add small circles to the center of the heart for your button holes.
Caution: Don't make them too small causing the icing to run together with no hole.
Use heat gun to dry....and then air dry for 20-30 minutes.

Flood the entire heart except for the button holes. Dry with heat gun and air dry for 20-30 minutes.

Add a outline to the button with your original color and then make a thread cross in a different color.
Dry overnight.


________________________

Once your hearts have dried overnight, you can take your black food color marker (I use Food Doodlers) and add your stitches.

And there you have it......some wonderfully simple heart cookies to share on Valentines Day. 


More stitched Valentines cookies coming soon.

Here's some of my stitched Valentine cookies from last year HERE.


Member Login
Welcome, (First Name)!

Forgot? Show
Log In
Enter Member Area
My Profile Not a member? Sign up. Log Out