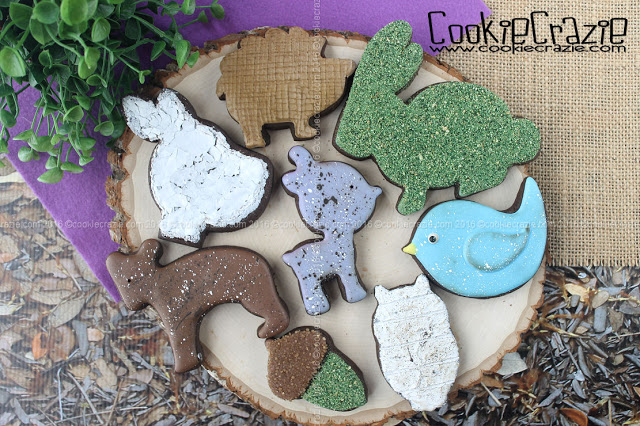
Making these cookies really brought out the excitement of spring within me.
Thinking about all the sweet animals that come "alive" once the weather warms up......
and all the beauty that blooms all around really brightens one's outlook.
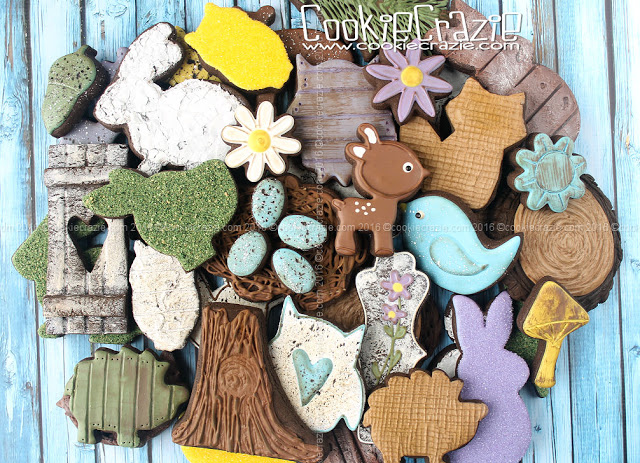
I was able to incorporate several new cutters within this collection.
- Lily Bunny (I designed this shape and That'sANiceCookieCutter graciously made it)
- Baby Deer
- Fawn Head
- Hedgehog
2016 Easter & Spring Decorated Cookie Collection
Windowed Easter Egg Decorated Cookies (Tutorial)
Floppy-Eared Bunny Decorated Cookies (Tutorial)
Spring Basket Decorated Cookies (Tutorial)
Burlap 'N Lace Bunny Decorated Cookies (Tutorial)
Spring Basket 'N Burlap Decorated Cookie Collection
2016 Easter Decorated Cookie Collection
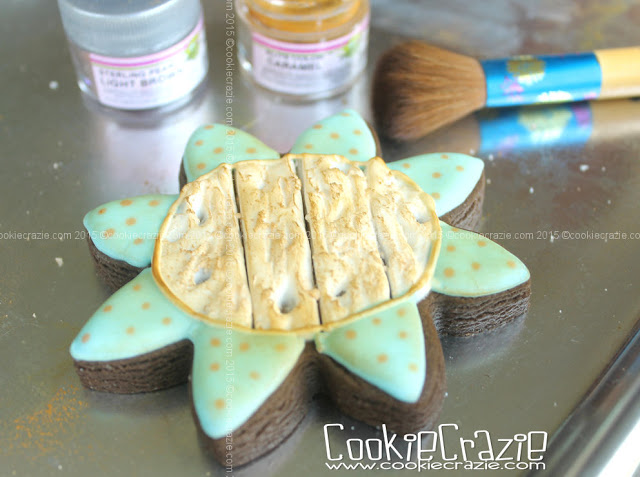
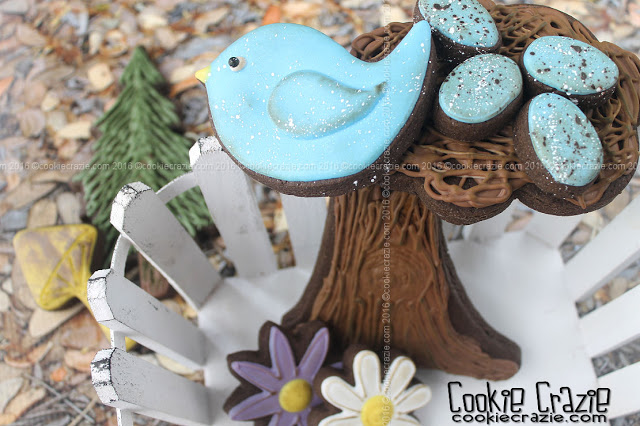
Spring Tree Decorated Cookies (Tutorial)
Spring 2016 Decorated Cookie Collection
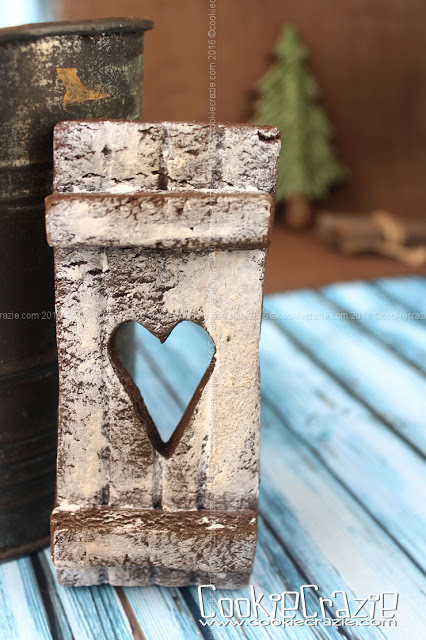
Wood Planked Wall Cut-Out Decorated Cookie (Tutorial)
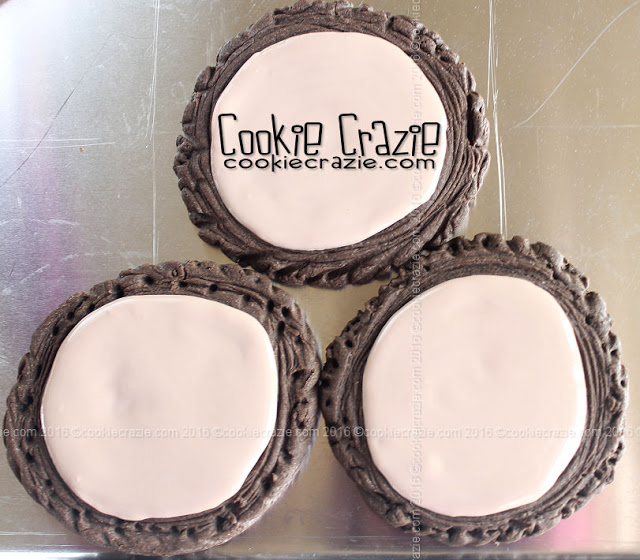
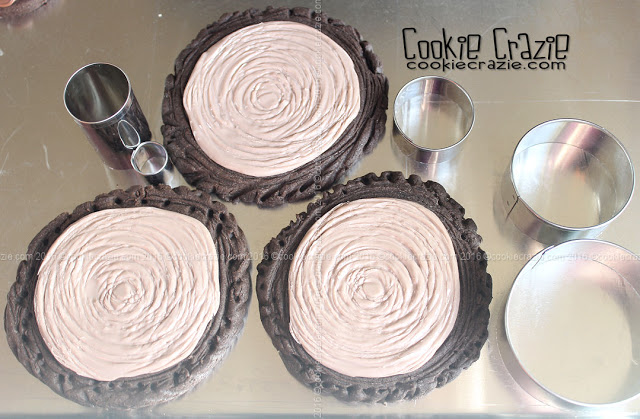
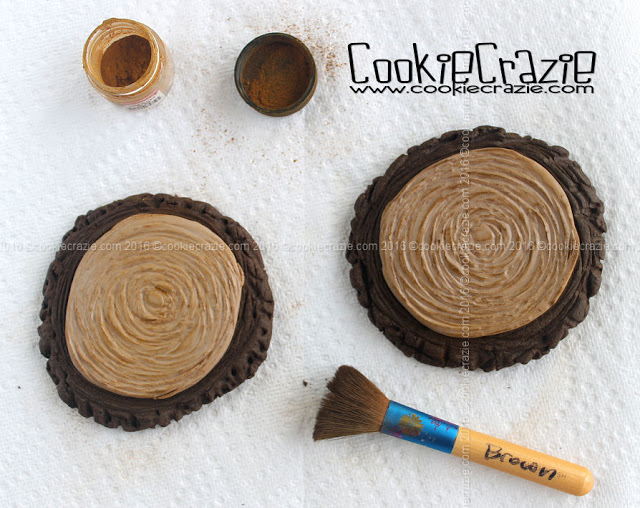
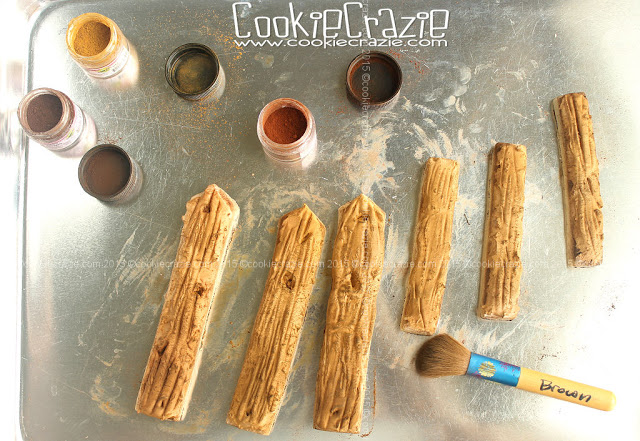
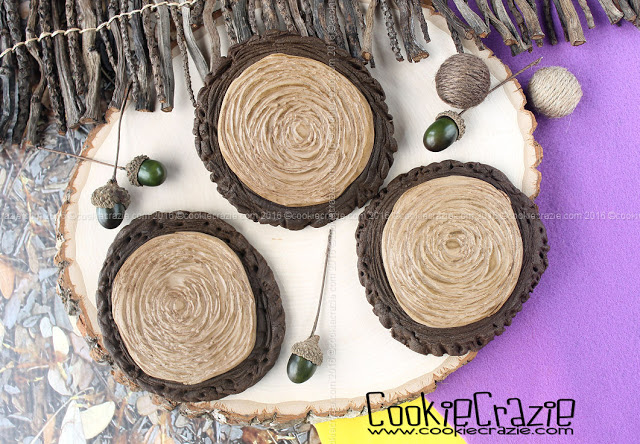
Tree Trunk Slice Decorated Cookie (Tutorial)
Spring Woodland Decorated Cookie Collection
Floppy-Eared Bunny Decorated Cookies (Tutorial)
Spring Basket Decorated Cookies (Tutorial)
Burlap 'N Lace Bunny Decorated Cookies (Tutorial)
Spring Basket 'N Burlap Decorated Cookie Collection
2016 Easter Decorated Cookie Collection
Spring Tree Decorated Cookies (Tutorial)
Spring 2016 Decorated Cookie Collection
Wood Planked Wall Cut-Out Decorated Cookie (Tutorial)
Tree Trunk Slice Decorated Cookie (Tutorial)
Spring Woodland Decorated Cookie Collection