trees

Autumn Textured Cookie Collage


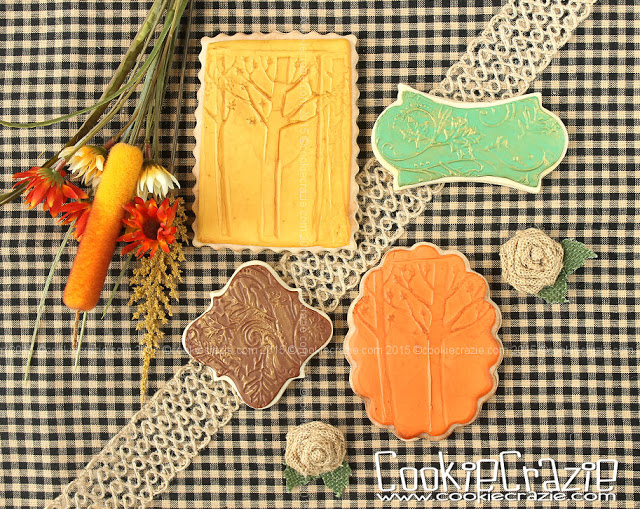
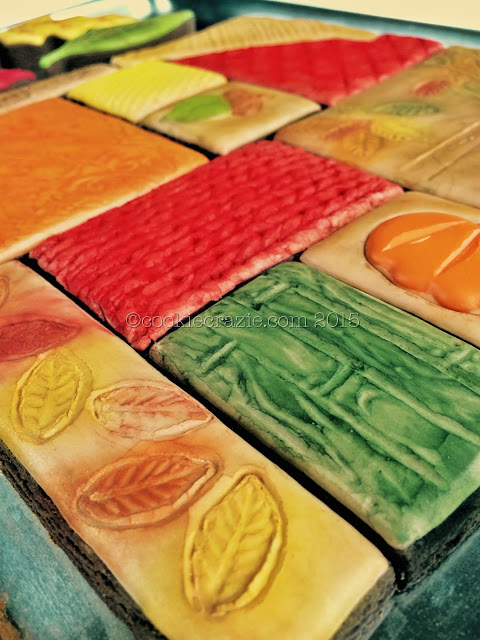
Each time a theme pops in my head, I always want to include a cookie collage in the repertoire.
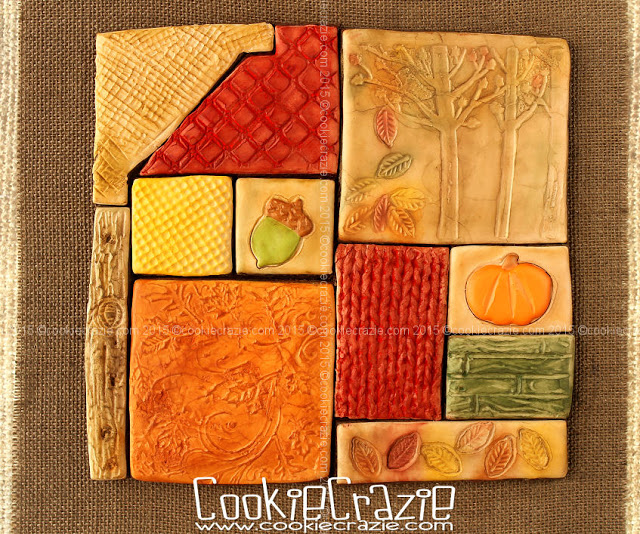
This autumn one doesn't really involve mixed media as some have,
but it has plenty of "mixed" textures. :)

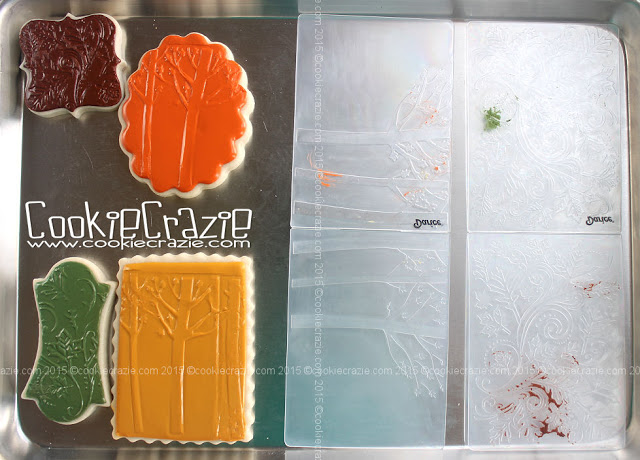
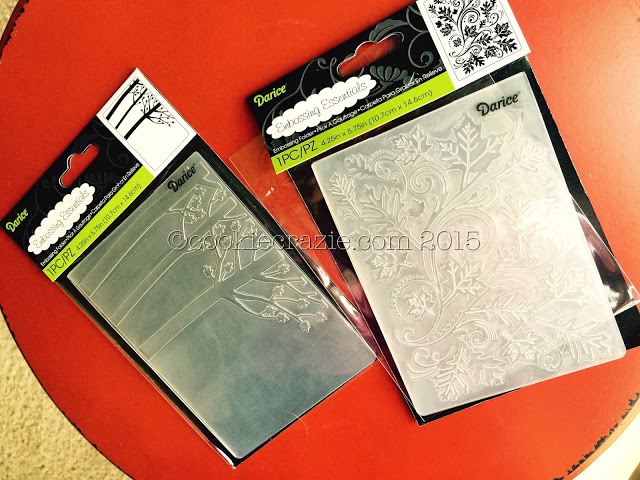
This was my first chance to try out the new embossing folders.
And after this project, I'm hooked on them.


Fall Leaf Embossing Folder


Each piece was done in a different color and a different texture.
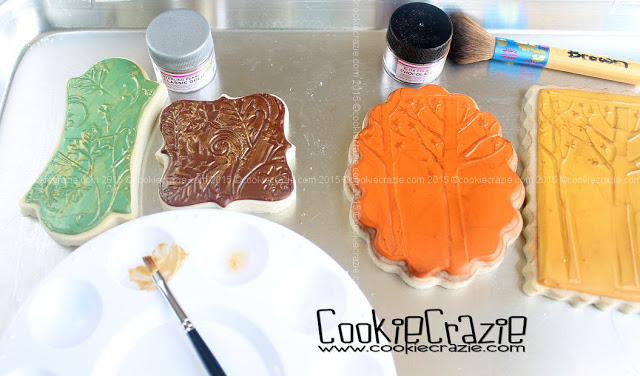
Some had colored glaze, some just had dust applied to beige glaze to give it additional color.
These is a myriad of things that can be done for this kind of project.
A new happy obsession......


Autumn 2015 Cookie Collection

Autumn Texture Mat Cookies (Tutorial)


I am always looking for new ways to add texture to glaze icing.
These scrap-book embossing folders turned out to be a treasure trove!


They work really well on partially dried glaze.
I've already ordered many more....... :)


Outline and flood the cookies with glaze.


Allow the glaze to dry for at least 4 hours.
Press the open embossing folder into the cookie (impression side down).


Some may stick to the folder, but in my book, imperfections are just fine.
(Nobody is really perfect anyway......even if it appears that way.)


Allow the cookies to dry overnight.

Apply some dry dust over the surfaces to accentuate the texture.
If desired, mix dust with clear extract (ex: almond) or vodka & apply it wet for a different effect.
(Below the gold was applied wet and the chocolate was applied dry.)


Autumn 2015 Cookie Collection

Happy Camper: Tent Cookies (Tutorial)


A tent cookie can be done several ways.
I chose to trim the dough off of a rectangle shape.


Once baked, outline and flood a triangle of black 10-second glaze as shown below.

To prevent bleeding, allow the black glaze to dry for several hours.
I put mine in the dehydrator (low setting) for a couple of hours.

Outline and flood the rest of the tent in your choice of glaze color.
Be sure to put an edge of tent color on the left side of the black opening.


Dry the cookie overnight.
Then add details in brown glaze with a 1.5 PME tip.


Happy Camper Cookie Collection

Applique & Gingham Christmas Cookies (Tutorial)


To "applique-ify" cookies, outline with the color desired for the stitches.
In this case, I used white glaze.

Flood with your choice of colors and patterns.
Once they've dried for at least an hour, add stitches around edges in same "thread" color.

For gingham, you'll need glaze in both a light and darker version of the color of choice, plus white.
So for this snowman, I used white as the base,
then added lines in both directions in my light color blue glaze.


While it was still wet, I added a dot of the darker blue at each cross point.

 This was definitely my favorite patterned Christmas cookies of the season. :)


Member Login
Welcome, (First Name)!

Forgot? Show
Log In
Enter Member Area
My Profile Not a member? Sign up. Log Out