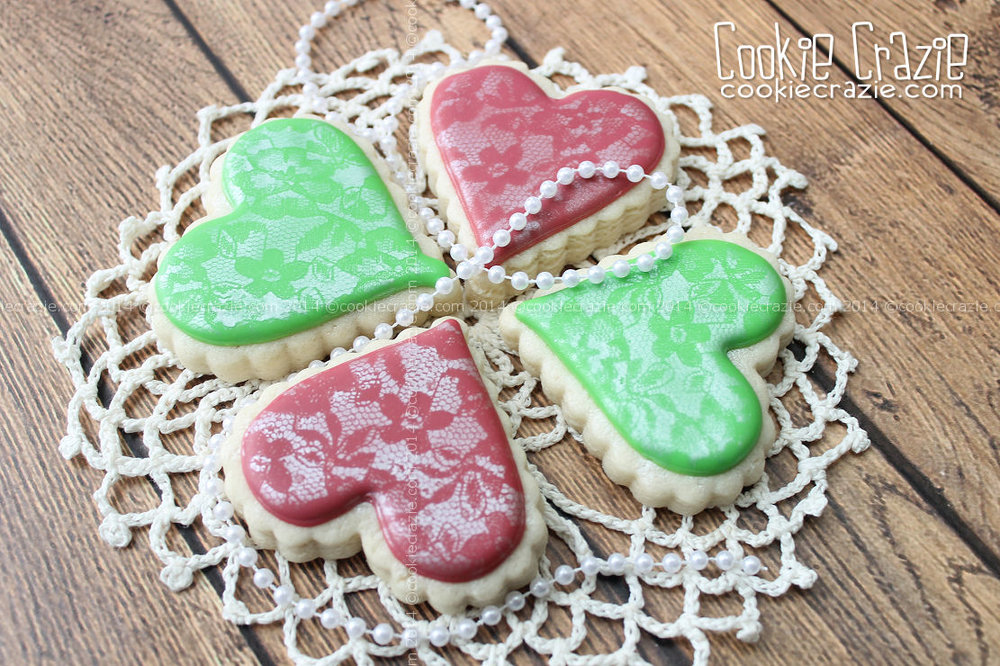
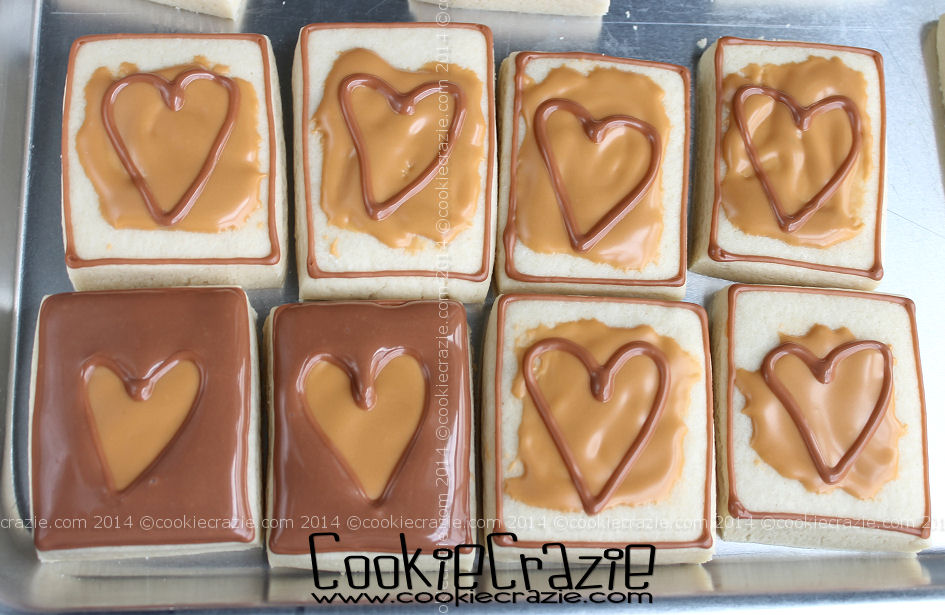
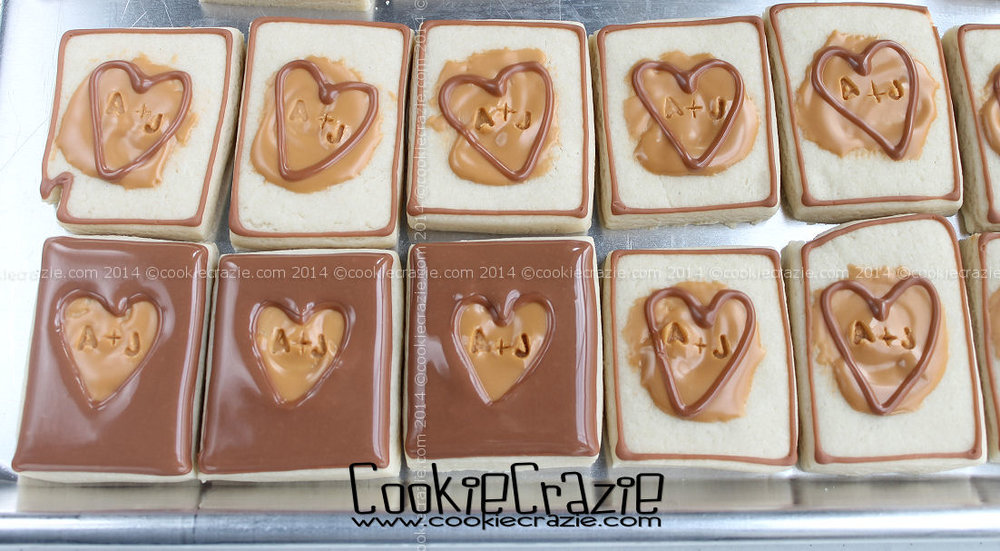
Heart cookies are a common wedding cookie......
so it made sense to plan on doing them for Allison's wedding favor cookies.
But I wanted to make them a little unique and special.
I had noticed that Heather at SugarNosh Treats had been playing around with airbrushing using lace.
I asked her about it and she offered to send me a piece of her lace that she was using.
How awesome is that! :)
(Thanks Heather for being so kind and giving me the tool I needed to make special cookies.)
They ended up being one of the biggest hits at the wedding.
People were amazed at the beauty of the lace pattern on the heart cookies.
They're fairly simple to make......once you have a piece of appropriate lace and an airbrush.
Outline and flood the heart cookies in whatever color desired.
Allow them to dry overnight.
Stretch out your lace material across a needlework hoop and snap it in place.
(Both the lace material and the hoop can be found at Hobby Lobby or Joann Fabric.)
Lay the stretched lace over the heart cookies.
Spray pearl sheen airbrush color evenly over them.


Beautiful and simple.......a great combination.

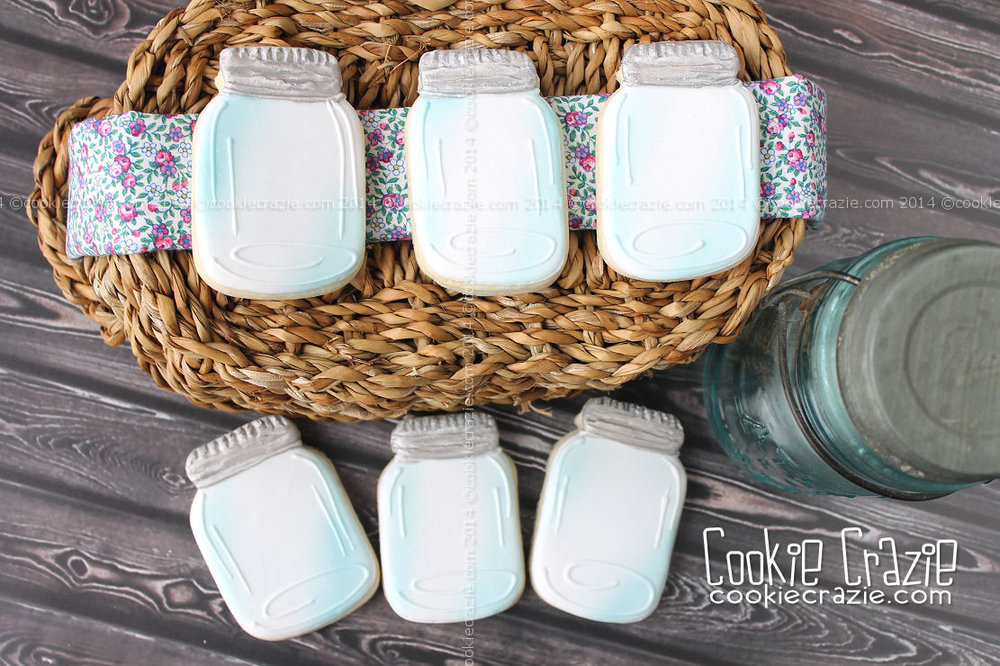
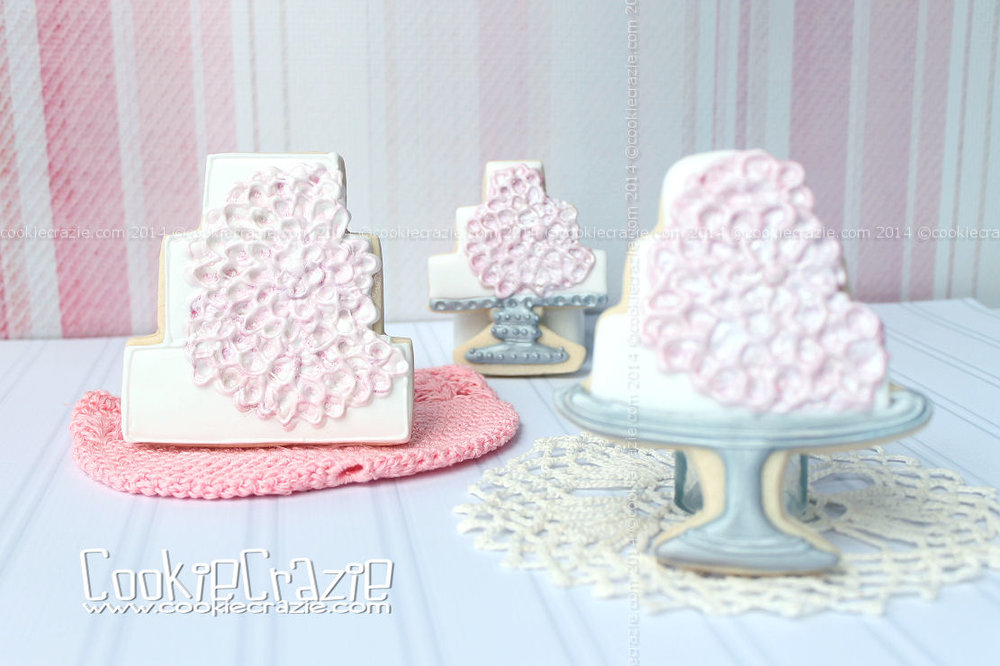
Allison & Jake's Wedding Cookie Collection