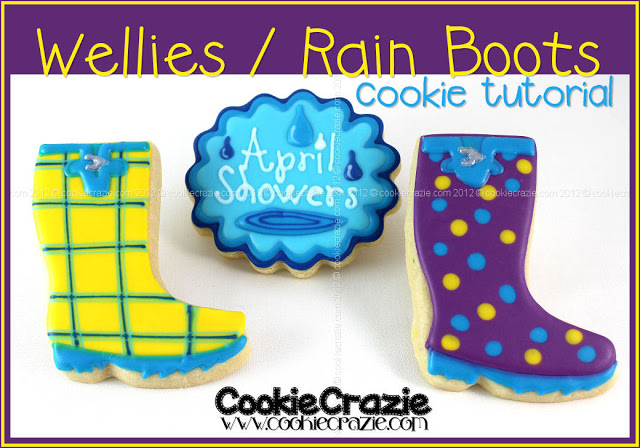
April Showers bring May Flowers......so now you know my agenda for this spring.
I love a rainy day.......it's a snuggly, read-a-book kind-of-day. And the sound of rain falling is so calming and soothing. It seems perfect to celebrate all those spring showers in a cookie set.

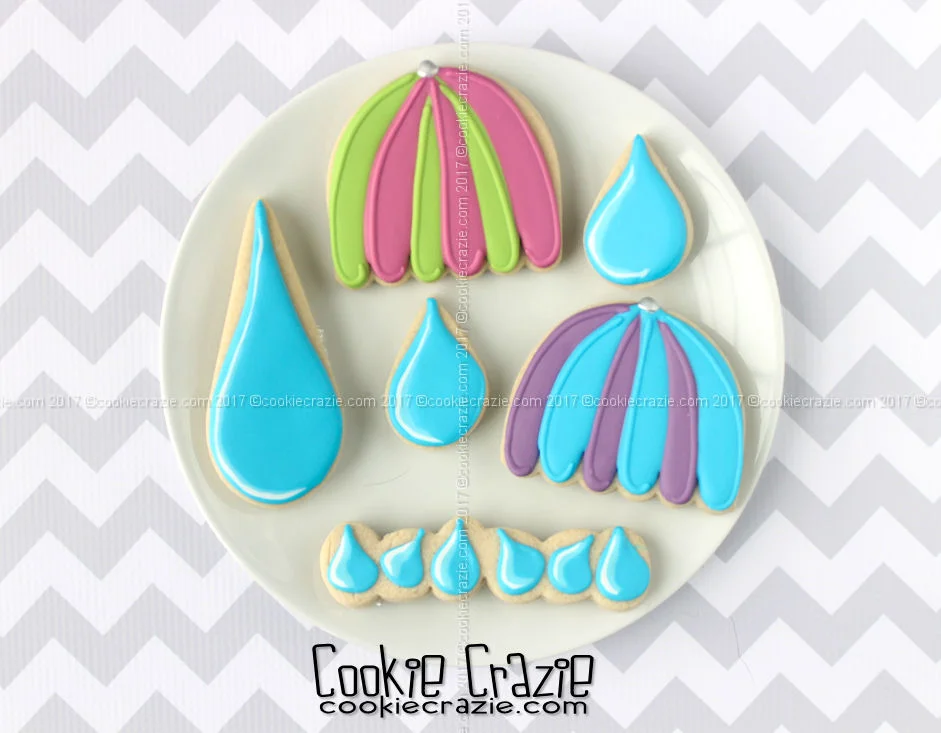
Rain Decorated Cookies
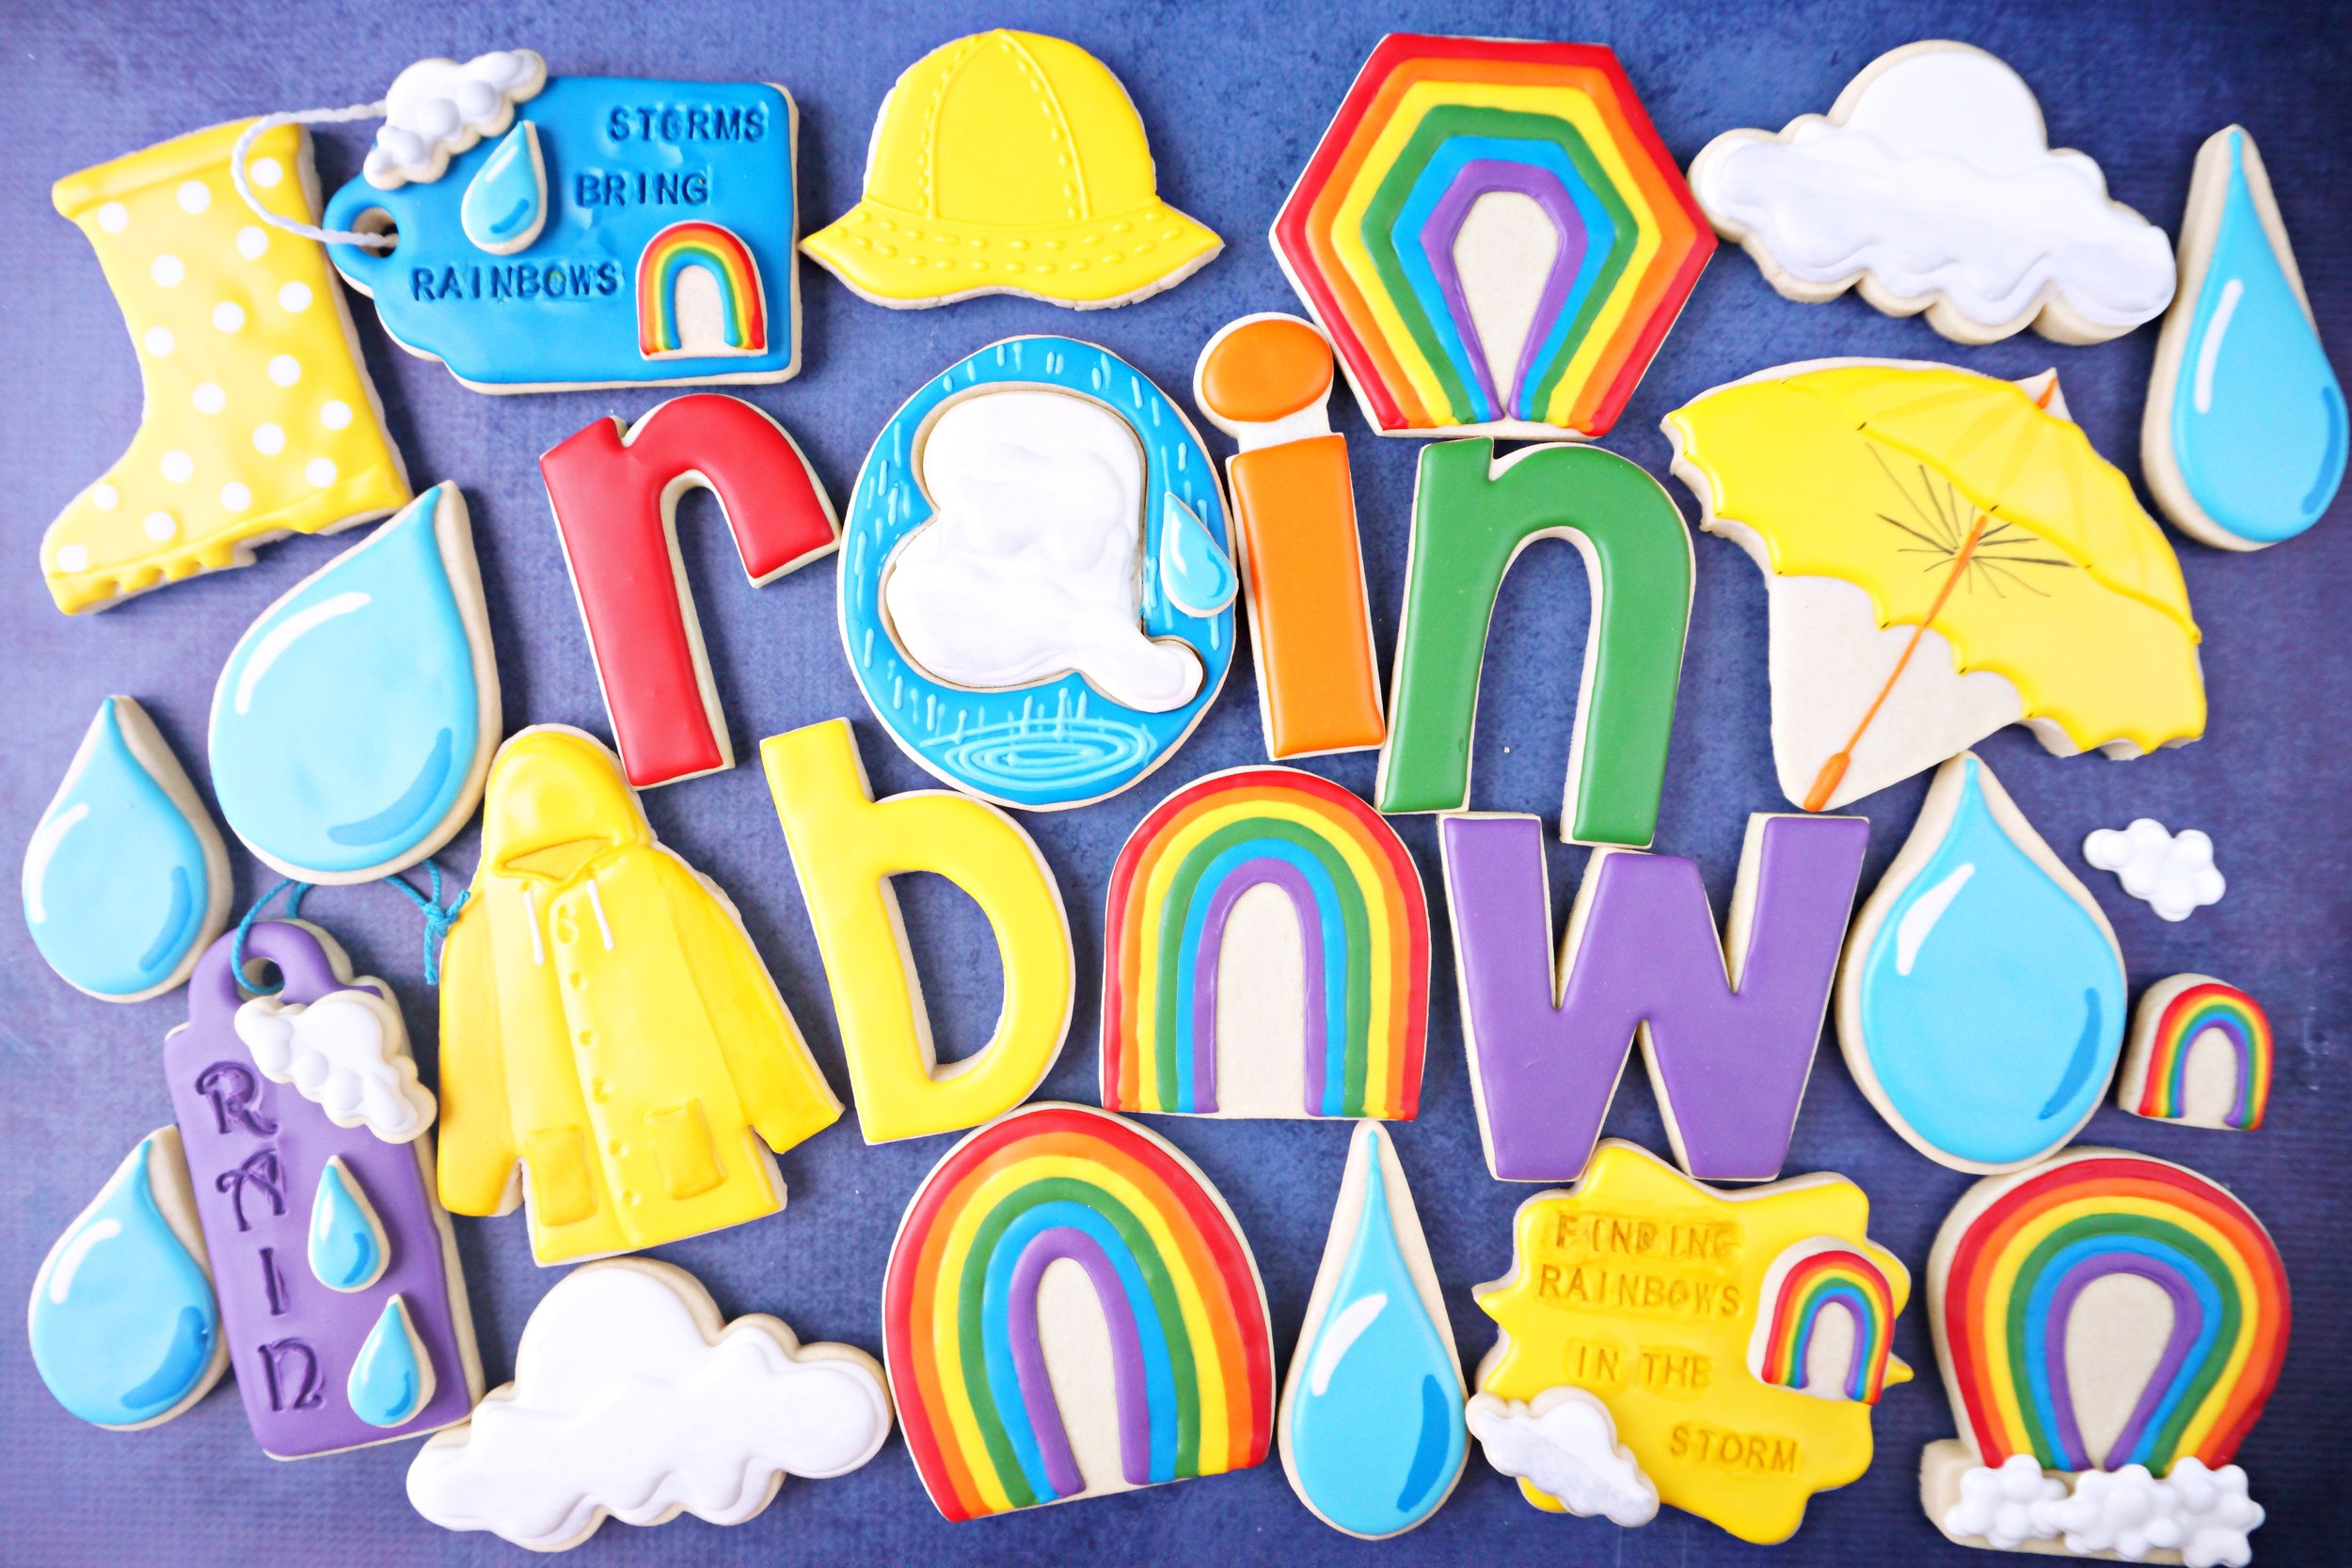
Finding Rainbows in the Rainstorms Decorated Cookie Collection


%20Cookies%20-%20Tutorial "Pin It")