In these last many months of dealing with a health crisis, I’ve realized that decorating cookies can be yet another way for me to focus on the truth…..and convey the messages that I’m learning through this life journey. I suspect that my cookie collections will come to reflect more and more of what is going on in my heart. ❤️
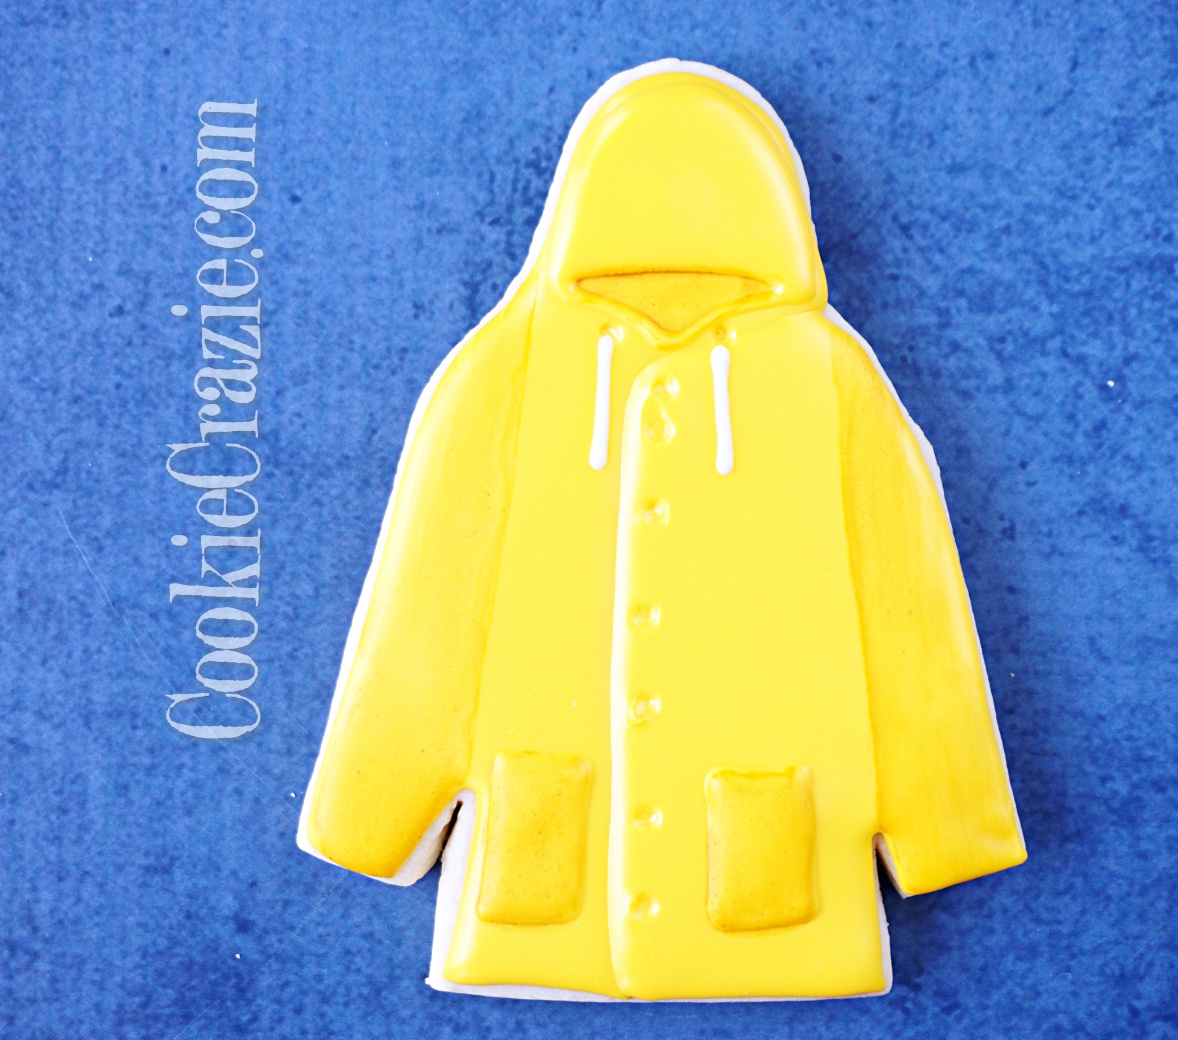
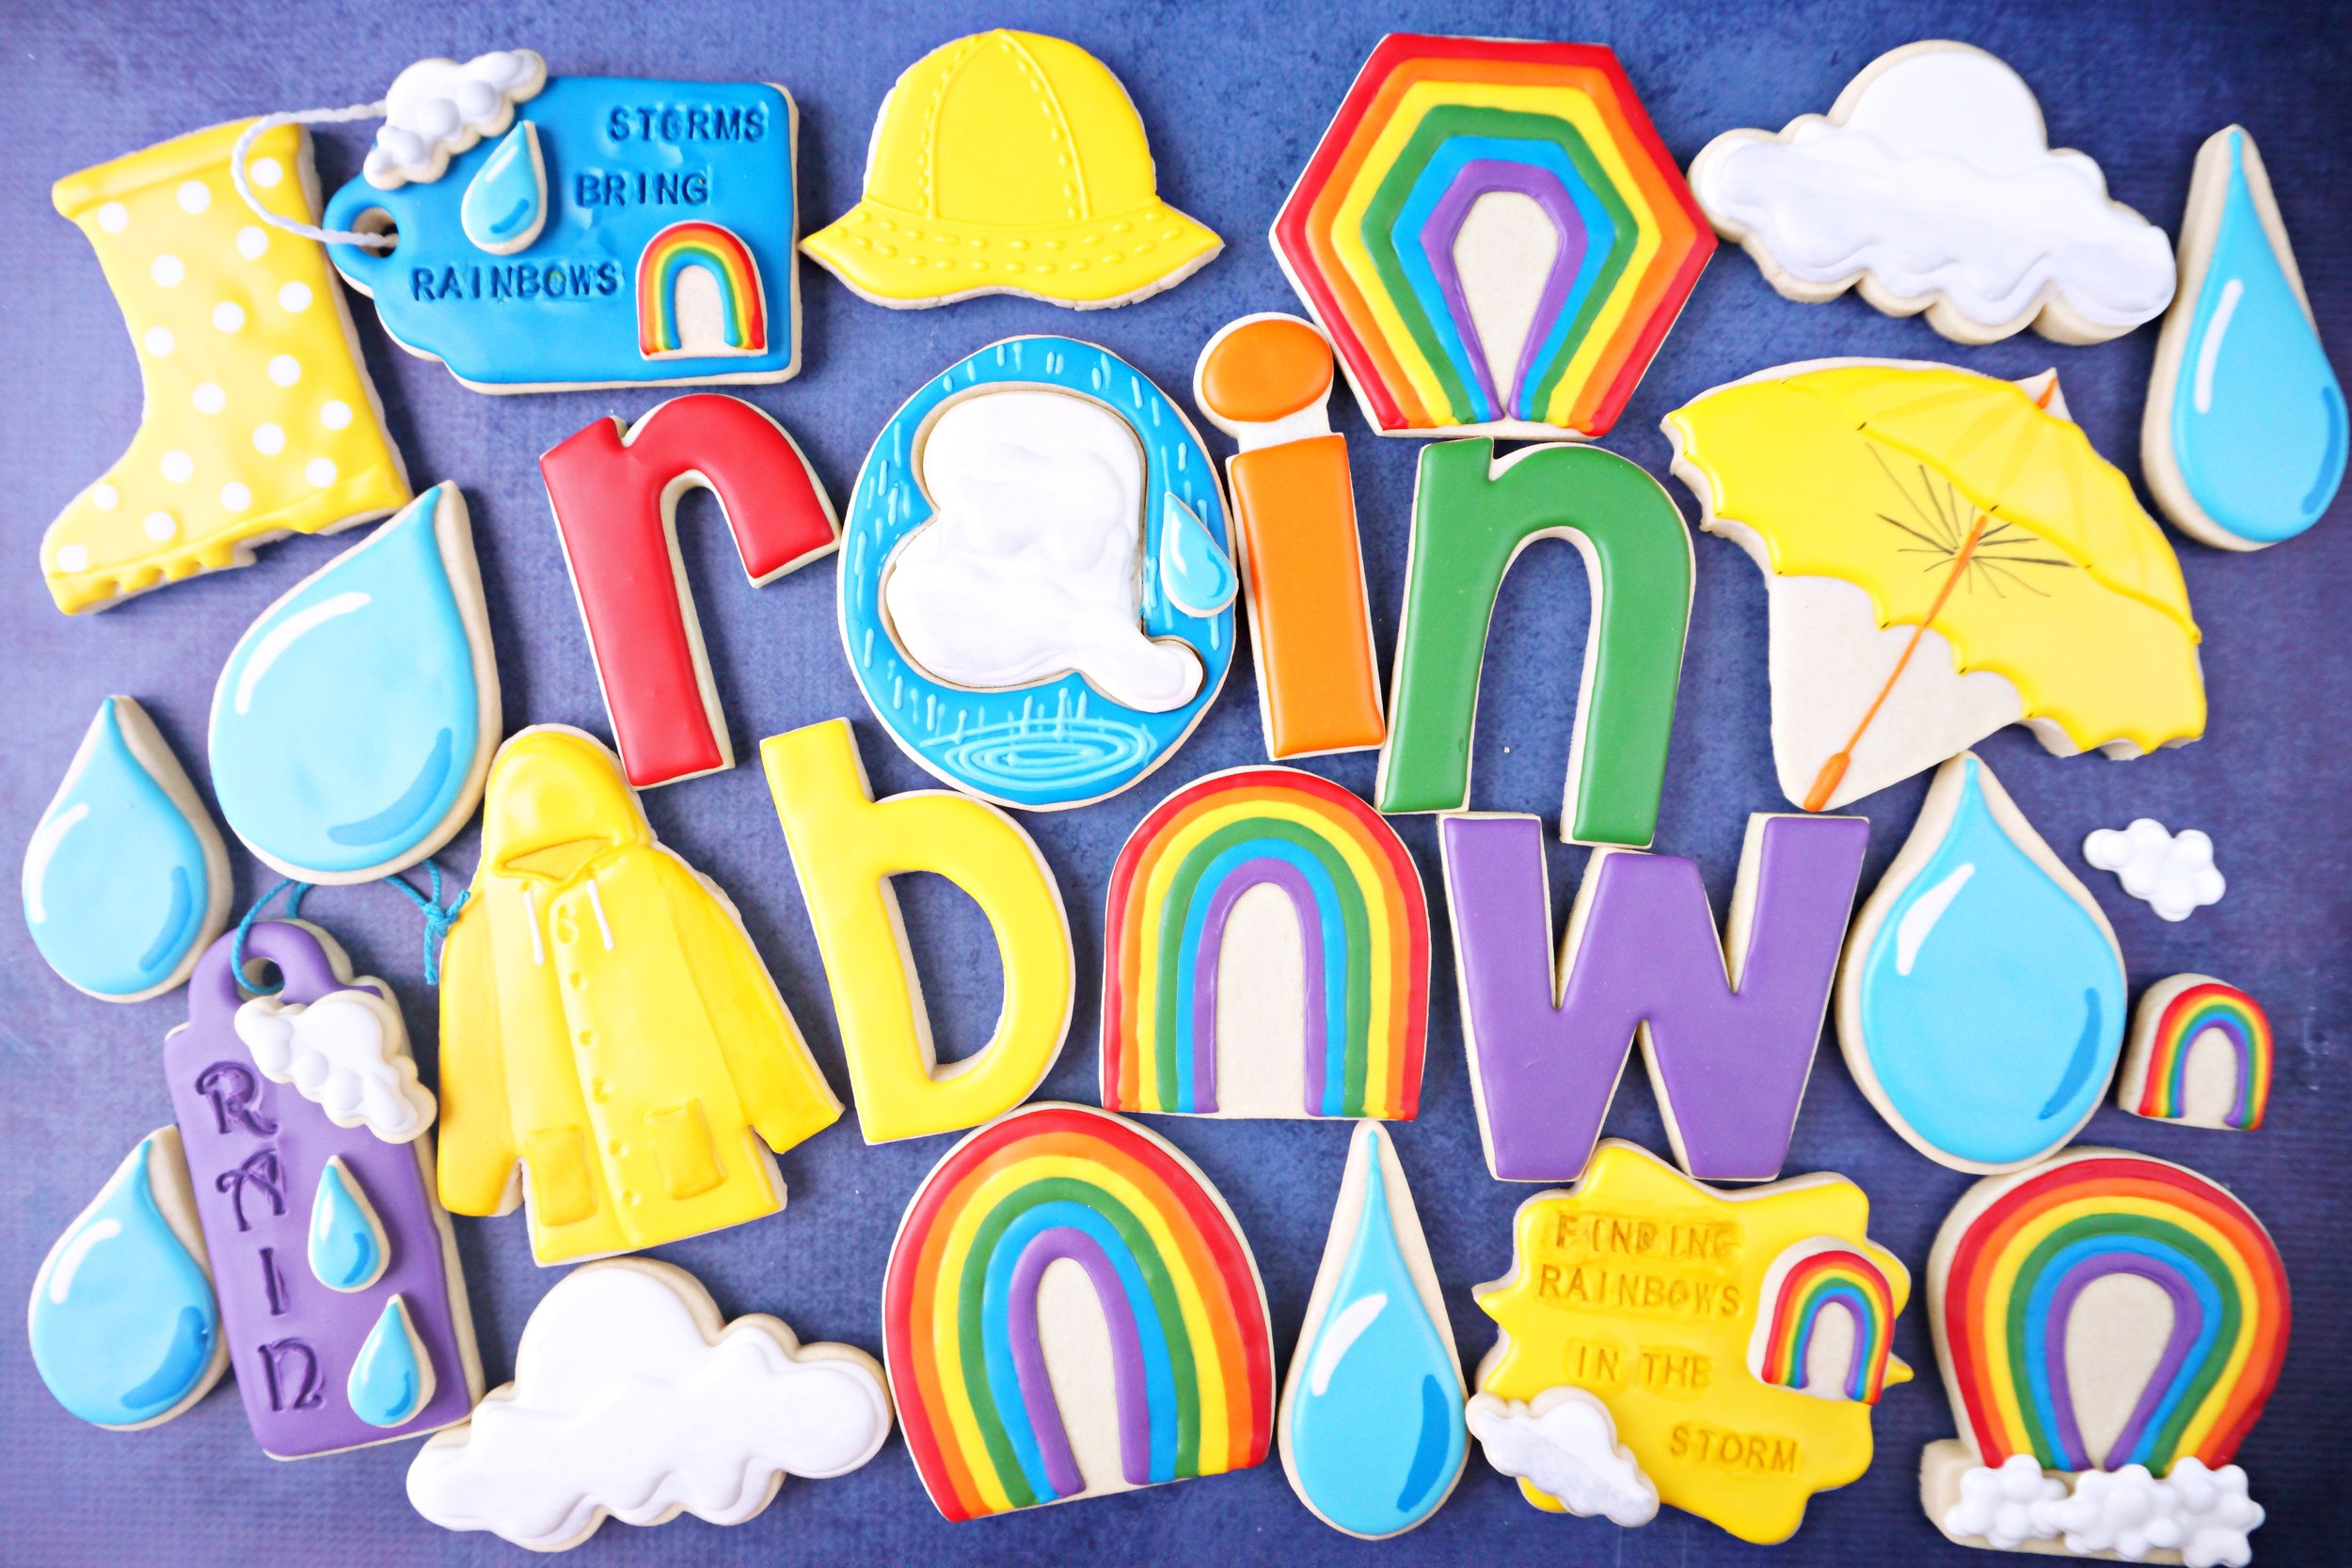
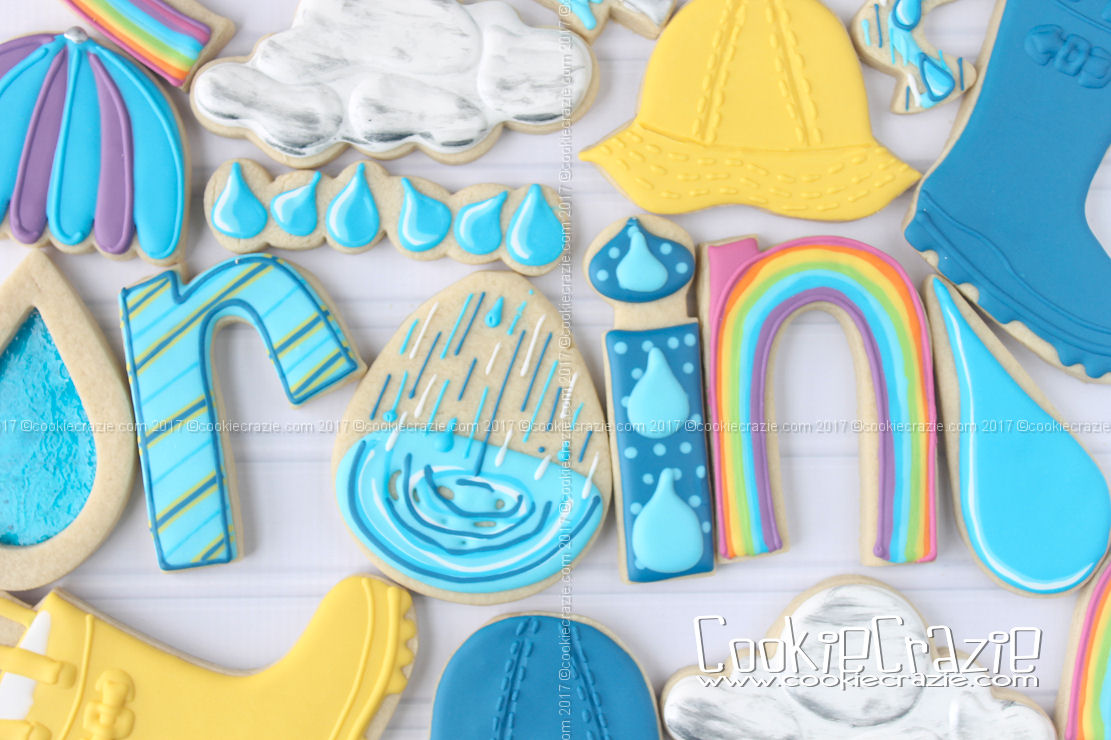
Rainstorms are often depressing and difficult. The day is dark & gloomy….you get wet if you go outside….wind and lightning can cause destruction, etc. But the truth is…..we need the rain for many reasons. And one of them is to experience rainbows on the other side of the storm. :)
🌈💧☔️🌧🌈
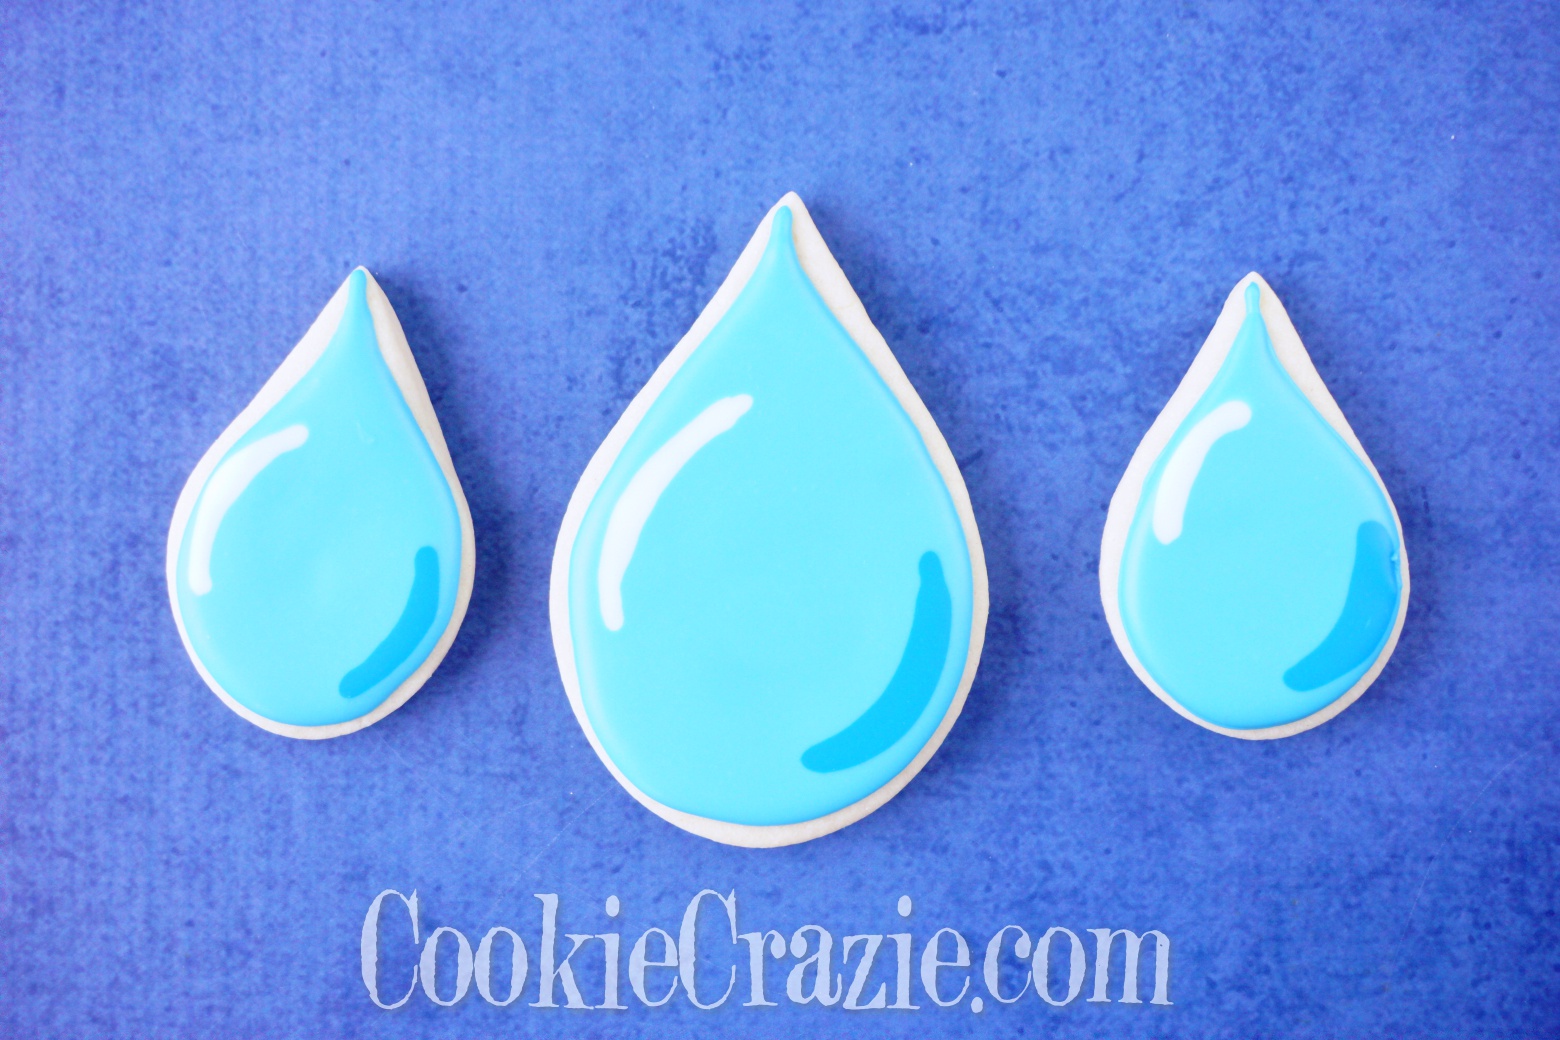
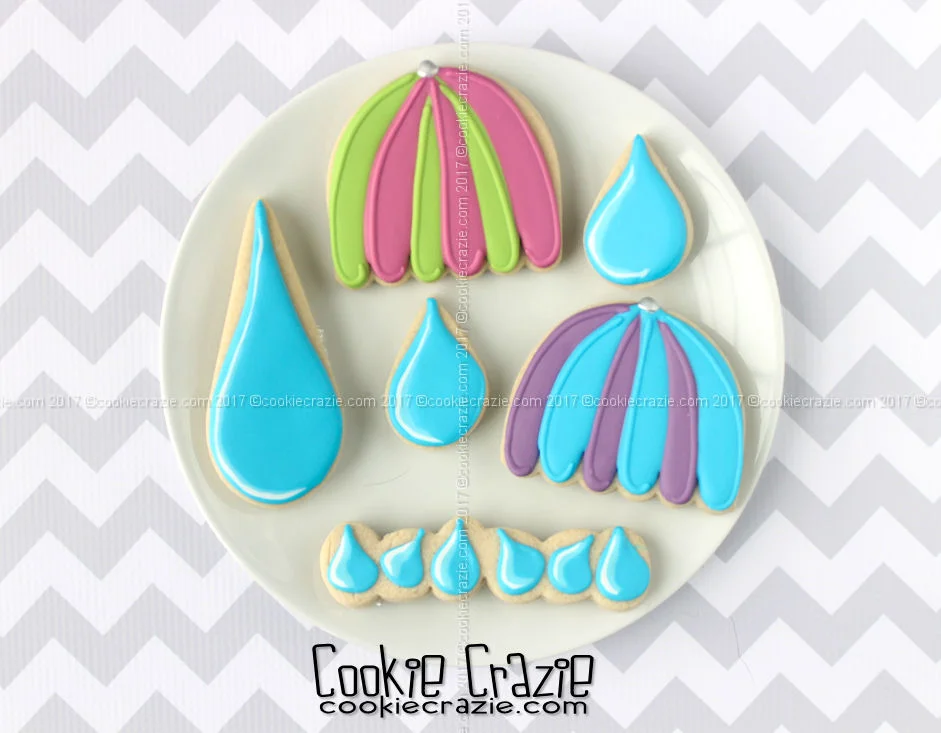
Raindrop Decorated Sugar Cookie YouTube video HERE

Cloud Decorated Sugar Cookies YouTube video HERE
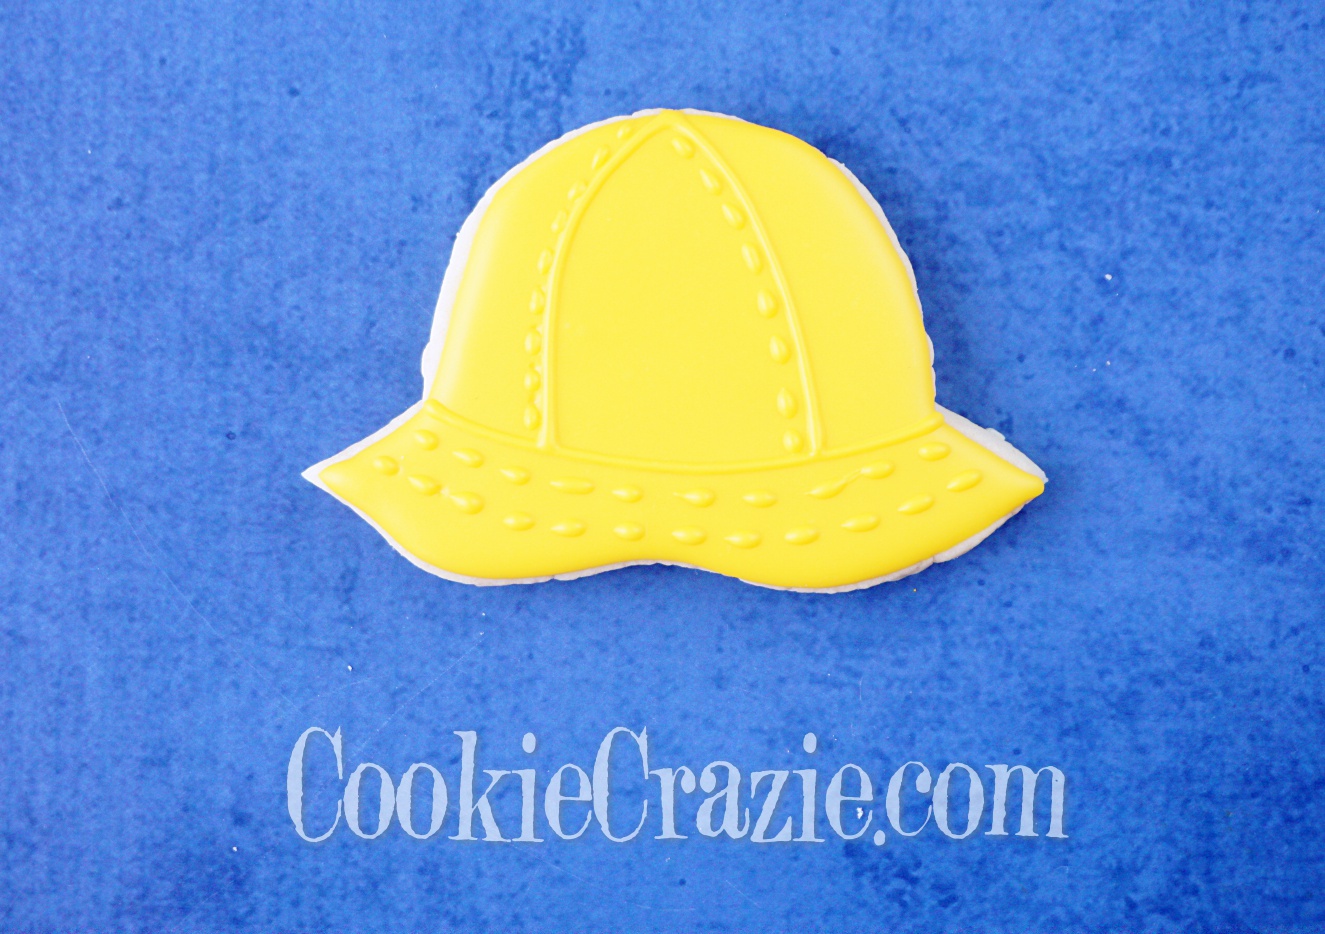
Rain Hat Decorated Sugar Cookie YouTube video HERE
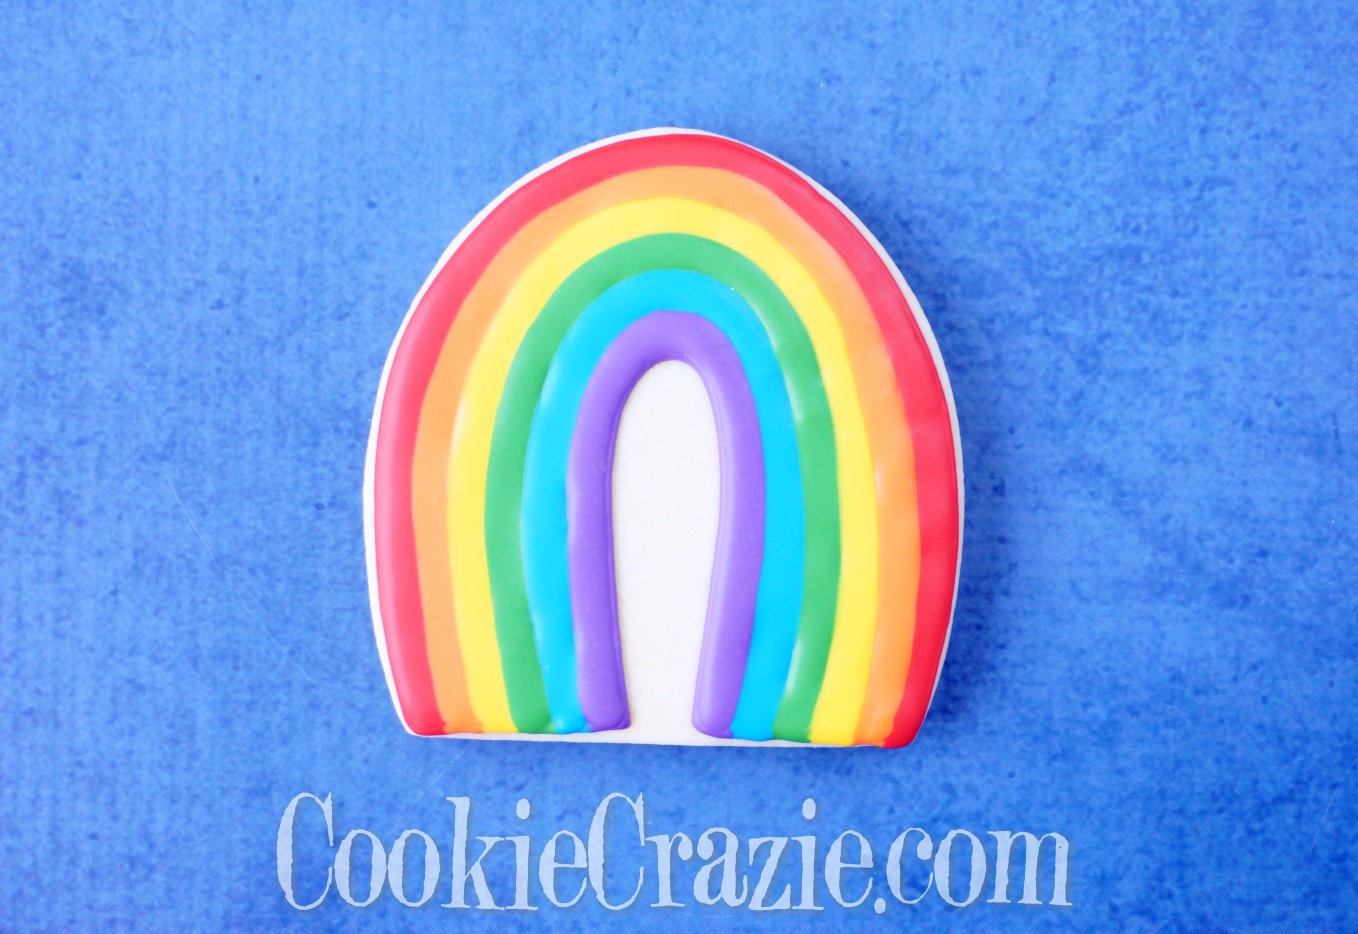
Rainbow Decorated Sugar Cookie YouTube video HERE
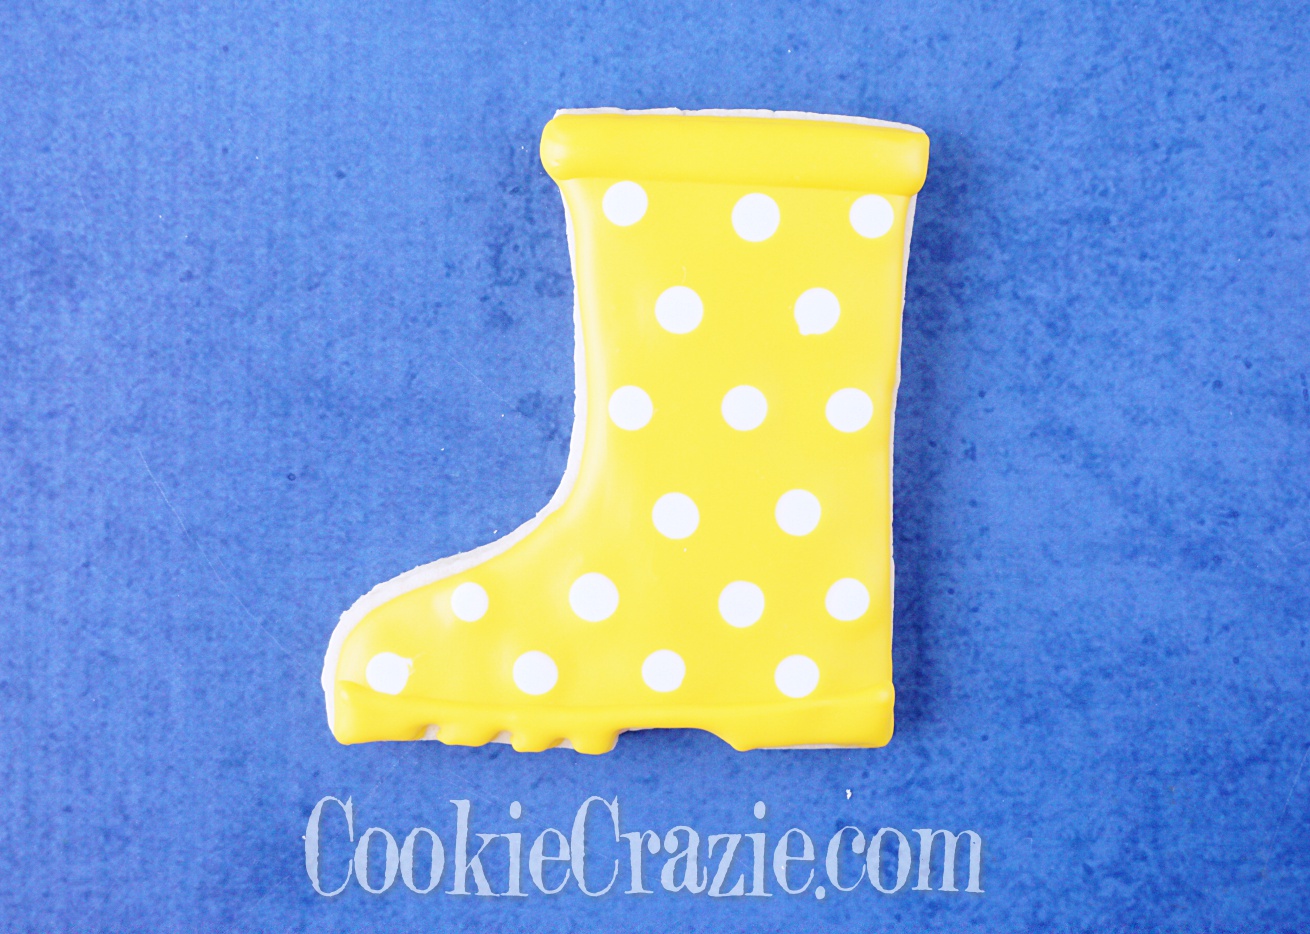
Rain Boot Decorated Sugar Cookie YouTube video HERE
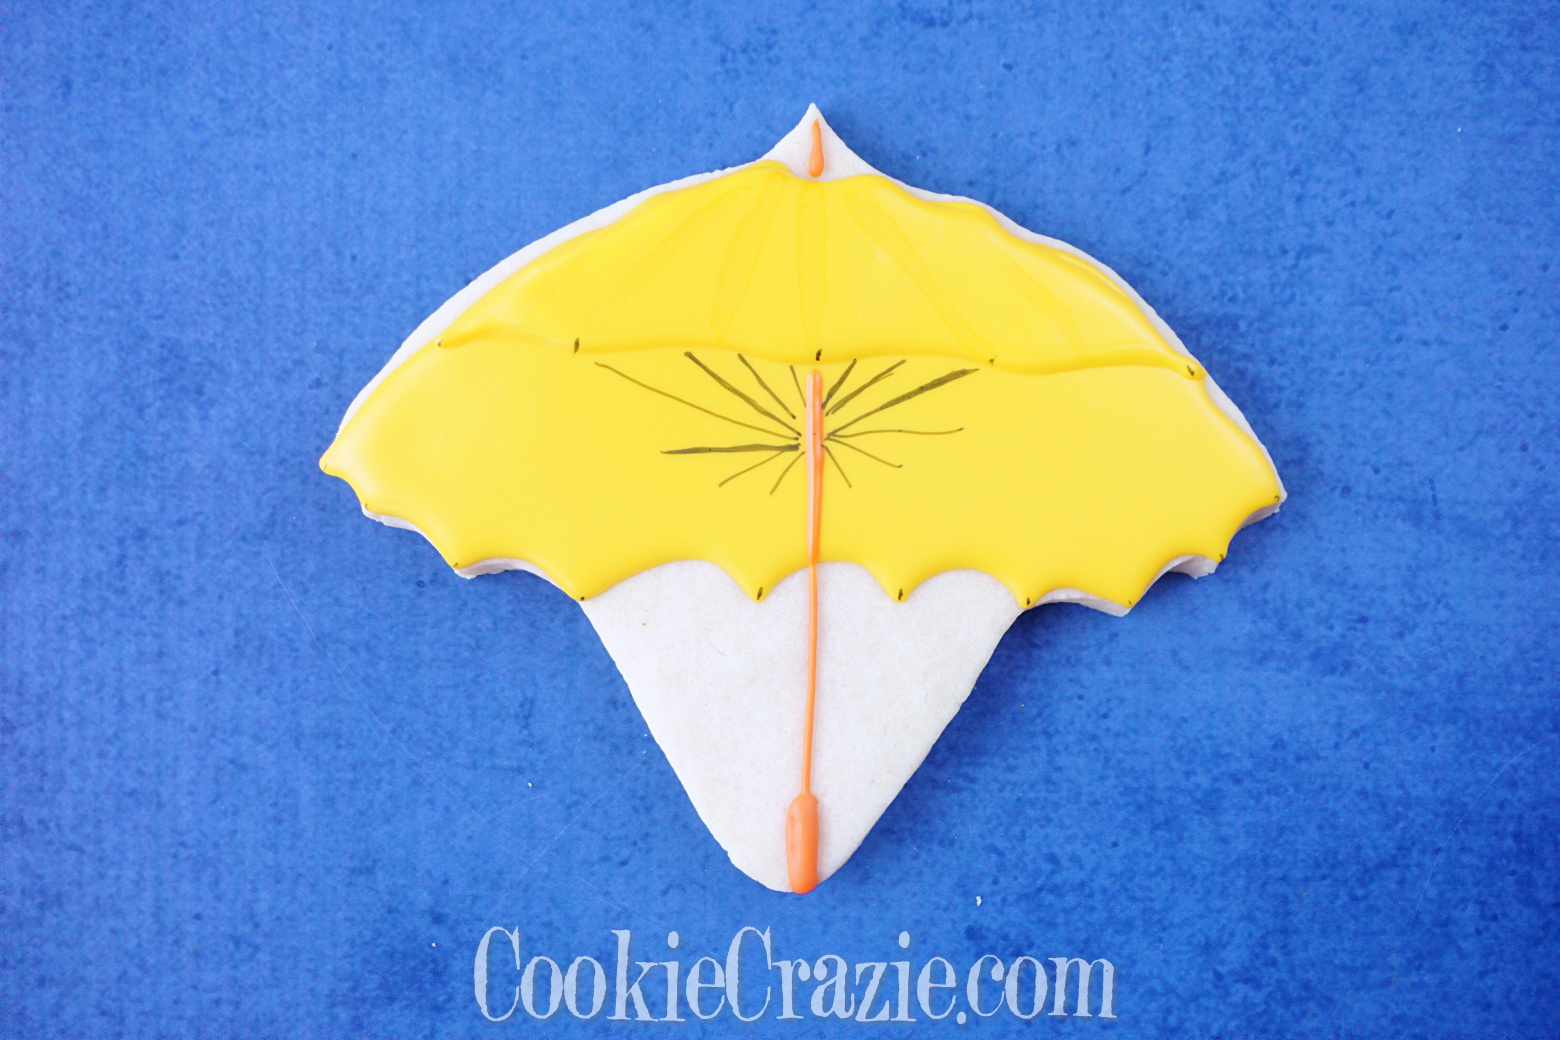
Umbrella Decorated Sugar Cookie YouTube video HERE