This is one of my favorite Christmas cutters.
Several years ago, I designed this shape with some good cookie friends and the cutters were made in mass quantity. But eventually, they sold out of the cutter and it was hard to place another order. Thankfully, my good friends at Creative Cookier agreed to offer this shape in their shop. You can find the "Homespun Christmas Tree" cutter HERE.
Refer to the video and photos below to learn how the two homespun tree designs were made.
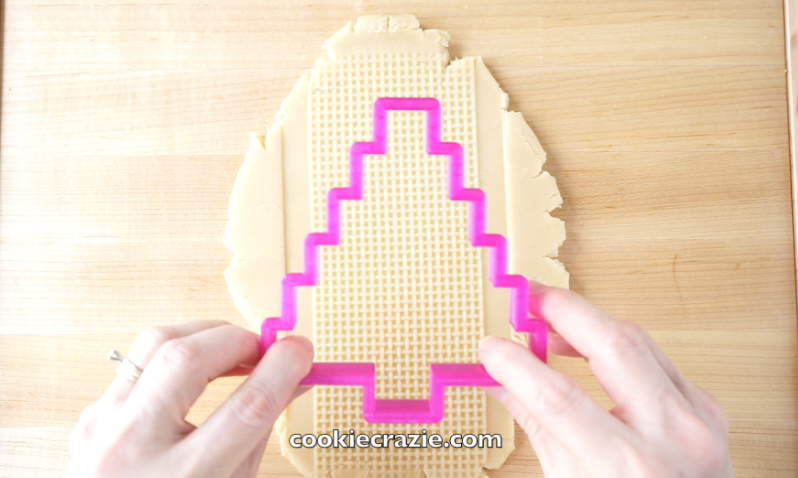
Before baking the cookie dough, place an impression mat face down on the dough and impress the dough by adding pressure from a rolling pin. Cut out the shape using the embossed dough. The two mats used for these designs: 1) Burlap and 2) Wood planks
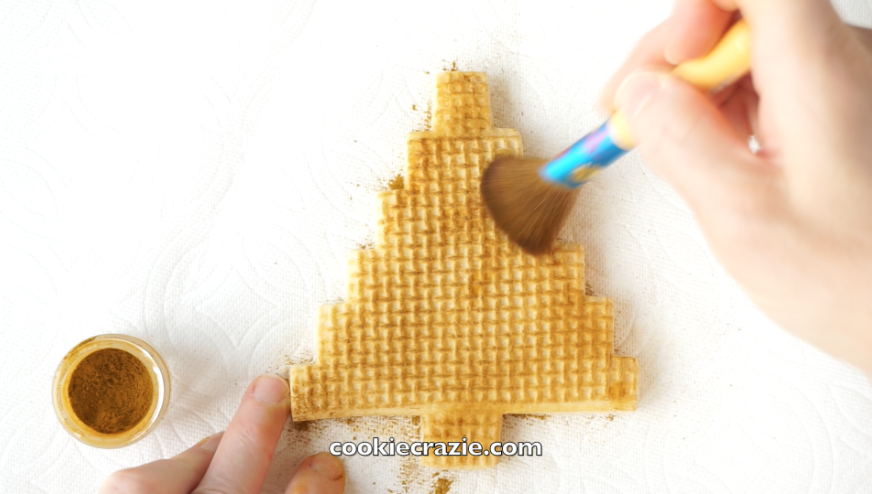
After the cookies have been baked and cooled, brush the embossed dough with dry caramel dust.
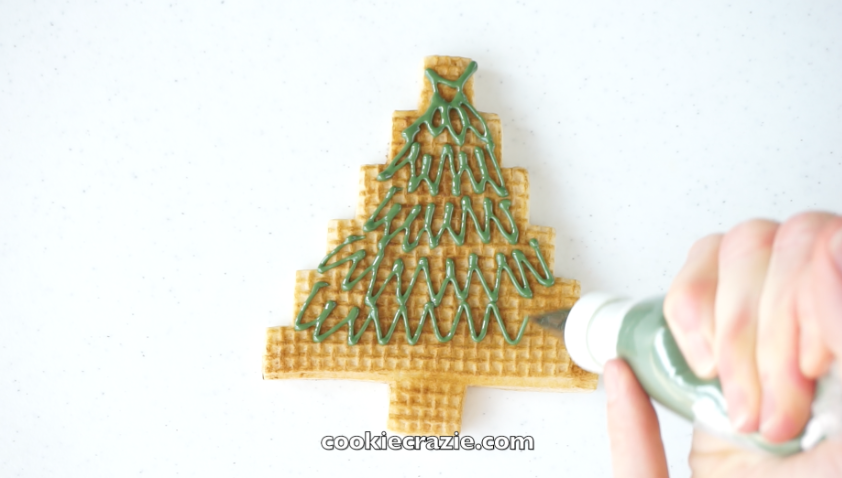
For the first design, cover the tree portion of the cookie with green glaze using random zig zag lines. (see photo and video for more visual details)
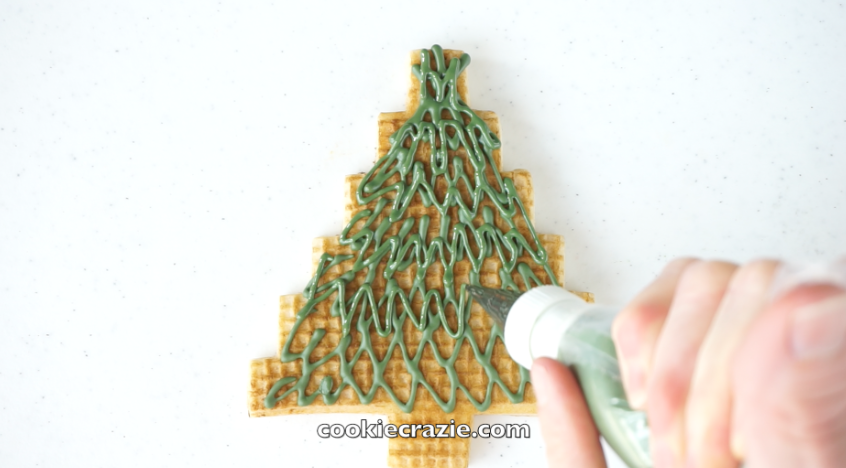
After the initial layer of glaze has dried for at least 15 minutes, add an additional layer of zig zag lines.
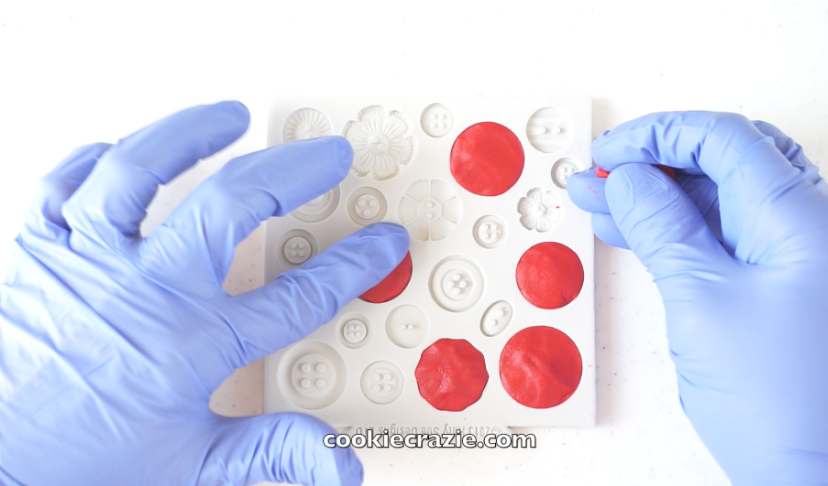
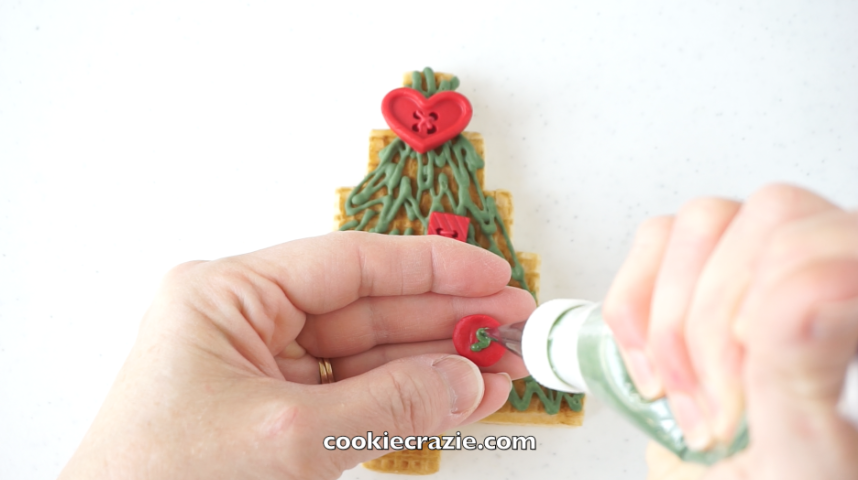
Once the clay has been frozen for more than an hour, you should be able to pop the buttons out of the mold and place directly on the cookie. If preferred, you can mold the buttons, pop them out, dry them on parchment paper overnight, and then "glue" them onto the tree using left over glaze. (see photos and video for more visual details)
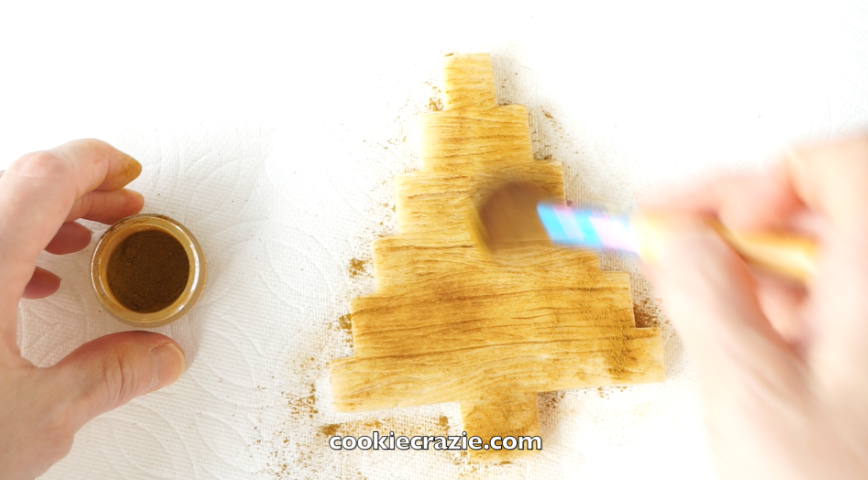
For the second design, emboss the dough with the wood plank impression mat. Bake and cool the cookies. Brush dry caramel dust over the embossed dough.
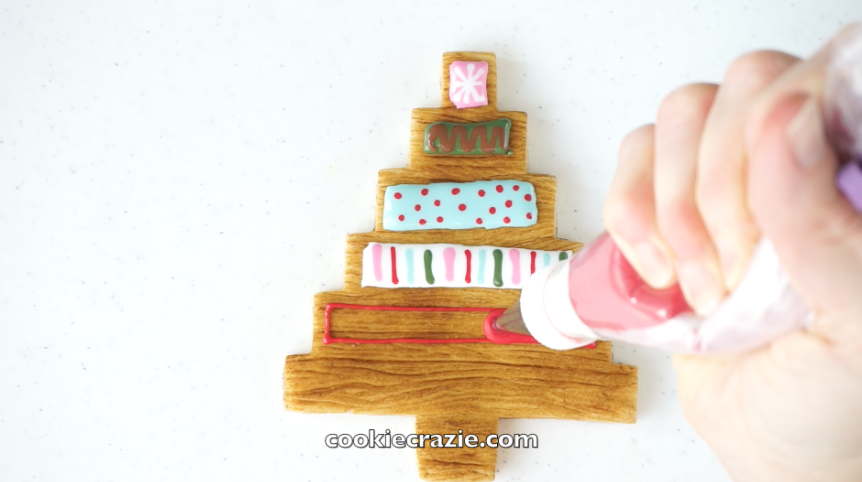
Outline and flood each "plank" with a different color glaze and a different wet-on-wet pattern to give a patchwork appearance. (see photos and video for more visual details)
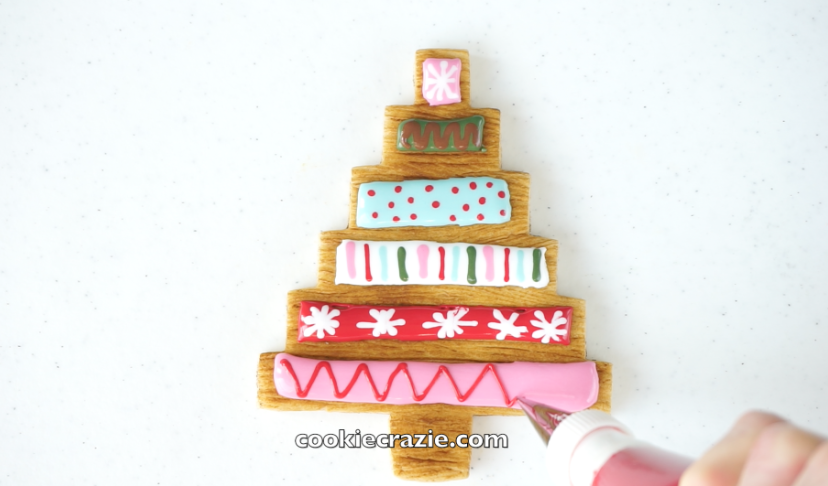
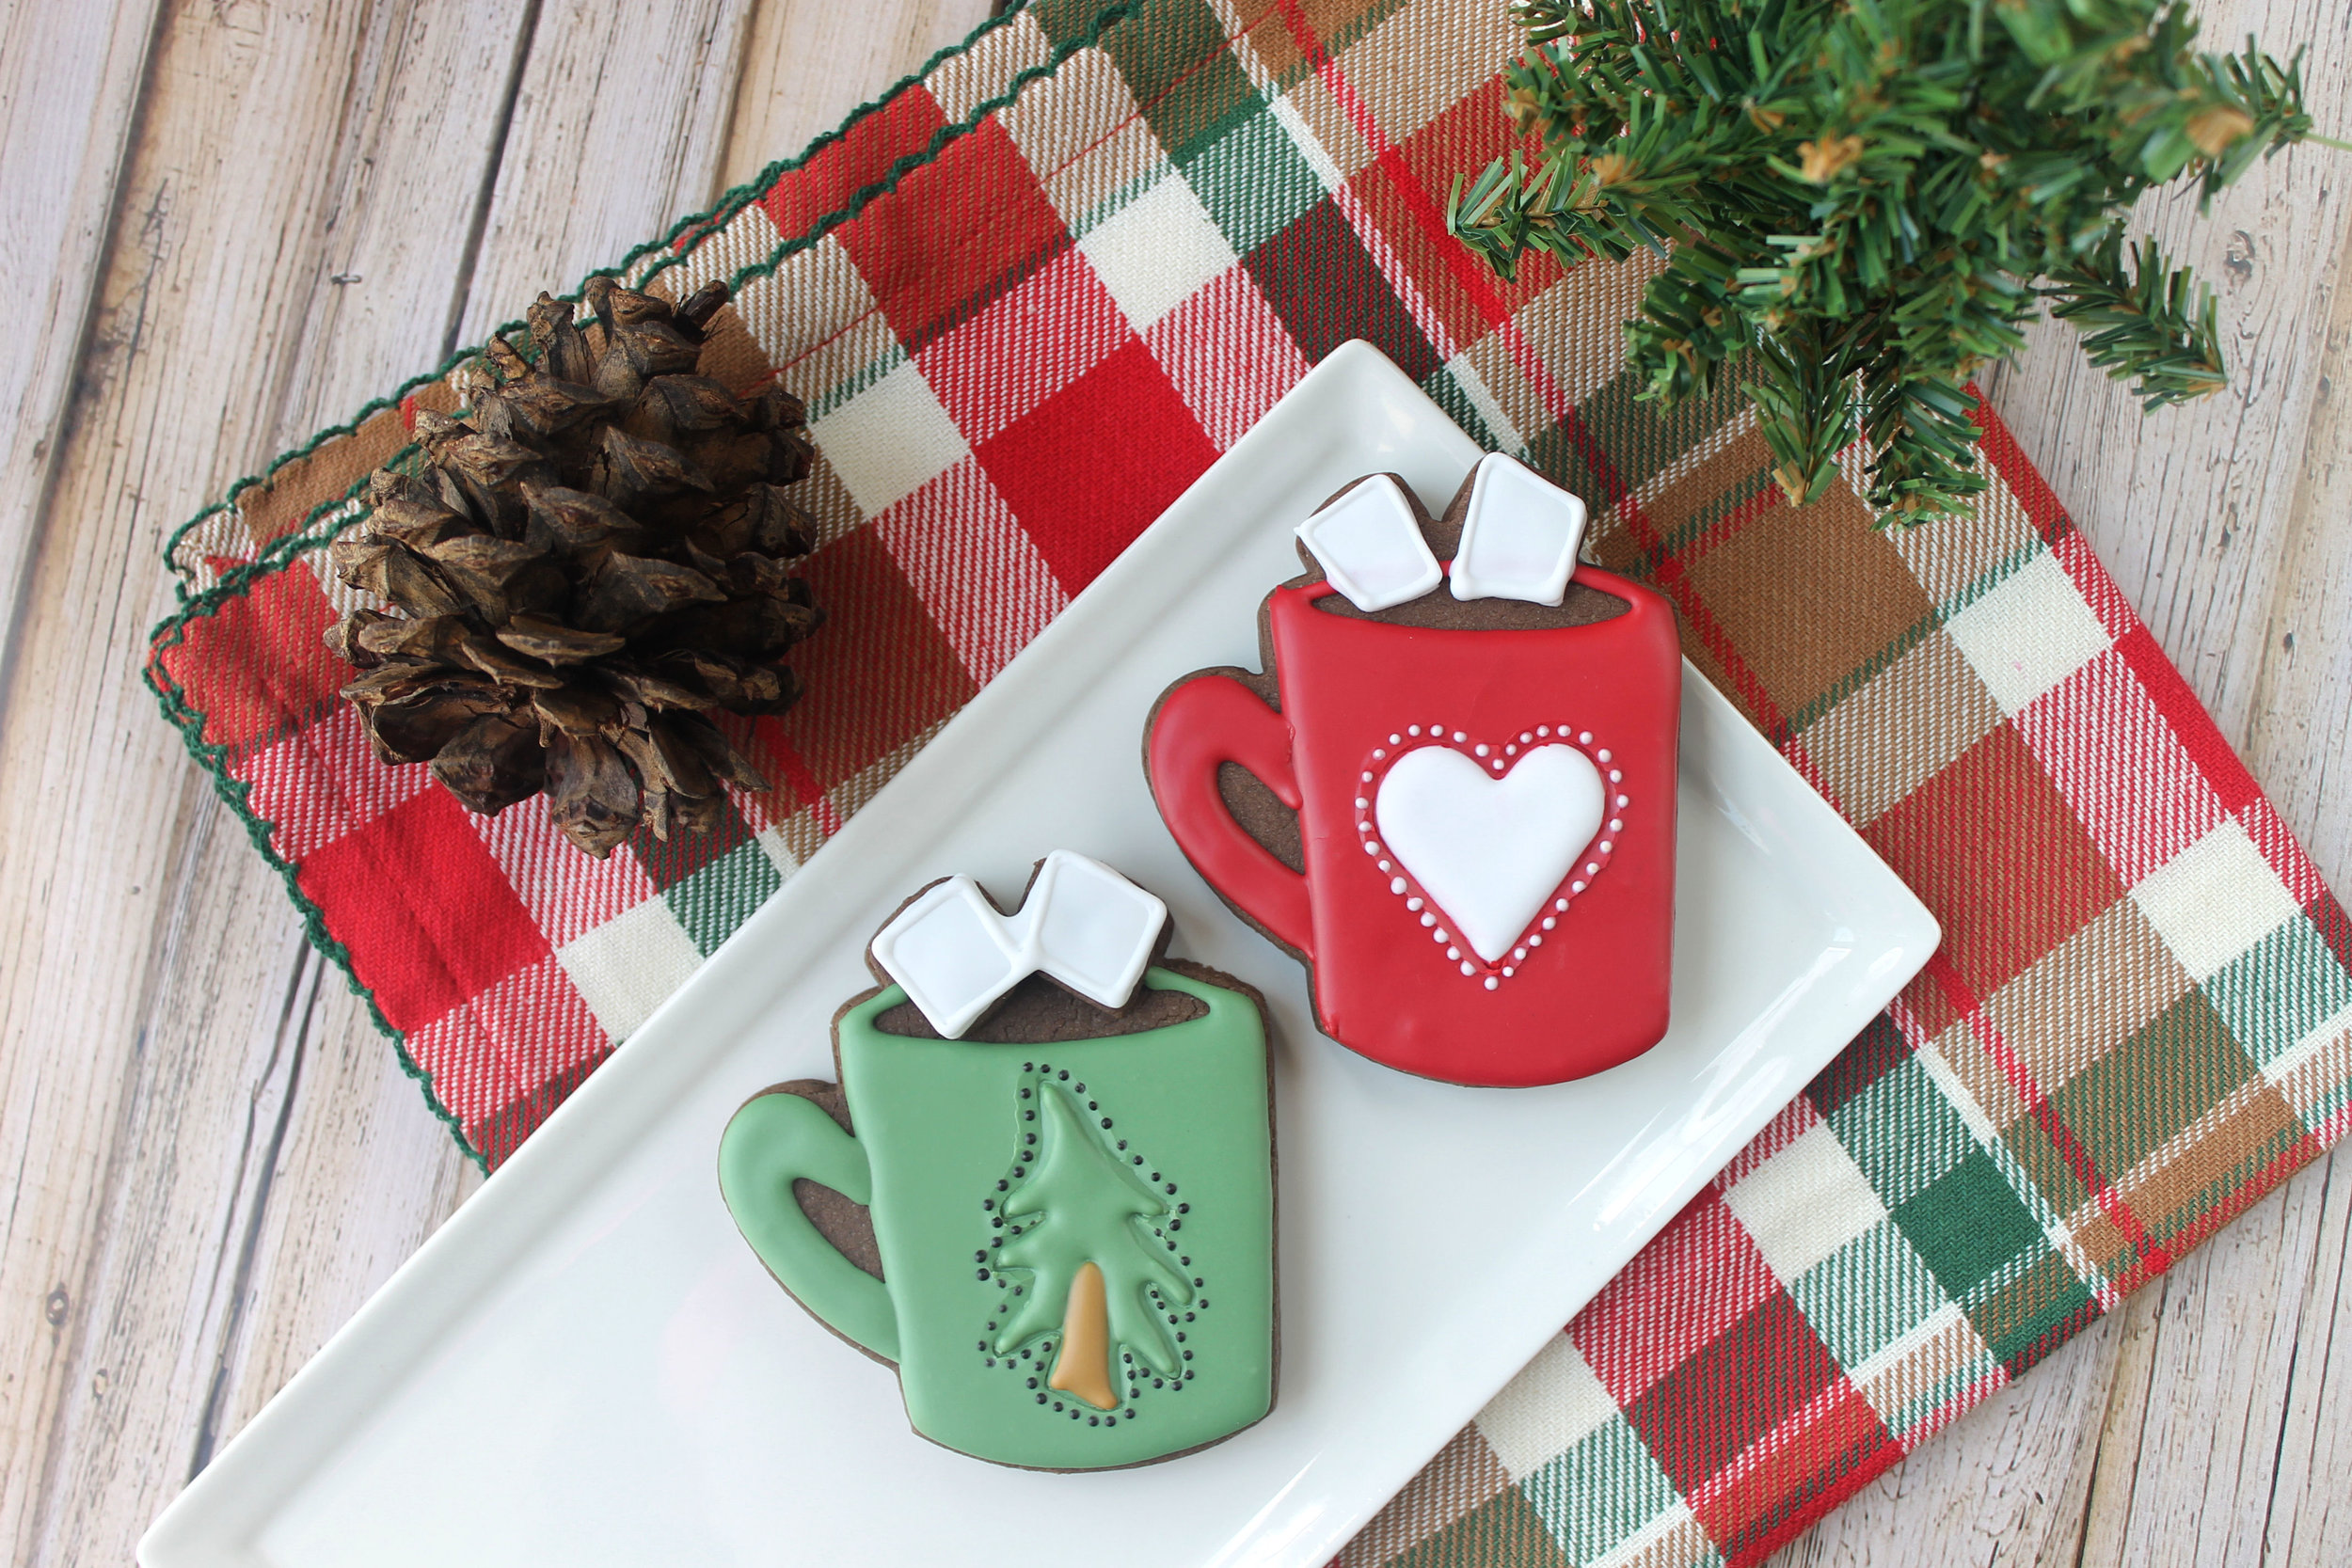
And there you have it......two fun homespun Christmas tree cookie designs.