

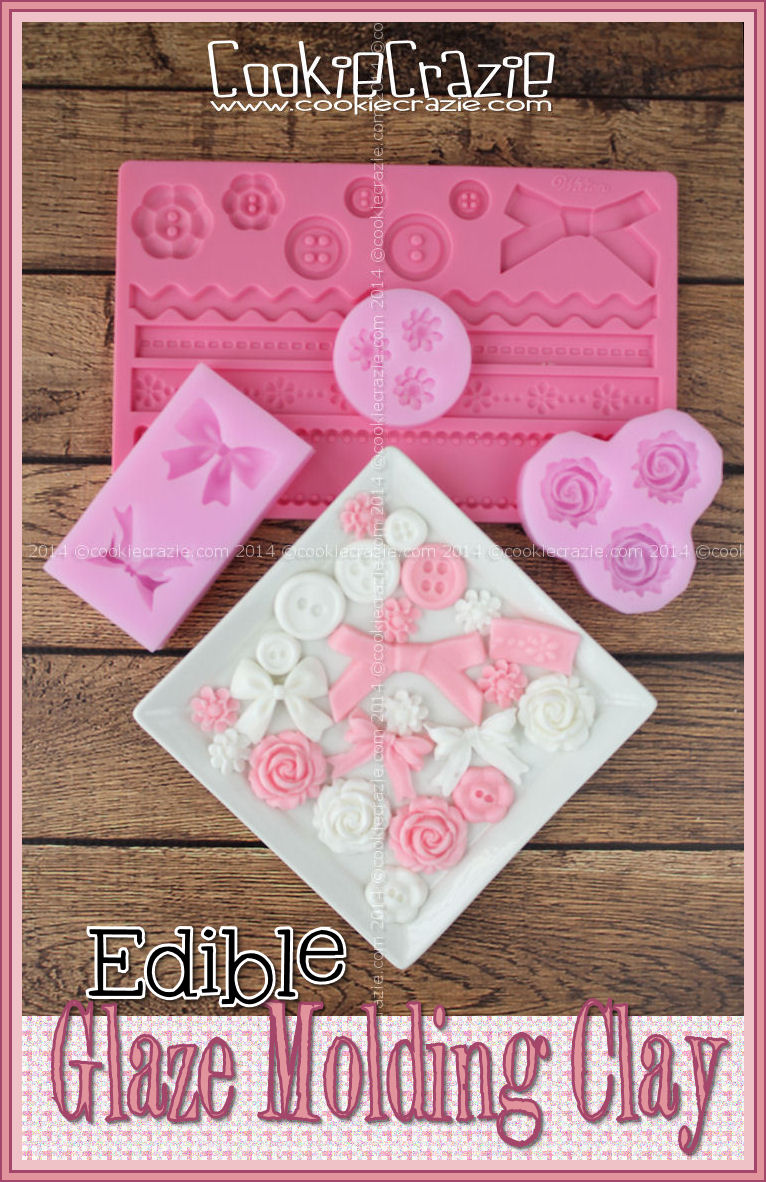
For many months I have wanted to create a recipe for edible molding clay.
I love texture and a 3D look on decorated cookies.
Thus, I've had my eye on making a medium that would allow me to utilize all those amazing silicone molds I've been seeing. :)
My desire was to use simple ingredients and produce delicious results.
So after quite a bit of trial, error, more trial, more error......& repeating all the above again.....
I present my recipe for edible clay.
The reason I call it GLAZE molding clay is because it uses the same simple ingredients of glaze.
The only addition is BUTTER.
And in my opinion, the resulting clay tastes like buttercream icing.
Mmmmm....
*****************
CookieCrazie Edible Glaze Molding Clay
1/2 cup butter
2 pounds powdered (confectioners) sugar
3/4 cup corn syrup
1 teaspoon vanilla
1/2 teaspoon salt
Using the paddle tool of a stand mixer, soften the butter on low speed.
Add the remaining ingredients.
Starting with low speed, and eventually increasing speed, mix the ingredients into a grainy "dough".
Remove the clay from the bowl and place on a silicon mat or parchment paper.
Knead the "dough" by hand to achieve a smooth clay texture.
Note: To create different colors, add food color gel and knead it into the dough evenly.
If lots of gel is required for desired color, add additional powdered sugar to firm up the clay.
Refrigerate unused clay for future decorating.
*****************
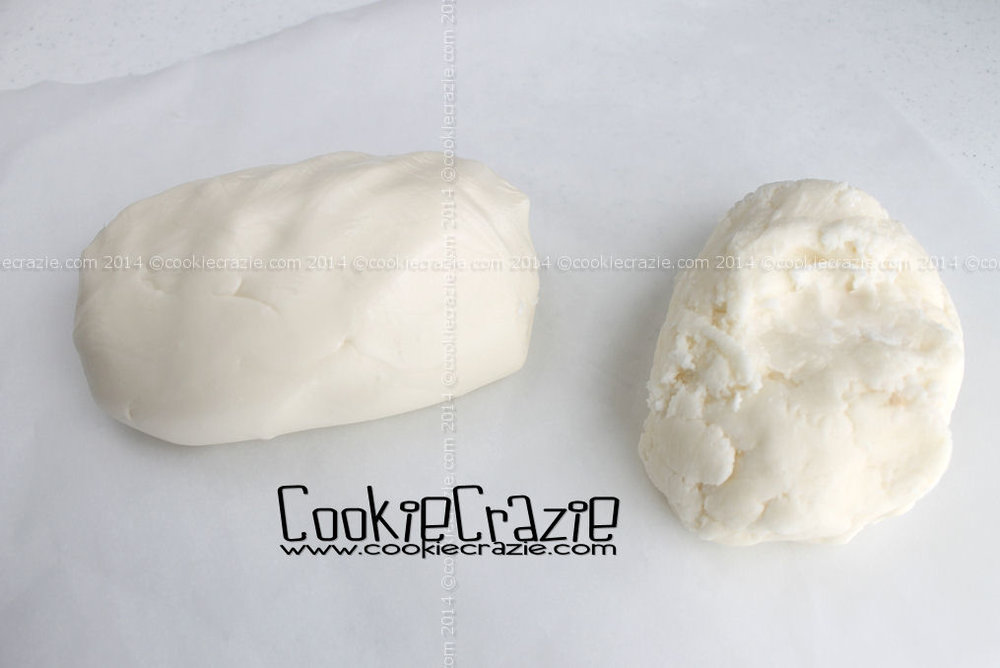
Here's the grainy looking "dough".

The ball on the right is before kneading.
As it's kneaded (be patient.....it WILL come together),
the ball will gain a smooth texture like the one on the left.
Once the desired texture and color is achieved, press the clay firmly into a silicone mold (example), being certain all the nooks and crannies are filled.
Use a knife to cut off the excess above the mold rim. (see photo below)
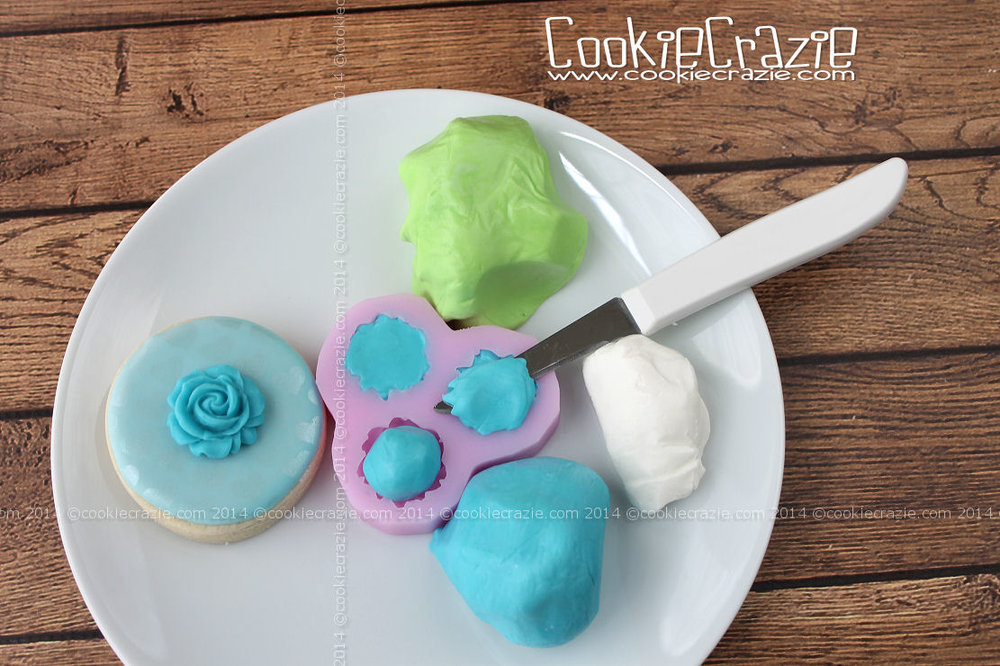
Freeze the mold for a minimum of 1 hour. (The longer it freezes, the better the shape is retained.)
Push the frozen clay out of the mold carefully.
Either add it immediately to a cookie covered in dried icing
or allow it to dry and harden a bit before topping a cookie.
(The latter will require a bit of wet icing to "glue" the clay to the cookie.)
The newly molded clay needs to dry out and harden at least overnight
to prevent it from being easily misshaped.
After this, the clay is still somewhat pliable (which definitely makes it more palatable)......
but it can be packaged without damaging the shape.
Certain thicker molds may not handle heavy cookies being stacked on top.
*******************
Stay tuned for future posts regarding molds and how to use them to decorate beautiful cookies.

Edible Glaze Molding Clay
Edible Glaze Molding Clay (Recipe)
Cookie Fun with Airbrush and Silicon Molds
"Pop-Up" Flowers on a Cookie (Tutorial)
Pink, Silver & Black Cookie Collection
Purple Gold and Black Cookie Collection
Melon Turquoise Shabby Chic Cookie Collection
Edible Clay: Endless Cookie Decorating Possibilities