


Oh the yummy taste of fresh strawberry jam on toast.
Mmmmmm......
It's time to whip up some toast with jam on cookies. :)
You'll need four different cookies for this set:
You'll also need some red sparkle gel to represent the jam.
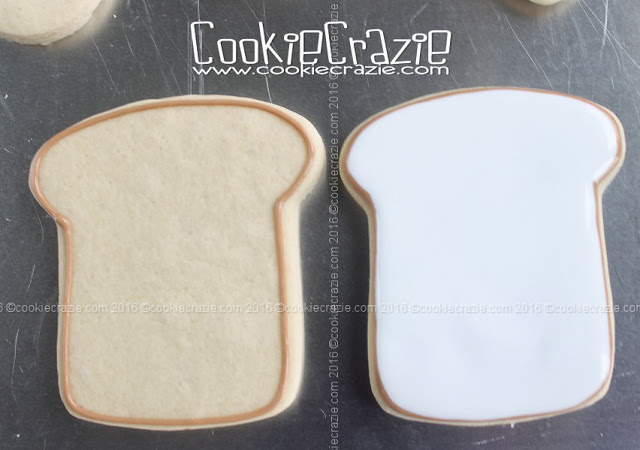
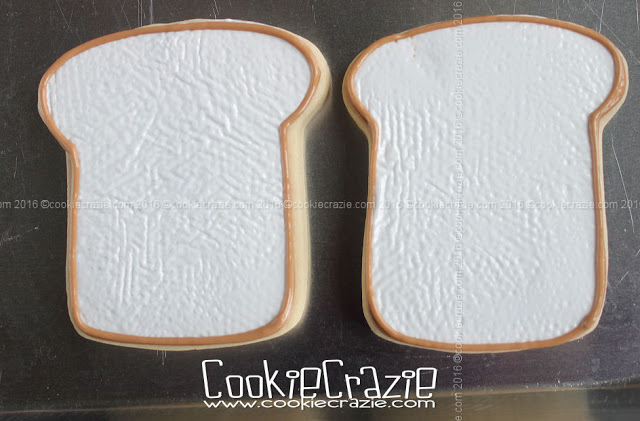
On the first day, outline the toast with brown glaze and flood with white glaze.
(see photo below)
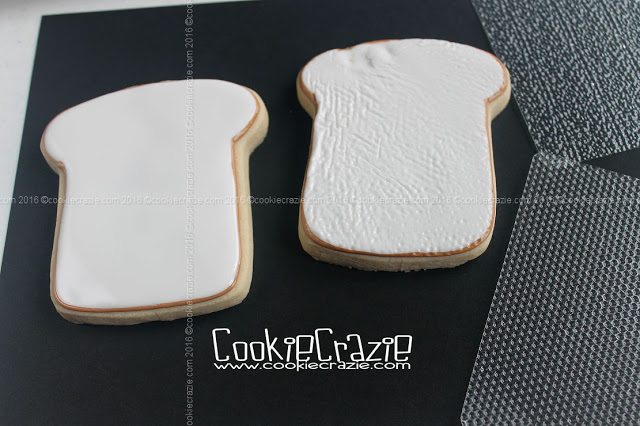
Allow the glaze to dry for 1-2 hours and then gently press onto the partially dried glaze
first the dot texture mat, and then the sand texture mat.
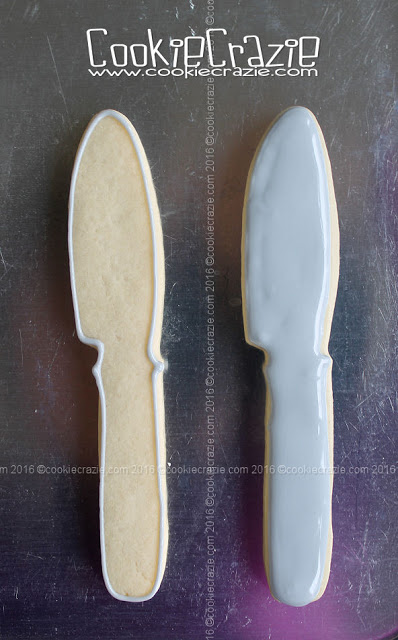
Outline and flood the knife in gray glaze.
(Not pictured, [sorry!} after the knife dries for about an hour,
add some teeth marks to the edge of the "sharp" side with a cake tester,
and if desired, add an outline to the bottom of the knife to make it more decorative.
See photo example further down in this tutorial.)
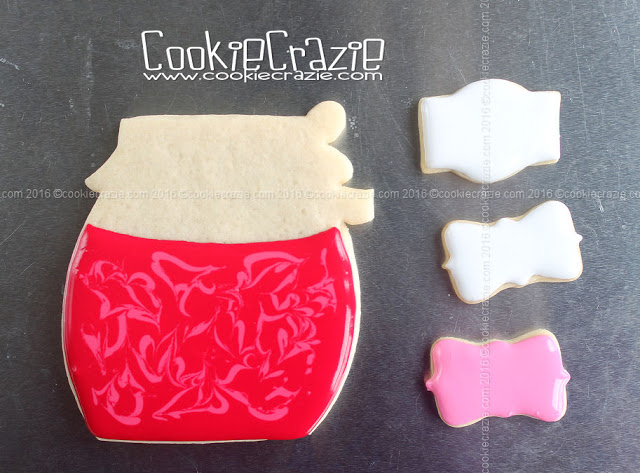
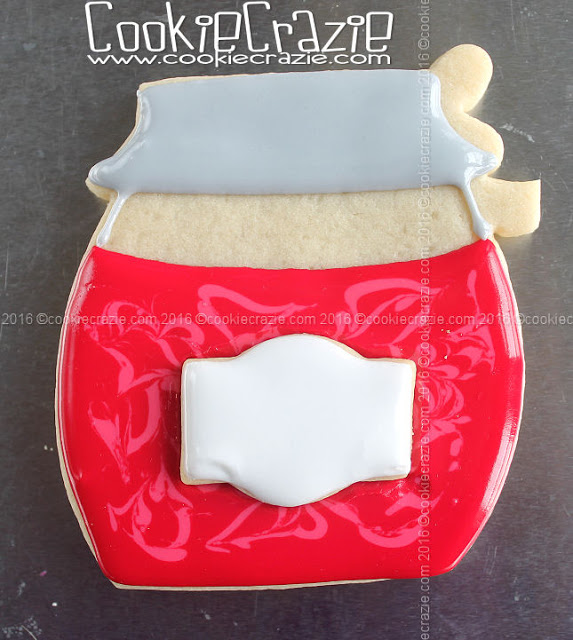
Outline and flood the bottom portion of the jelly jar in red glaze.
Add some random lines of a lighter red glaze within the base coat.
Swirl around the lighter lines with a toothpick for a random look.
For the plaque cookie, outline and flood in white glaze.
Add an additional brown outline to the toast using a #3 tip.
After the red portion of the jelly jar has dried for a couple of hours,
outline the lid and top sides of the jar, and flood the lid.
Place the plaque in the center of the jar.
(see photo below)
Allow all the cookies to dry overnight.
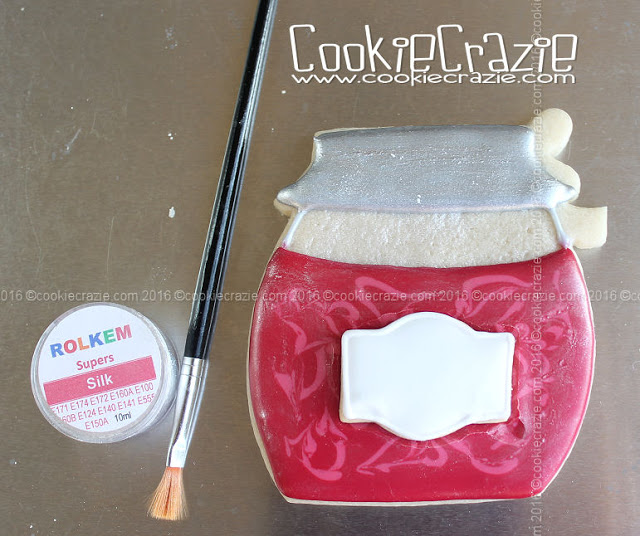
Make a mixture of silver luster dust and vodka (or a clear extract),
and paint the the knife and jelly jar lid.
(Notice the teeth marks on the edge of the knife and the outline on the handle. :))

Paint a shiny white luster dust over the top portion of the jar that does not contain jam.
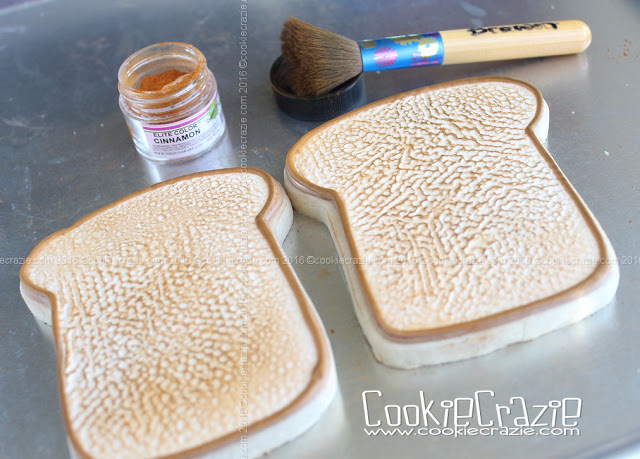
Dust the toast with dry cinnamon luster dust.
Add "J-a-m" to the jar label plaque and any decoration you'd like with a food color marker.

If desired, tie a cute bow to the top of the jam jar.

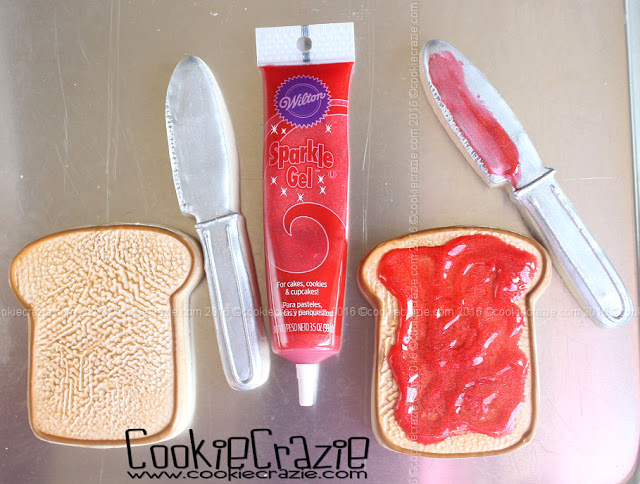
Add red sparkle gel over the top of the toast and
also on the edge of the knife to resemble strawberry jam.
(Note: Sparkle gel doesn't dry easily. It remains tacky for a long time.
It would be best to not try to package or stack cookies with the gel on it.)
And now......it's time for a yummy snack. :)
Strawberry Decorated Cookie Collection


