This was one of those cookie sets that was absolutely delightful to decorate.
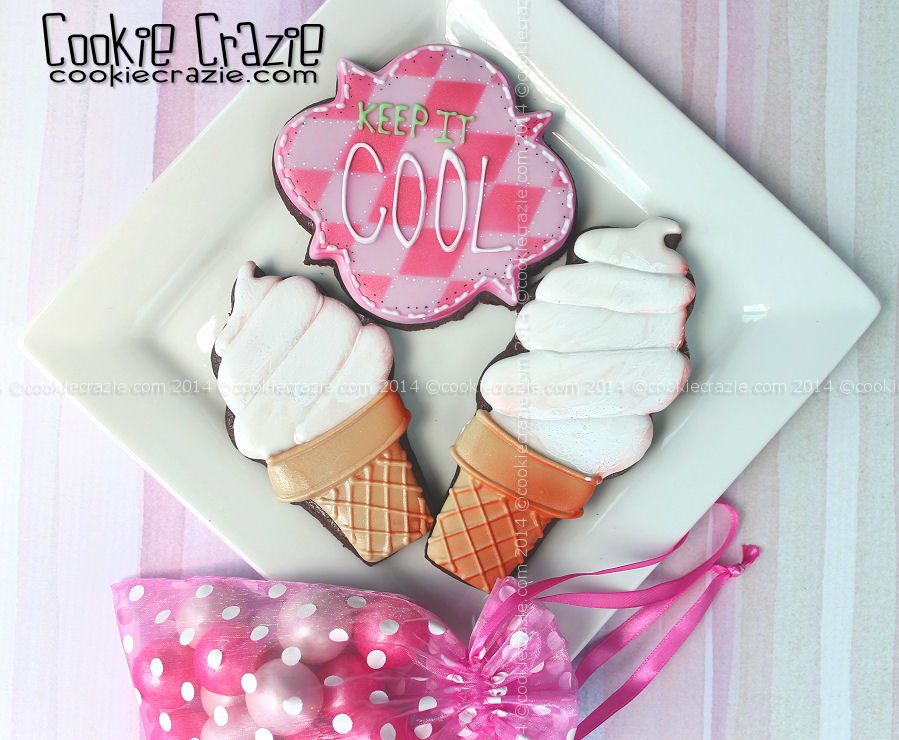
When you love ice cream.......with all it's cute colors and different flavors......
it's pretty exciting to make a fun platter of every type of ice cream imaginable. :)

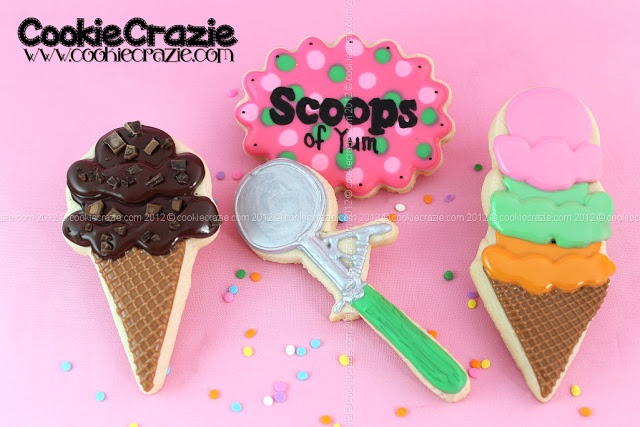
Ice cream novelties......talk about memories! ♥

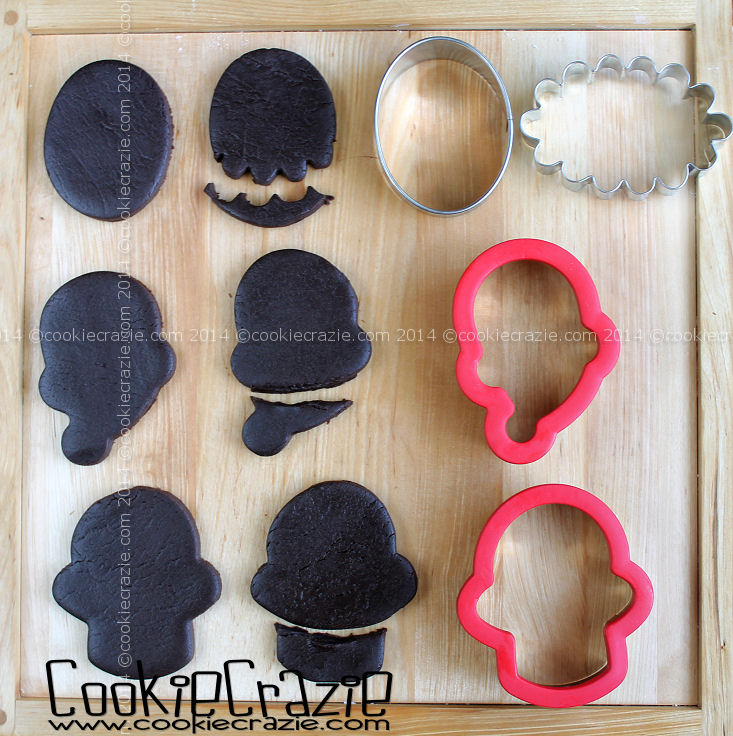
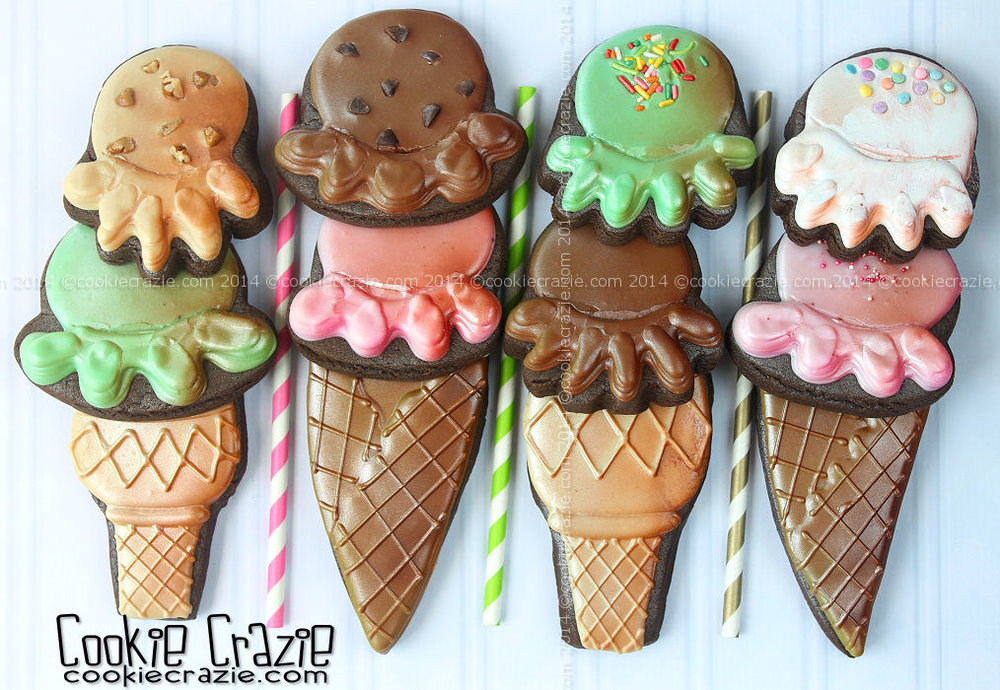
NEAPOLITAN!


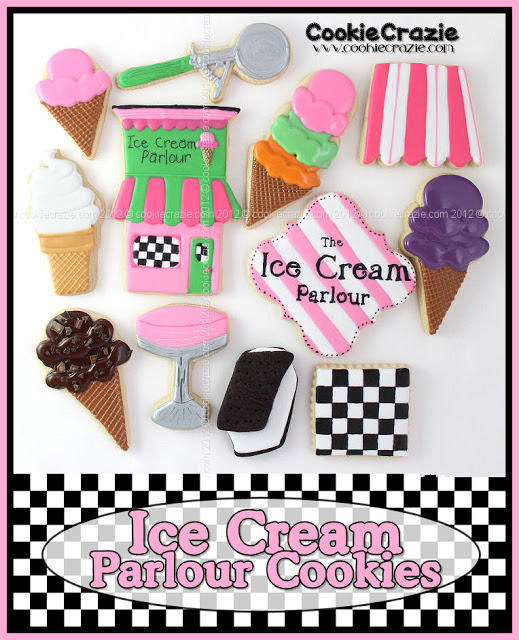
Here's the favorites all together......

Are you screaming yet?
I sure am. :)

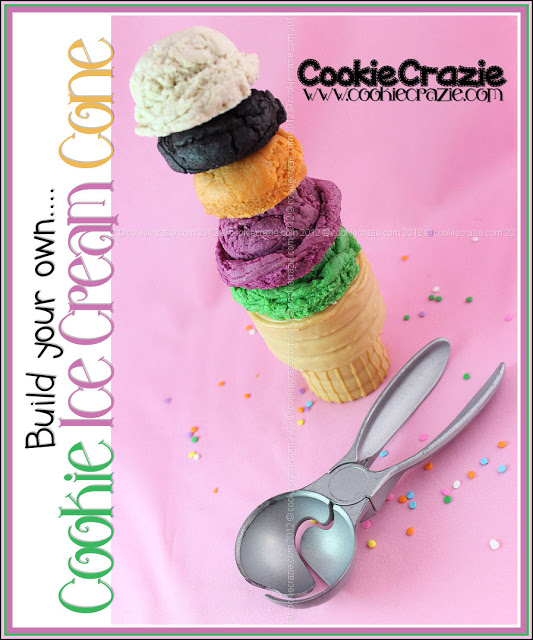
Screaming Ice Cream Cookie Collection