Who said that cookies on sticks for a cookie bouquet had to be difficult?
When I first started doing cookies seriously,
I'd see these tutorials for cookie "pops" or cookies on a stick.
I'd cringe at all the extra details that had to be done in order to make cookie bouquets.
First of all, every cookie must be planned on a stick from dough to finish.
Then you have to get those sticks implanted in the cookie shape. (Yikes!)
During baking, you can only fit a few on the pan at a time.
And THEN......you have try to decorate the cookie with a stick in the way!
After all that, I decided cookie bouquets were NOT for me. ;)
But then I read where you could just tape the stick on the back of the cookie bag.
Genius!!!!!
Suddenly, cookie "pops" seemed reasonable.
It opened up a whole new world. You don't have to plan ahead.
ANY decorated cookie can be put on a stick.
Everything about the actually decorating is the same as always.
The only difference is how you package it.
So here you go......
a very easy way to put cookies on sticks.
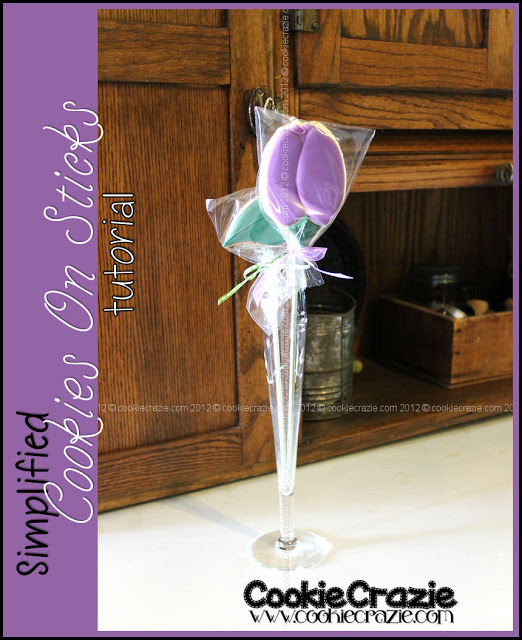
SIMPLIFIED COOKIES ON STICKS (Tutorial)
For making cookie "pops" you will need:
- decorated cookies
- treat bags
- bamboo skewers
- clear shipping/packing tape
- clothes pin
- ribbon
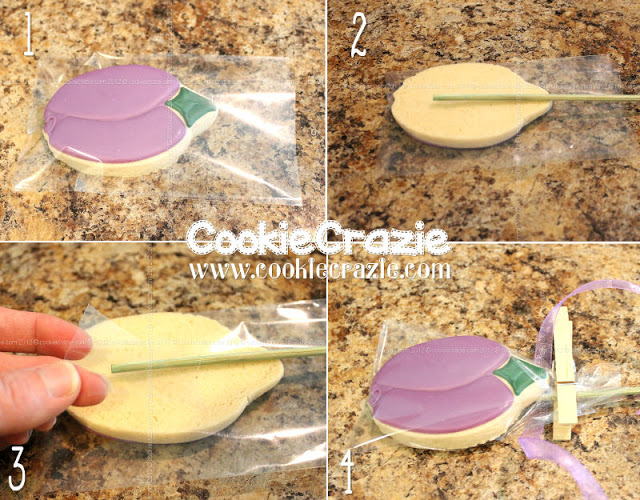
1. Place decorated cookie in bag so "bottom of bag" is on top.
2. Lay stick across back of cookie.
3. Cover top of stick with clear shipping/packing tape.
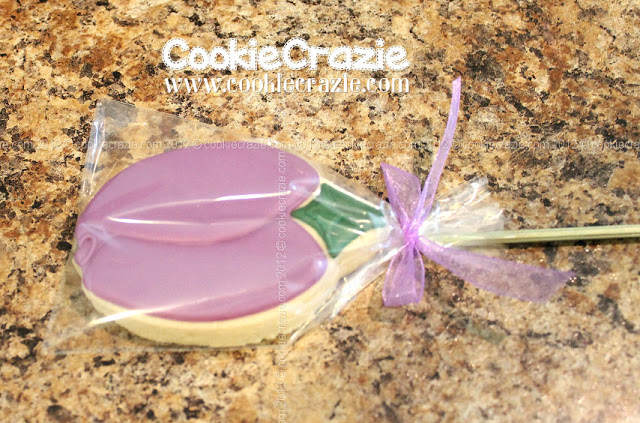
4. Scrunch bag around bottom of cookie and hold with clothes pin.
Add ribbon and tie bow.
Some notes about cookies on sticks:
- You can also use cookie/sucker pop sticks, but I found that the bamboo skewers are much more versatile. They are longer (so you can cut them to size) and they are much cheaper than the specialty sticks. I bought mine in a huge pack at Walmart. (And since the sticks don't actually touch the cookie, you don't have to worry about splintering.)
- Heavier cookies require more reinforcement. You may need to add additional tape or even use two sticks.
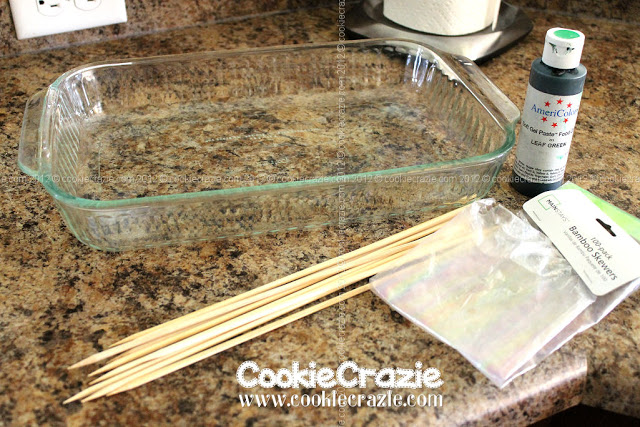
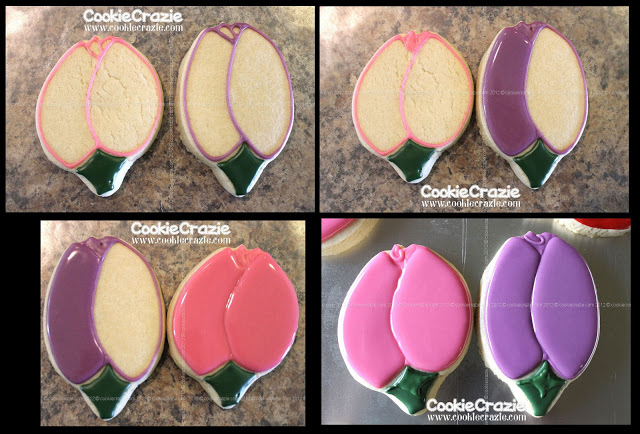
- If you want to get "fancy" for flower cookies on sticks, you can color the sticks green.
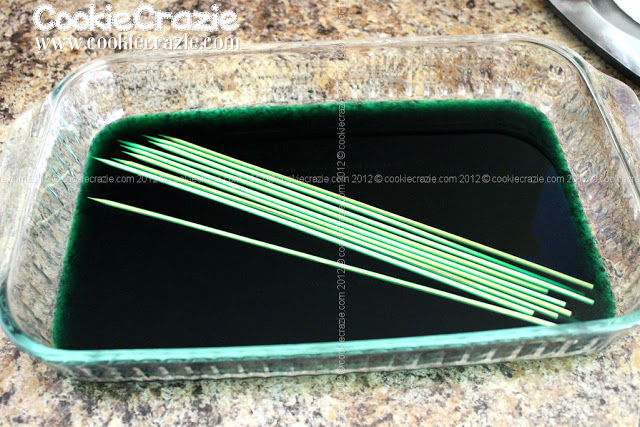
Add coloring gel to water and let the sticks soak for a few hours.
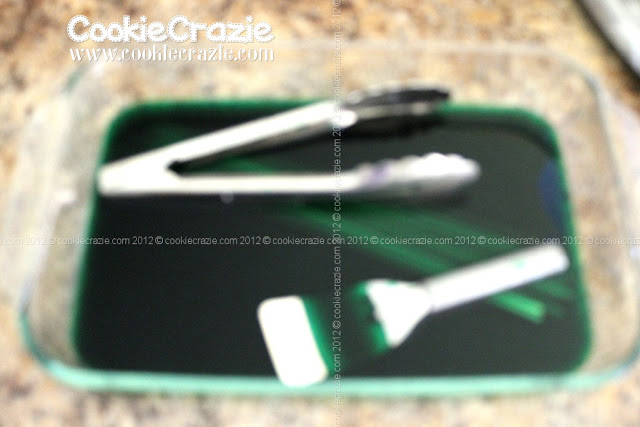
Floating sticks.......
Please excuse this lame BLURRY photo.
Since my sticks wanted to float, I placed some heavy
kitchen utensils on top to keep them submerged.
I only let mine soak for about 5 hrs. They were not extremely green.
Maybe additional soak time or additional color
would increase the intensity of the green on the sticks.
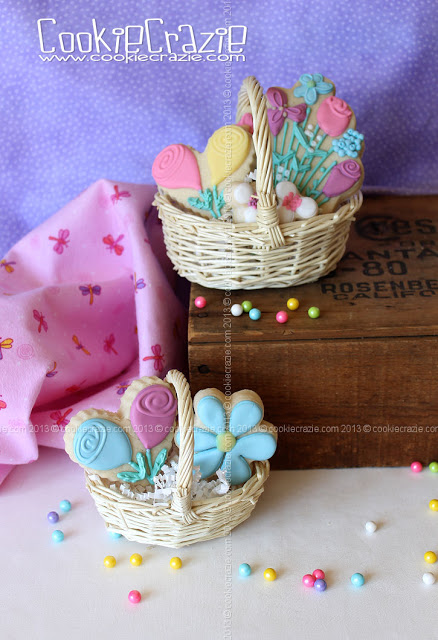
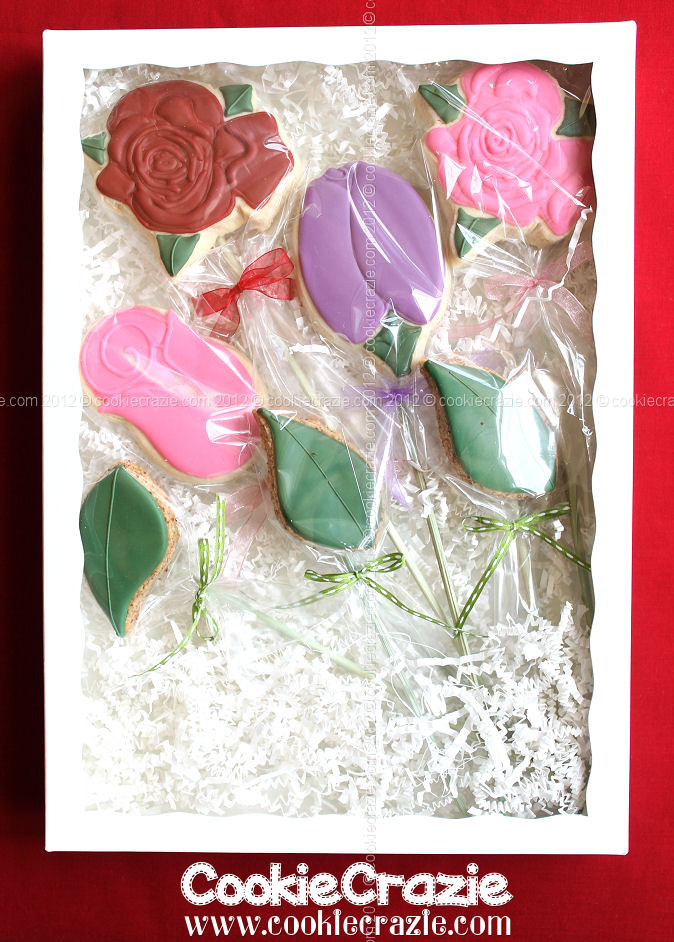
Once you've got your flowers on sticks,
you can put them in a vase....
or in a box for a bouquet in a box.
(This is a trial box from
BRP Box Shop that I love!
Hopefully they will be available soon.)
Other Cookies on Sticks Posts (all using simplified method):
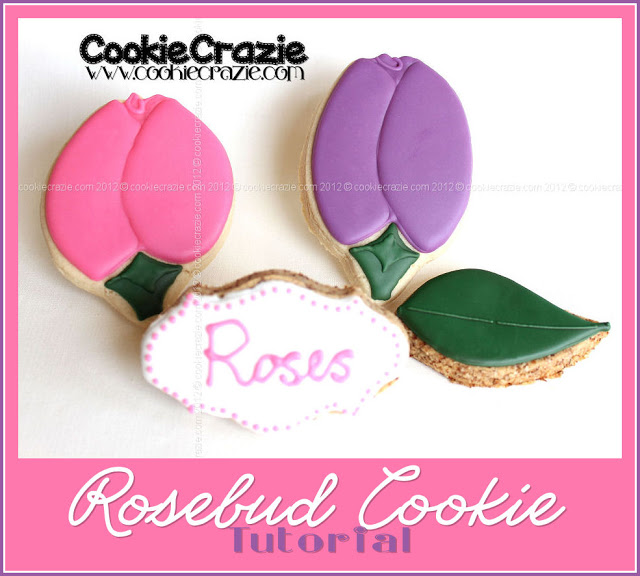
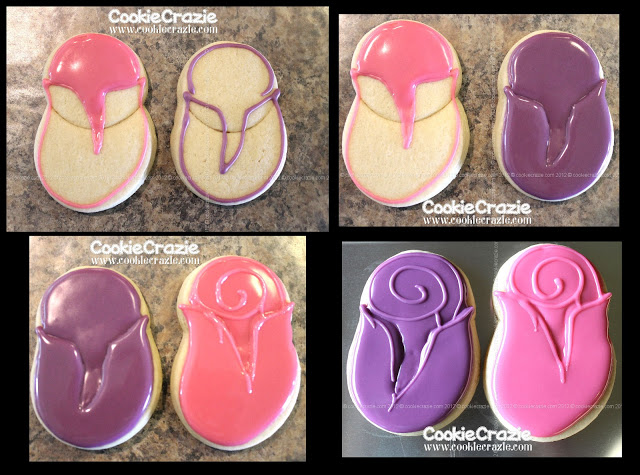
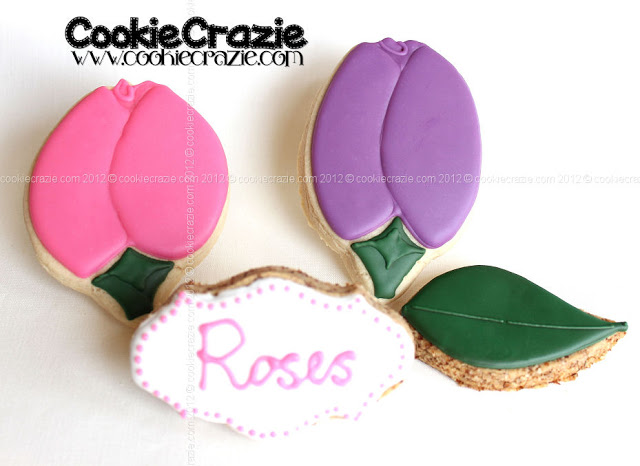
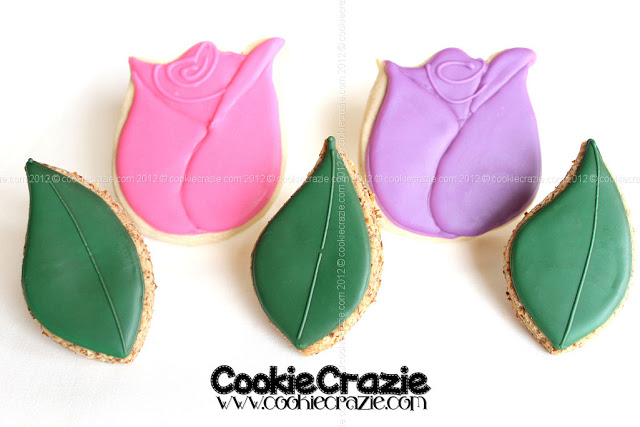
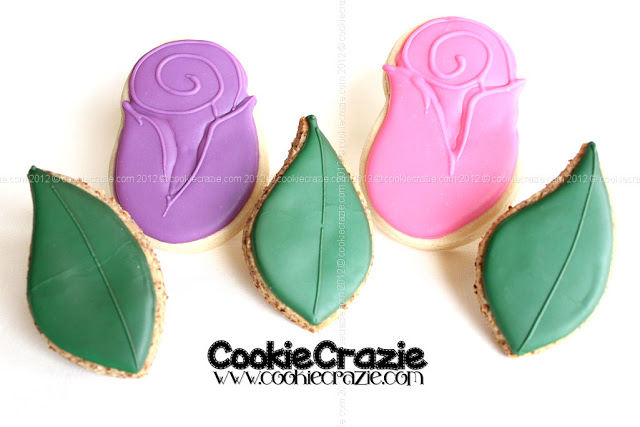
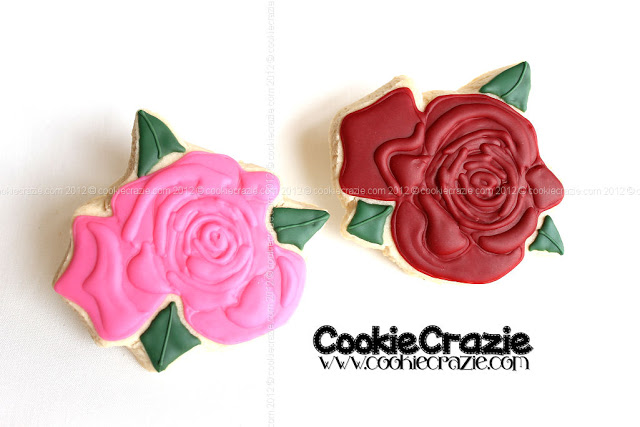
Recent Rose Cookie Posts: