_________________________________________________________
CookieCrazie's Week in Review

_________________________________________________
Personal Side
I'm in the home stretch.....only two more days of work.
It has been quite a ride.....but I'm doing it.
It feels good to have all this experience under my belt.
But I can't wait to have my time back!
I managed to do a few cookies this week.
They were already baked and frozen from a fews ago.
I confirmed that decorating is truly my therapy.
After Monday's decorating session......I felt so much calmer and at peace. :)
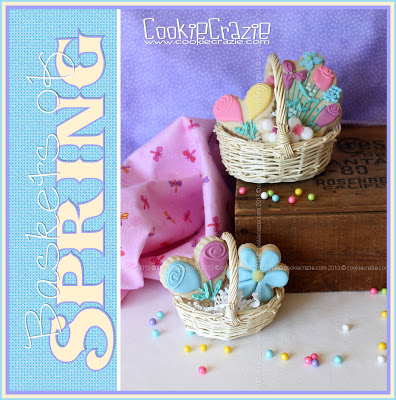
I ordered some photo backdrops from www.inkandelm.com this week.
They are awesome!
I can't wait to show off the photo session from today.
Easter is in two weeks.
March is suddenly half over......
I knew this full time work was going to wipe out my March.....
but it still makes me sad that the time is flying by.
Thankfully my family is getting together for Easter.....and I can't wait.
Next week, I can start back to "full time cookie-ing".
Yeah!!!! ♥♥♥♥
Instagram photos for this week:
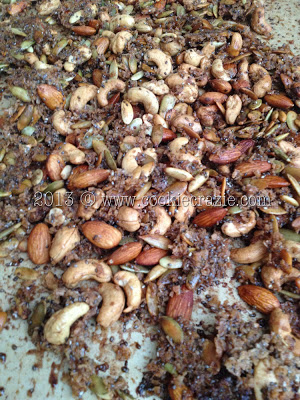
Yummy grain free "granola" made with nuts, pumpkin seeds, coconut,
chia seed, cinnamon, maple syrup, and coconut oil.
Recipe is here.
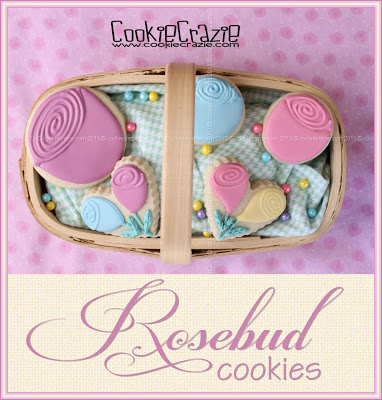
Easter Egg cookies from last year.....

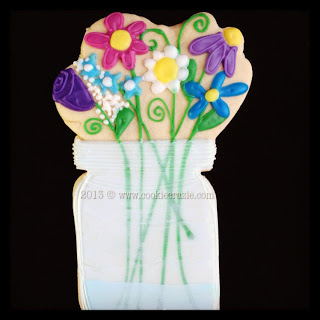
Flower Power!

A favorite cookie......
Yesterday I was contemplating what colors to use for my Easter cookies this week.....
and decided the blouse I was wearing had a great combo.
So today I made those colors in glaze. :)

Doing that texture thing again......

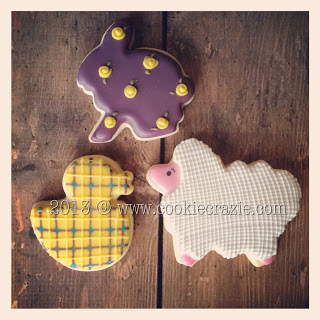
Patterned bunnies and a chick.....spring brings such fun shapes. :)

Dressed up the bunnies and chick. :)

Let's just say that I appreciate a working washing machine now more than ever.
Washing clothes in the sink.....Yuck!

Yeah!!!! I'm lovin' my new backdrops from Ink and Elm.
Thanks @thebakedequation. You're the best. :)
chia seed, cinnamon, maple syrup, and coconut oil.
Recipe is here.
Easter Egg cookies from last year.....
Flower Power!
A favorite cookie......
Yesterday I was contemplating what colors to use for my Easter cookies this week.....
and decided the blouse I was wearing had a great combo.
So today I made those colors in glaze. :)
Doing that texture thing again......
Patterned bunnies and a chick.....spring brings such fun shapes. :)
Dressed up the bunnies and chick. :)
Let's just say that I appreciate a working washing machine now more than ever.
Washing clothes in the sink.....Yuck!
Yeah!!!! I'm lovin' my new backdrops from Ink and Elm.
Thanks @thebakedequation. You're the best. :)
_________________________________________
Last CookieCrazie chatter....