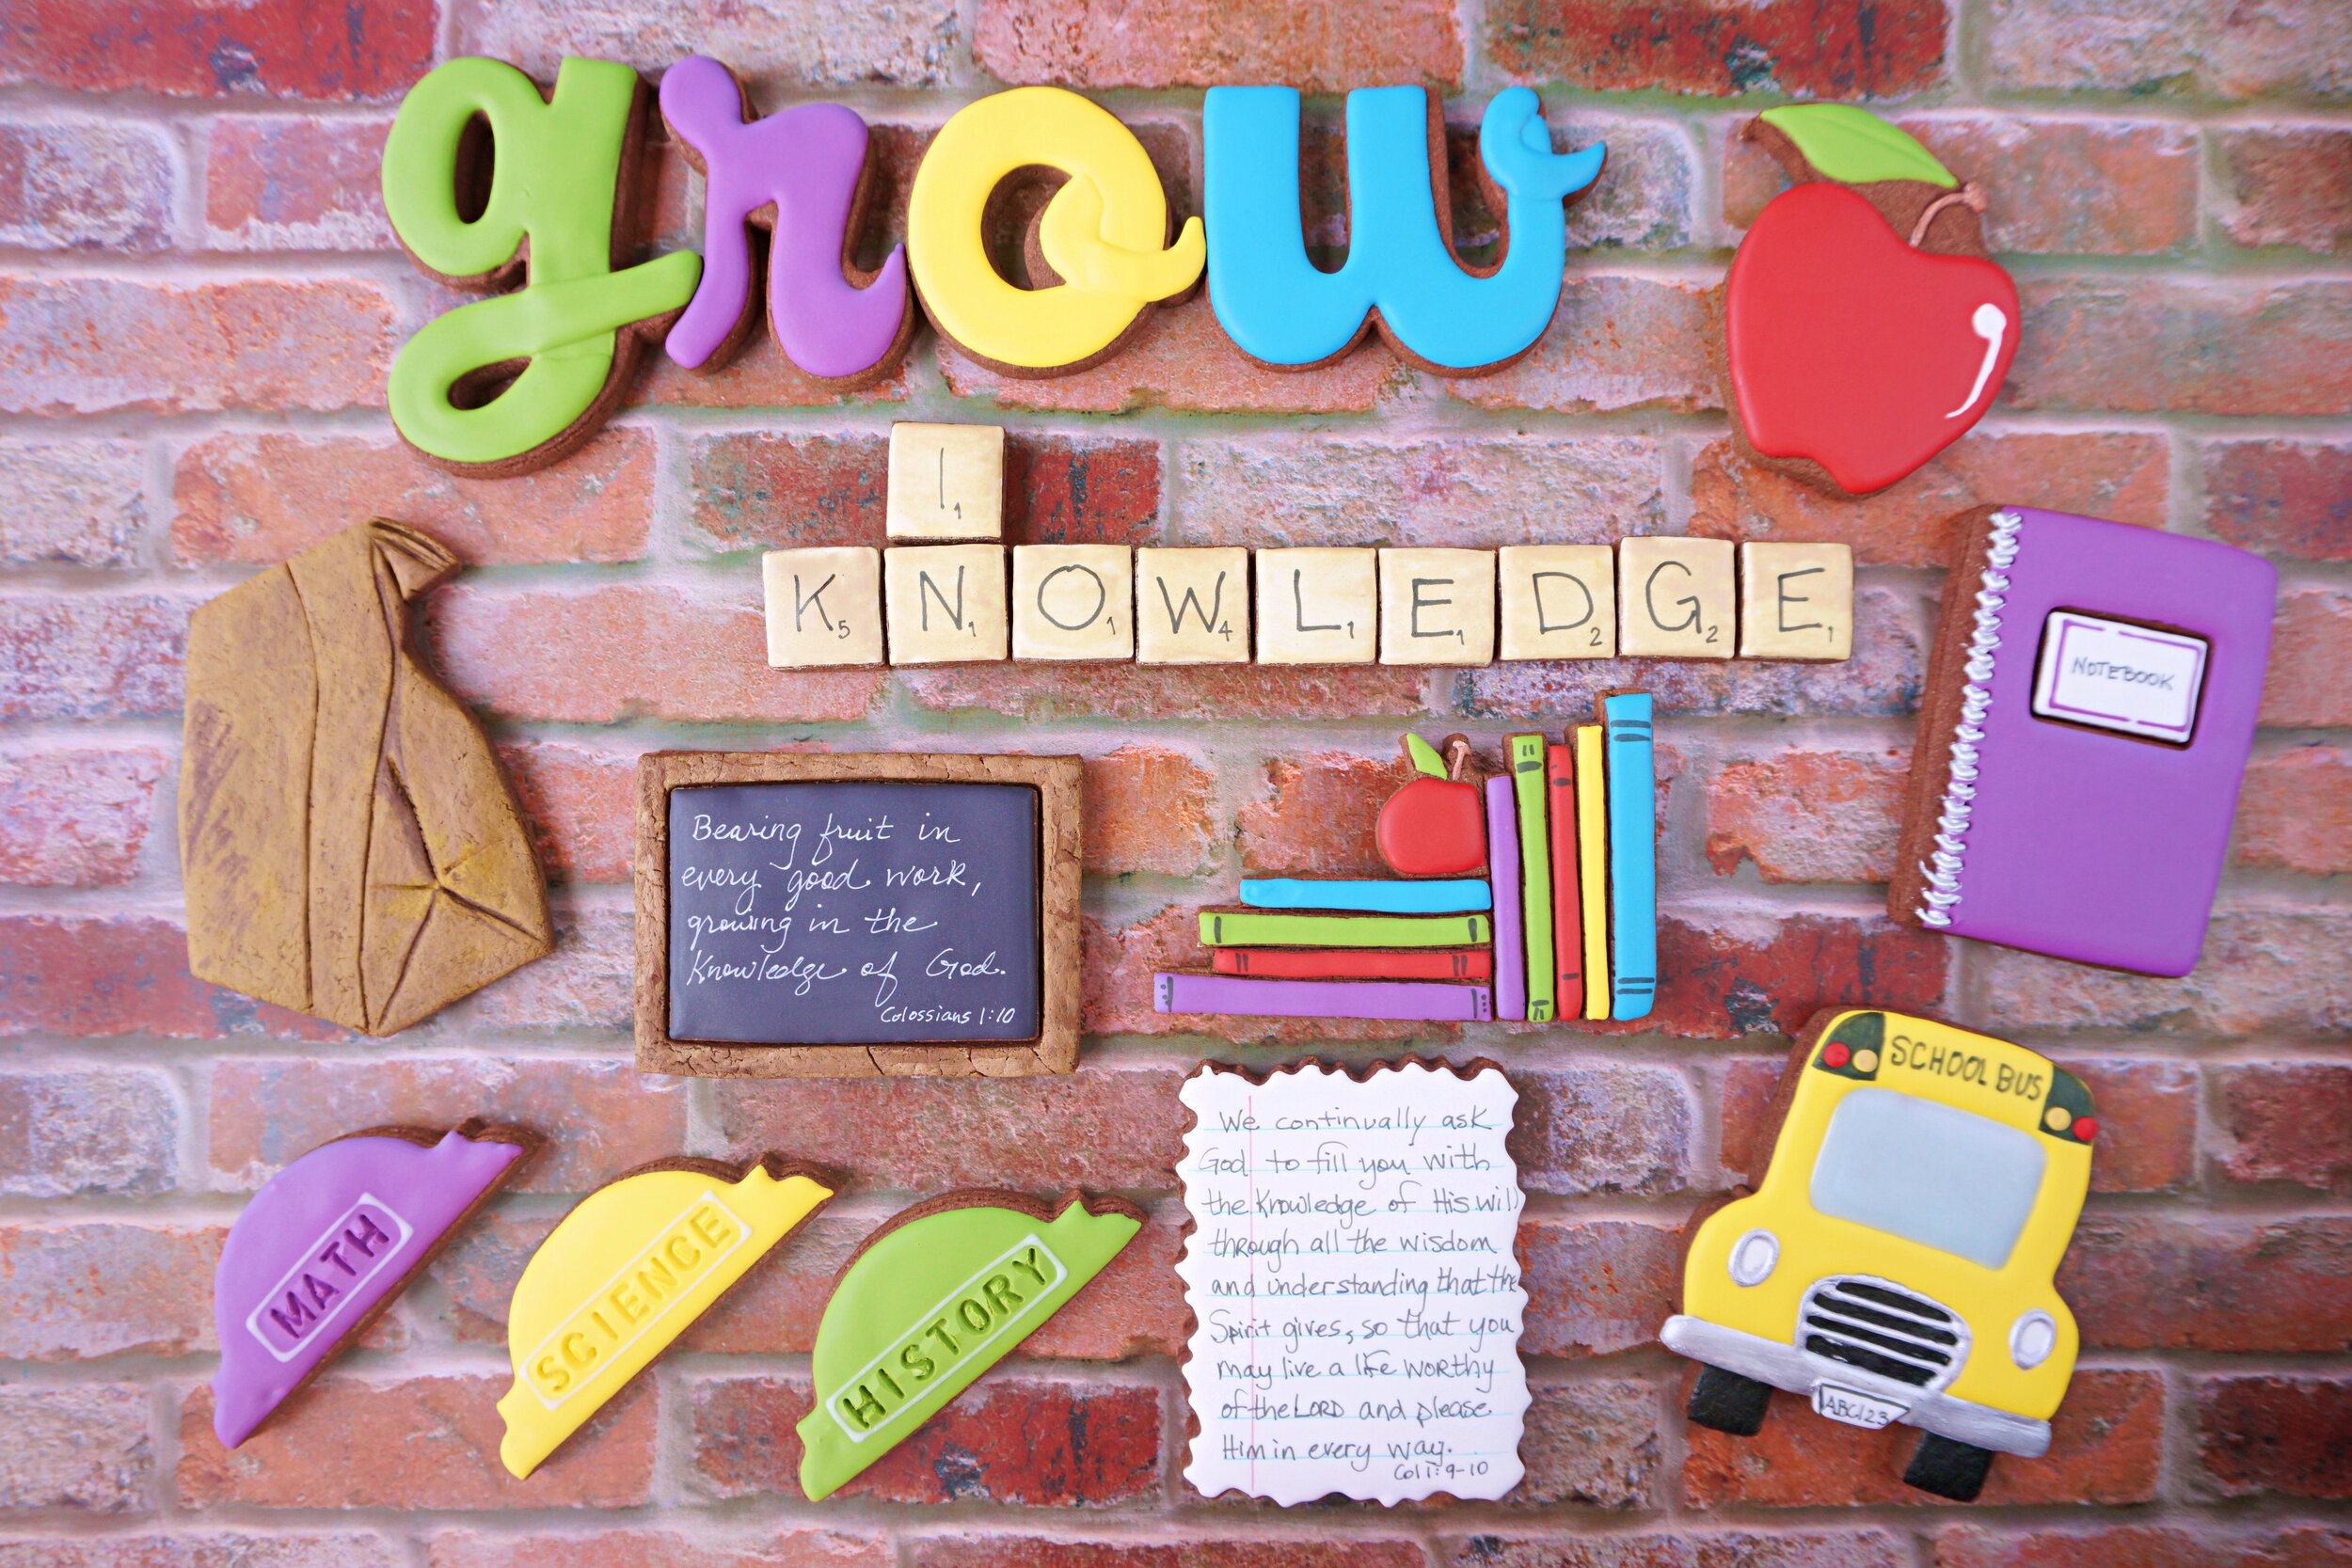
While planning this year's back-to-school cookies I kept seeing photos of lined up crayons and their beautiful colors. It inspired me to create my own line-up of beautiful colors depicting just the ends (or nubs....as I lovely refer to them).
You don't need a special cutter for these cookies. Just use a longer rectangle cutter and a straight edge to form the shape.
(see photo below)
Outline and flood the entire cookie as shown below. I did it in sections just to make sure I got the distinct edges of each part. I did NOT let it dry in between each section.
Dry the cookies overnight.
Make a mixture of Brilliant Sparkle dust and alcohol (or clear extract; i.e. Almond) and brush it over the bottom portion of the nubs. This will portray the paper wrapper on each crayon.
Allow the dust mixture to dry on the cookies for a hour or two.
Using a Americolor black marker to add two stripes to the bottom of each nub.