
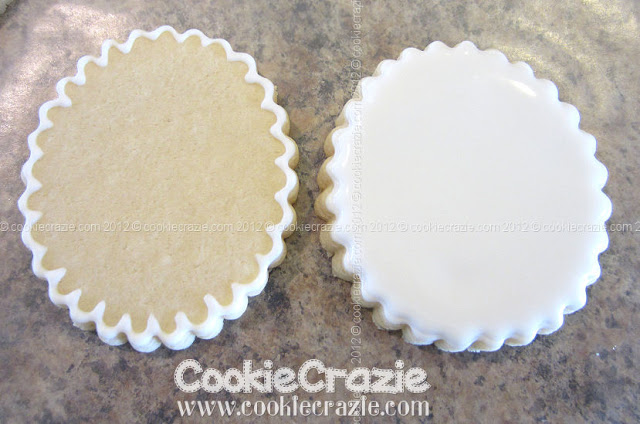
After knowing how to outline and flood
your cookie with glaze icing,
it is time to layer all
the fun details.

Unless you are doing wet on wet technique
(adding polka dots, lines, etc
to a wet icing base
that will sink in and be level
with the base icing)
you will have to be very
patient with glaze icing.
In order to get dimension,
texture....and the 3D look,
you have to add layers in steps,
allowing for dry time between each layer.
The amount of dry time depends on
what kind of detail it is,
what color your adding on top
of another color, etc.
Anytime you add dark contast
colored icing to lighter icing,
(i.e. black, red, navy)
you will need extra dry time.
And if it is black against light colors,
drying overnight is a good idea.
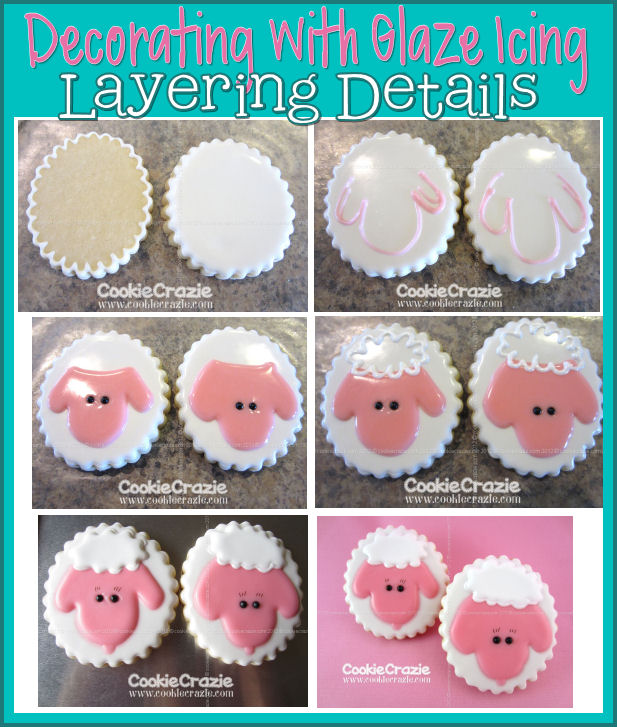
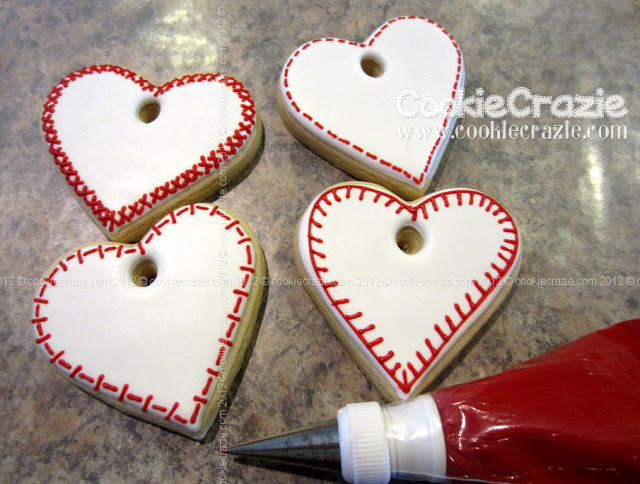
Here's some examples of layering details.
Adding basic stitch lines to hearts
(Note: I let these hearts dry overnight
with their base coat
before adding the stitches.)

Baby Onesie details....


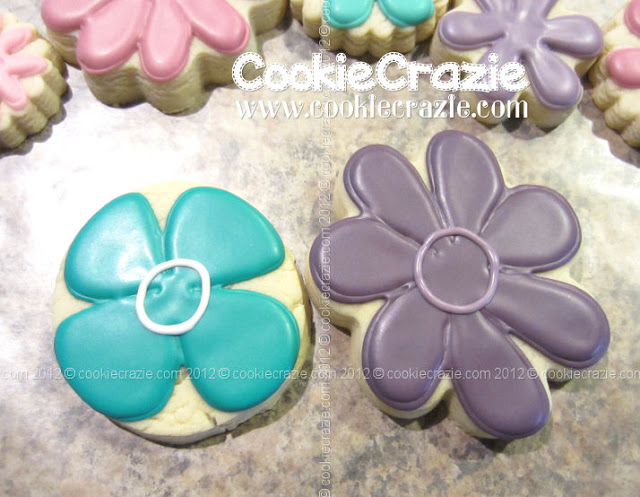
Flower details.....

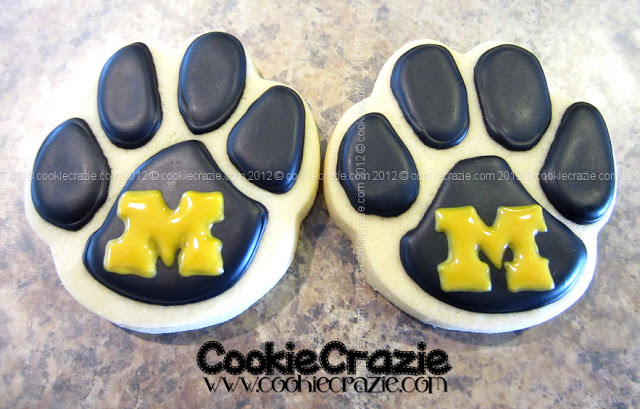
When doing lettering details,
I suggest using a #1 tip to outline them.
Notice the paw on the left,
I used a #2 tip....
but the one on the right,
I used a #1.
There was a dramatic difference in the results.

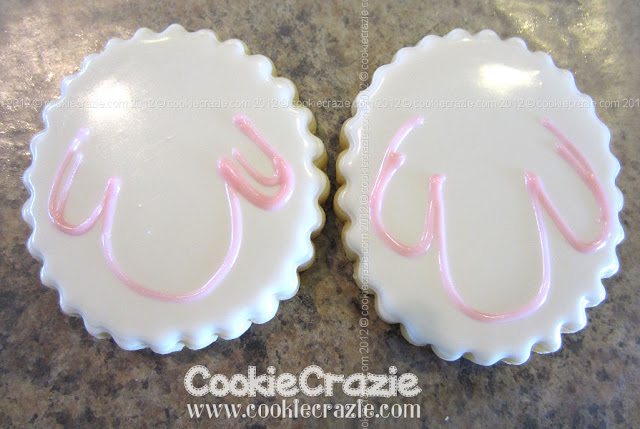
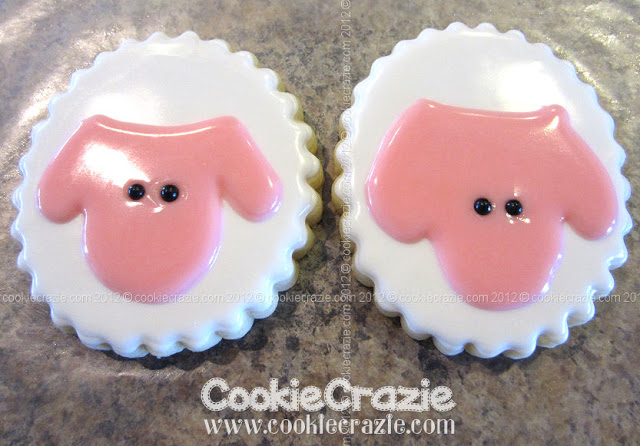
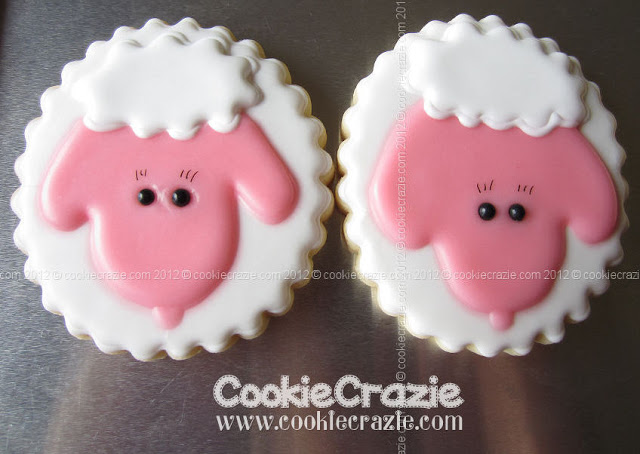
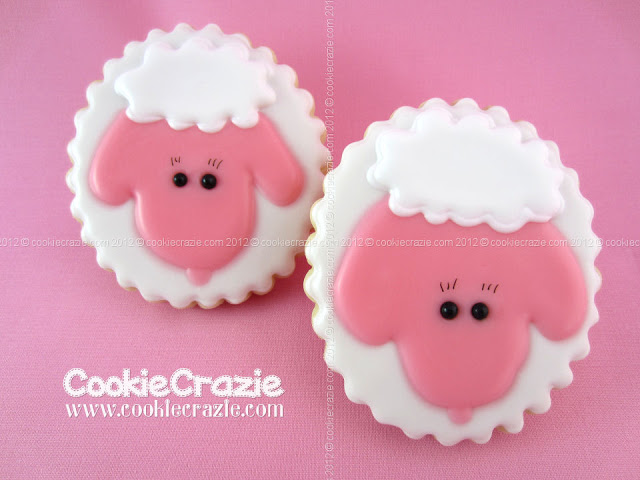
And finally,
the more detailed the cookie,
the more layers (and time!) required.
These lamb faces took several steps
and lots of drying time.
But they were worth it,
don't you think?

For other CookieCrazie Basics: