Flower

WaterColor Decorated Cookies

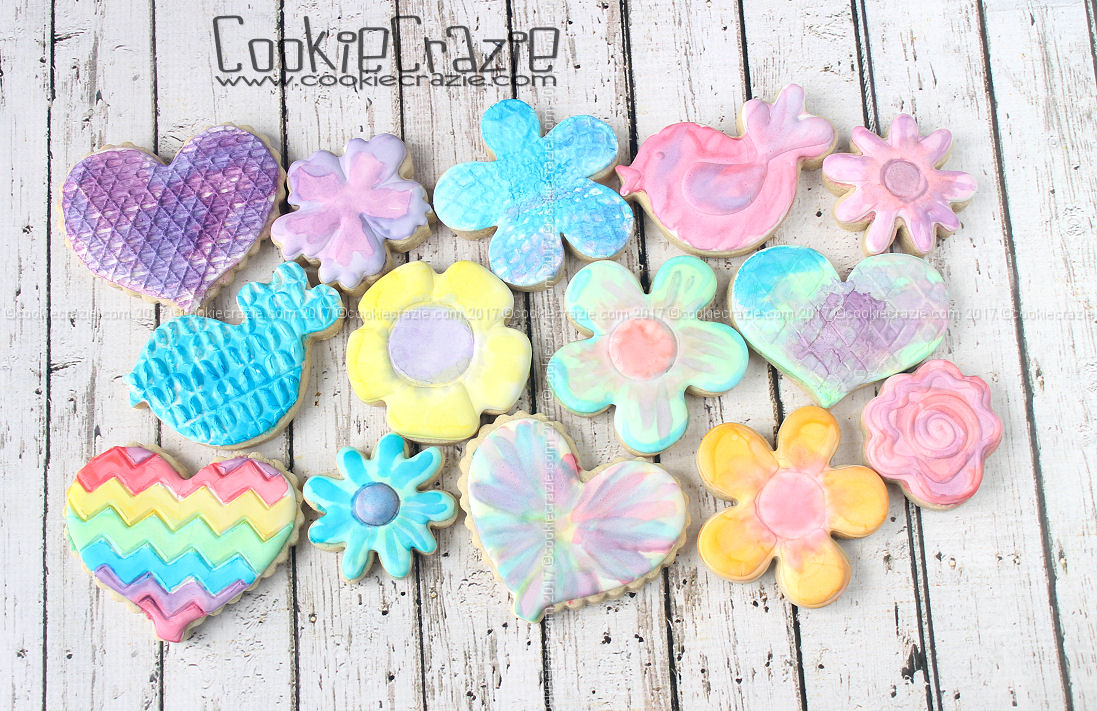
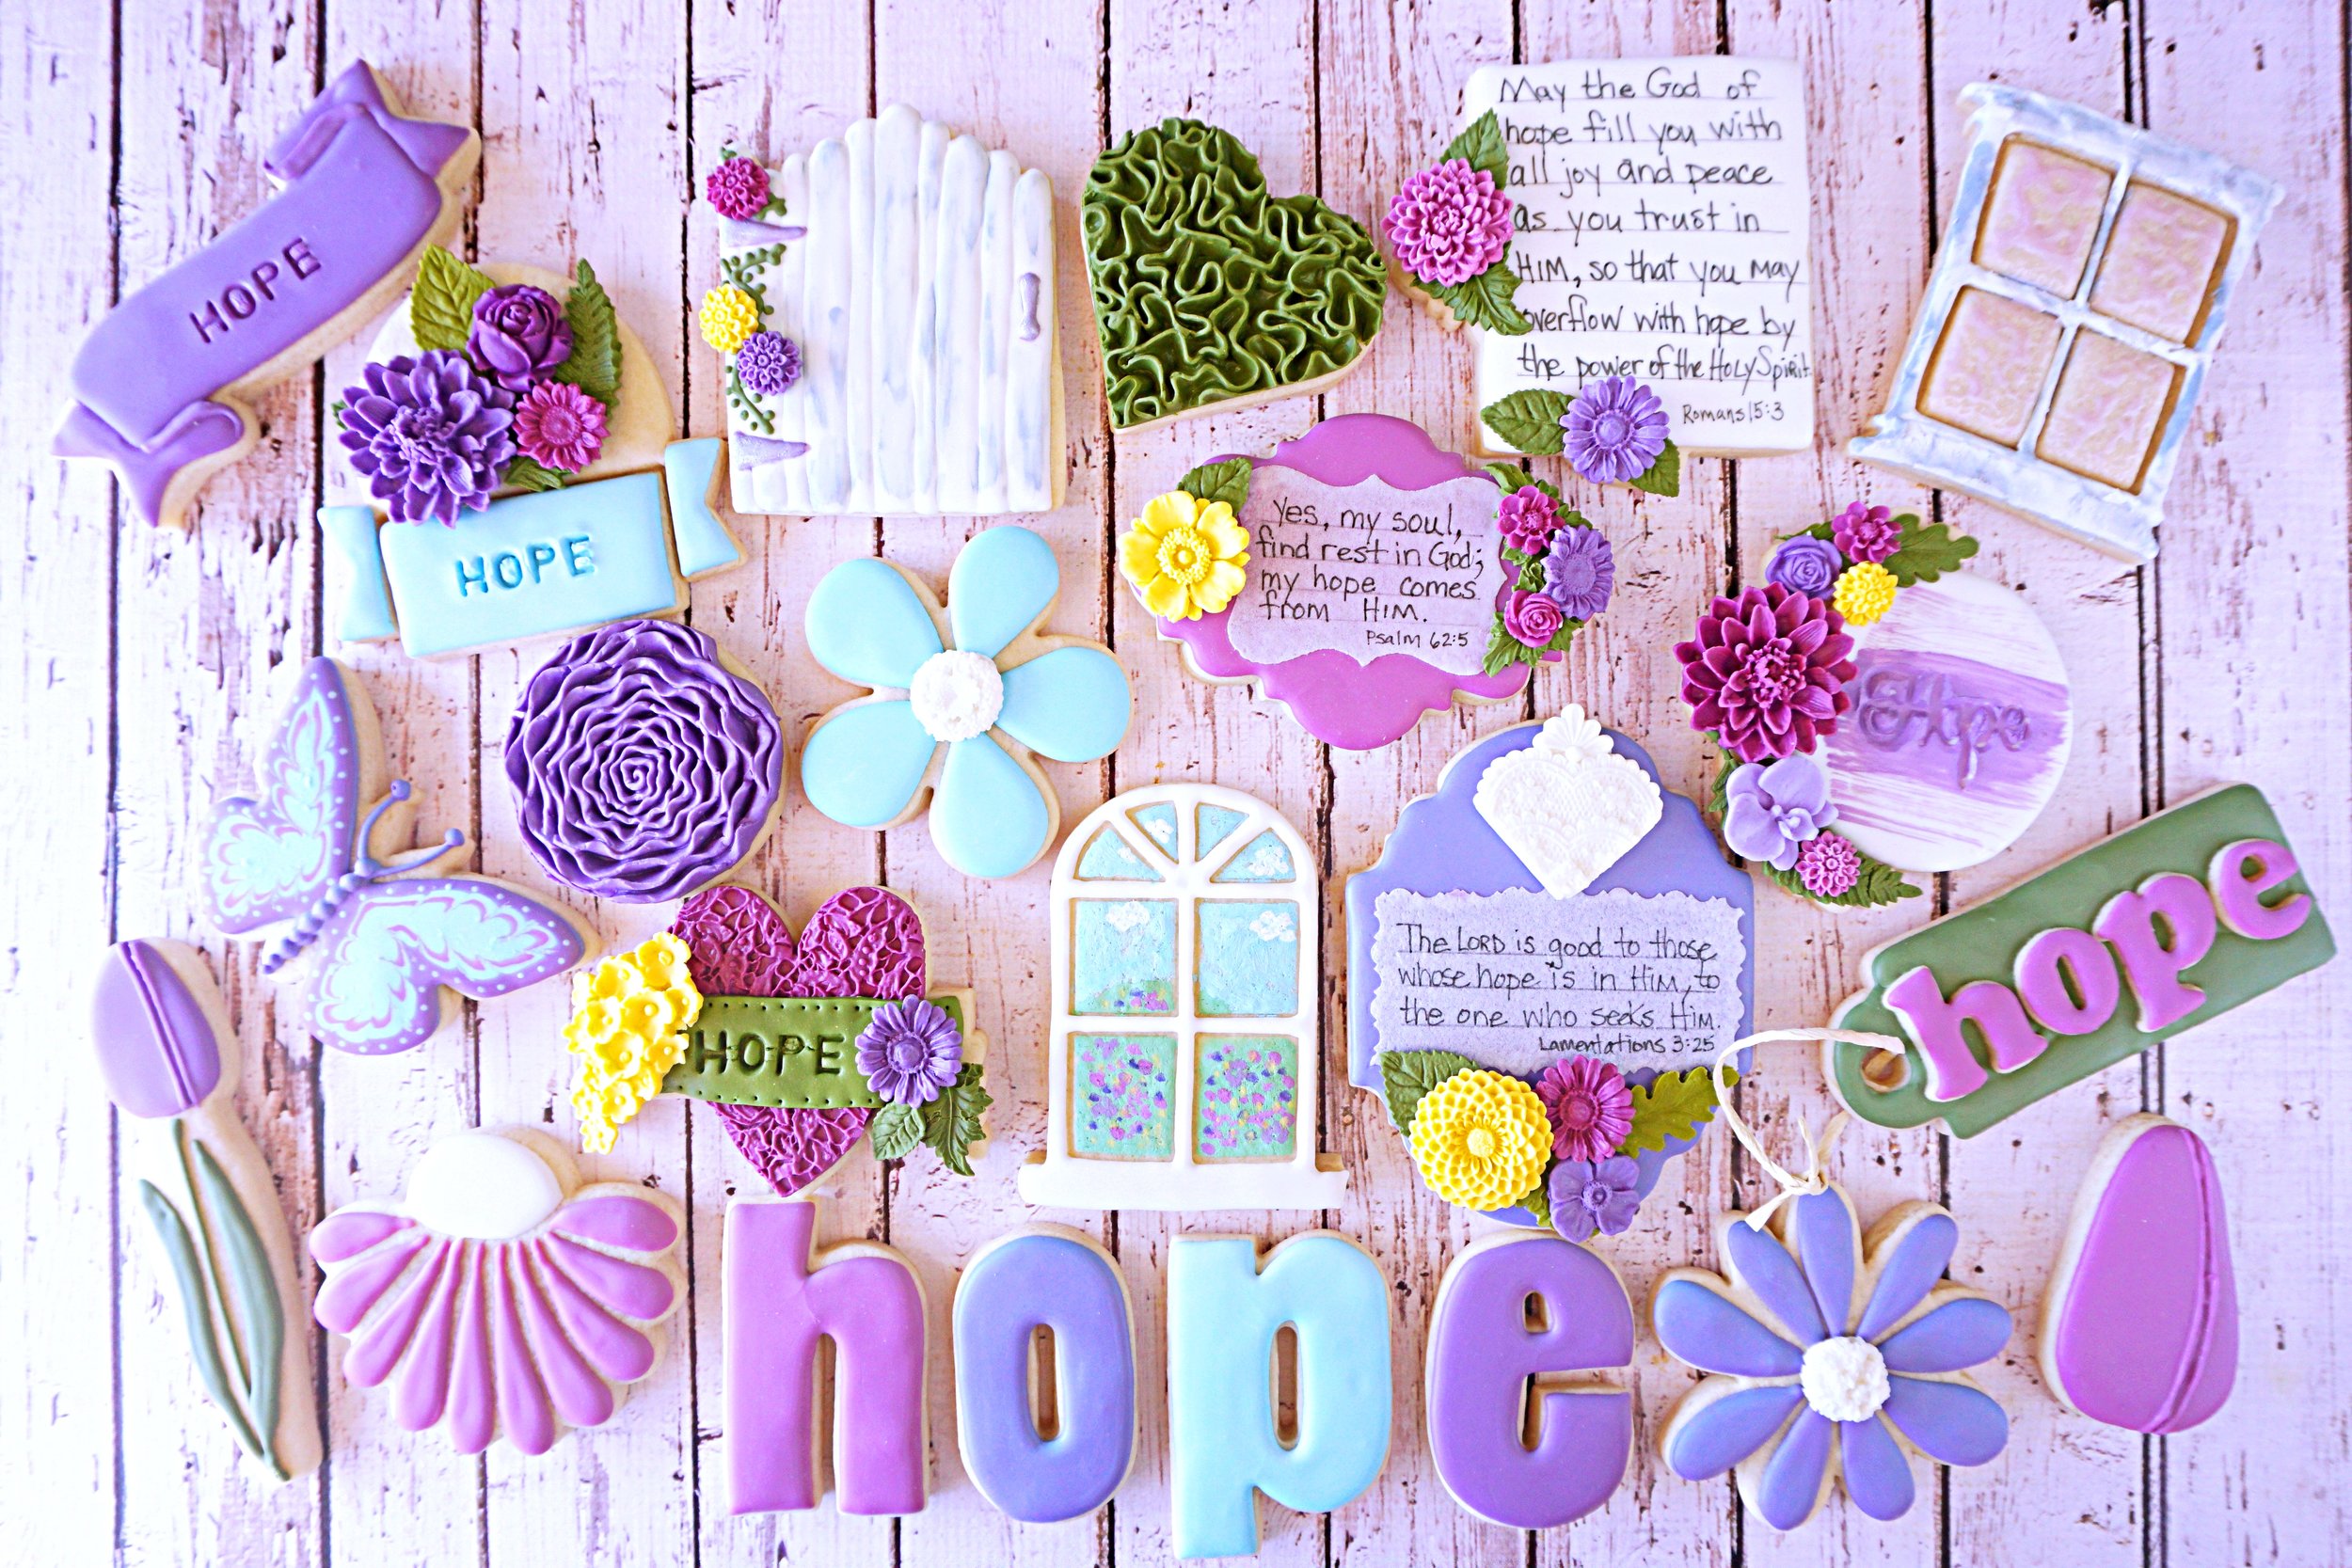
Ever since I was in The Painted Box (Angela Nino)'s class at CookieCon2017 I've been itching to do some "watercolor" designs on cookies. The fact that she uses my glaze recipe for her "canvas" means I've got a head start.

Angela was gracious to make a YouTube video about how she creates her "watercolors paints" for cookies. After watching it a few times, I quickly purchased some glass stopper bottles, strainer, glass funnel, half pint mason jars, and some EverClear. 

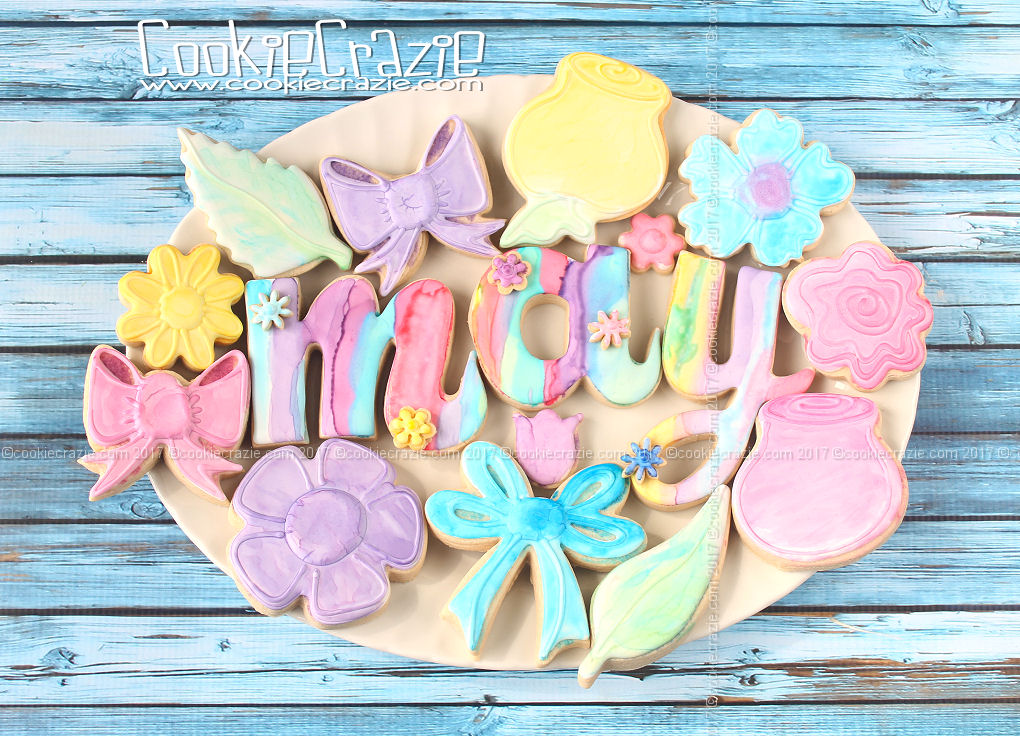
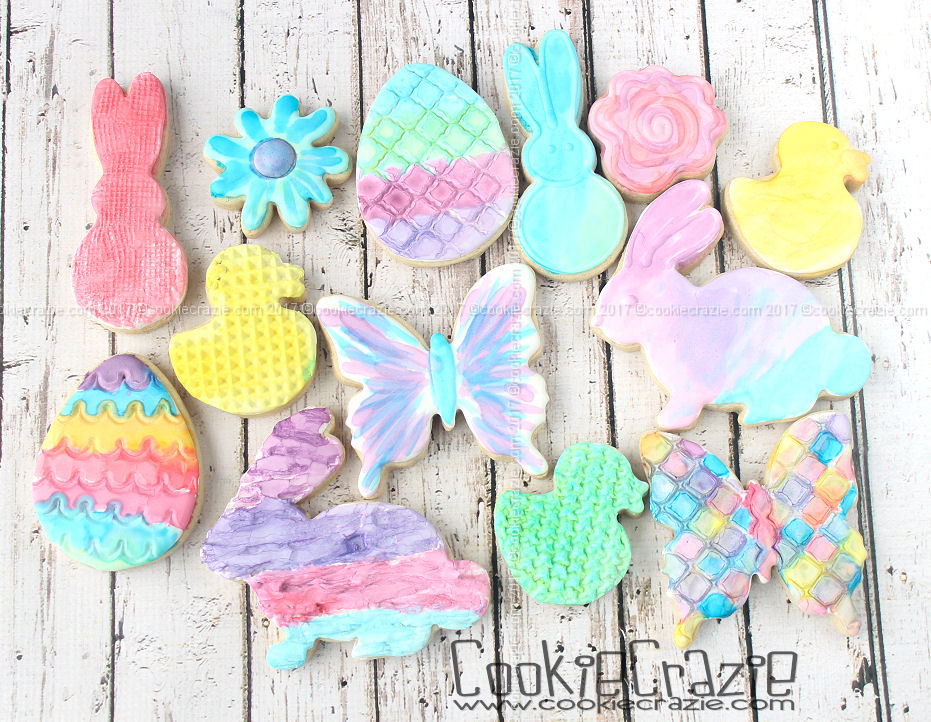
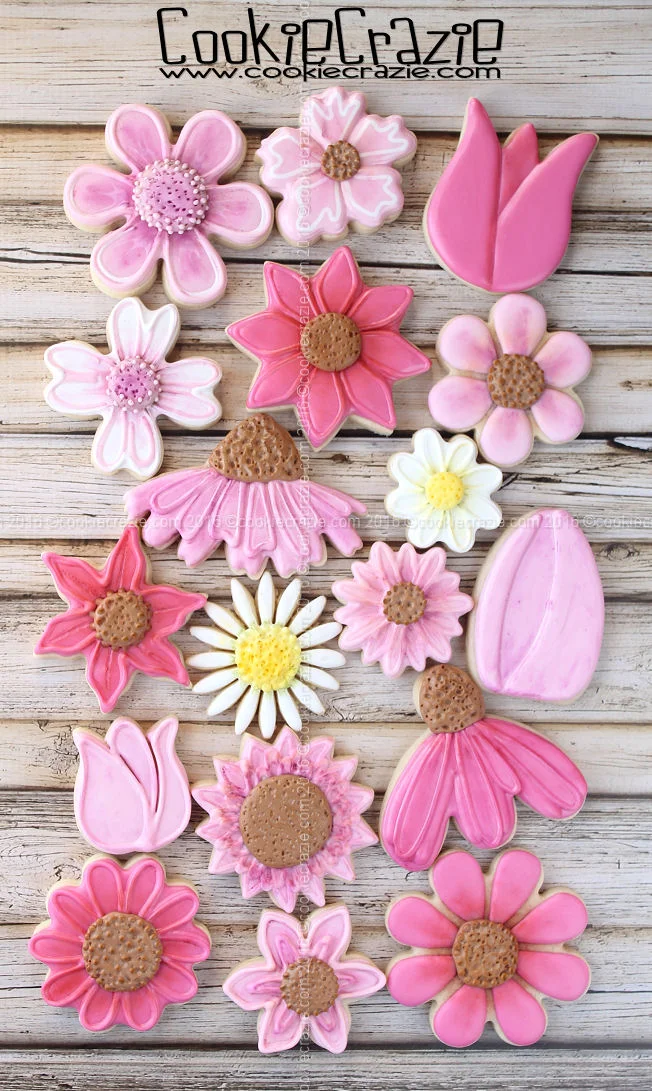
Angela makes it look super easy. I have no idea what I'm doing when I pick up a paintbrush, so these look like a child painted them. But thankfully, watercolors are pretty forgiving. Even though these are pretty rough.....they were still super fun to create and it just makes me want to practice and improve my technique. :)

Thank you, Angela, for sharing your beautiful art with all of us! 

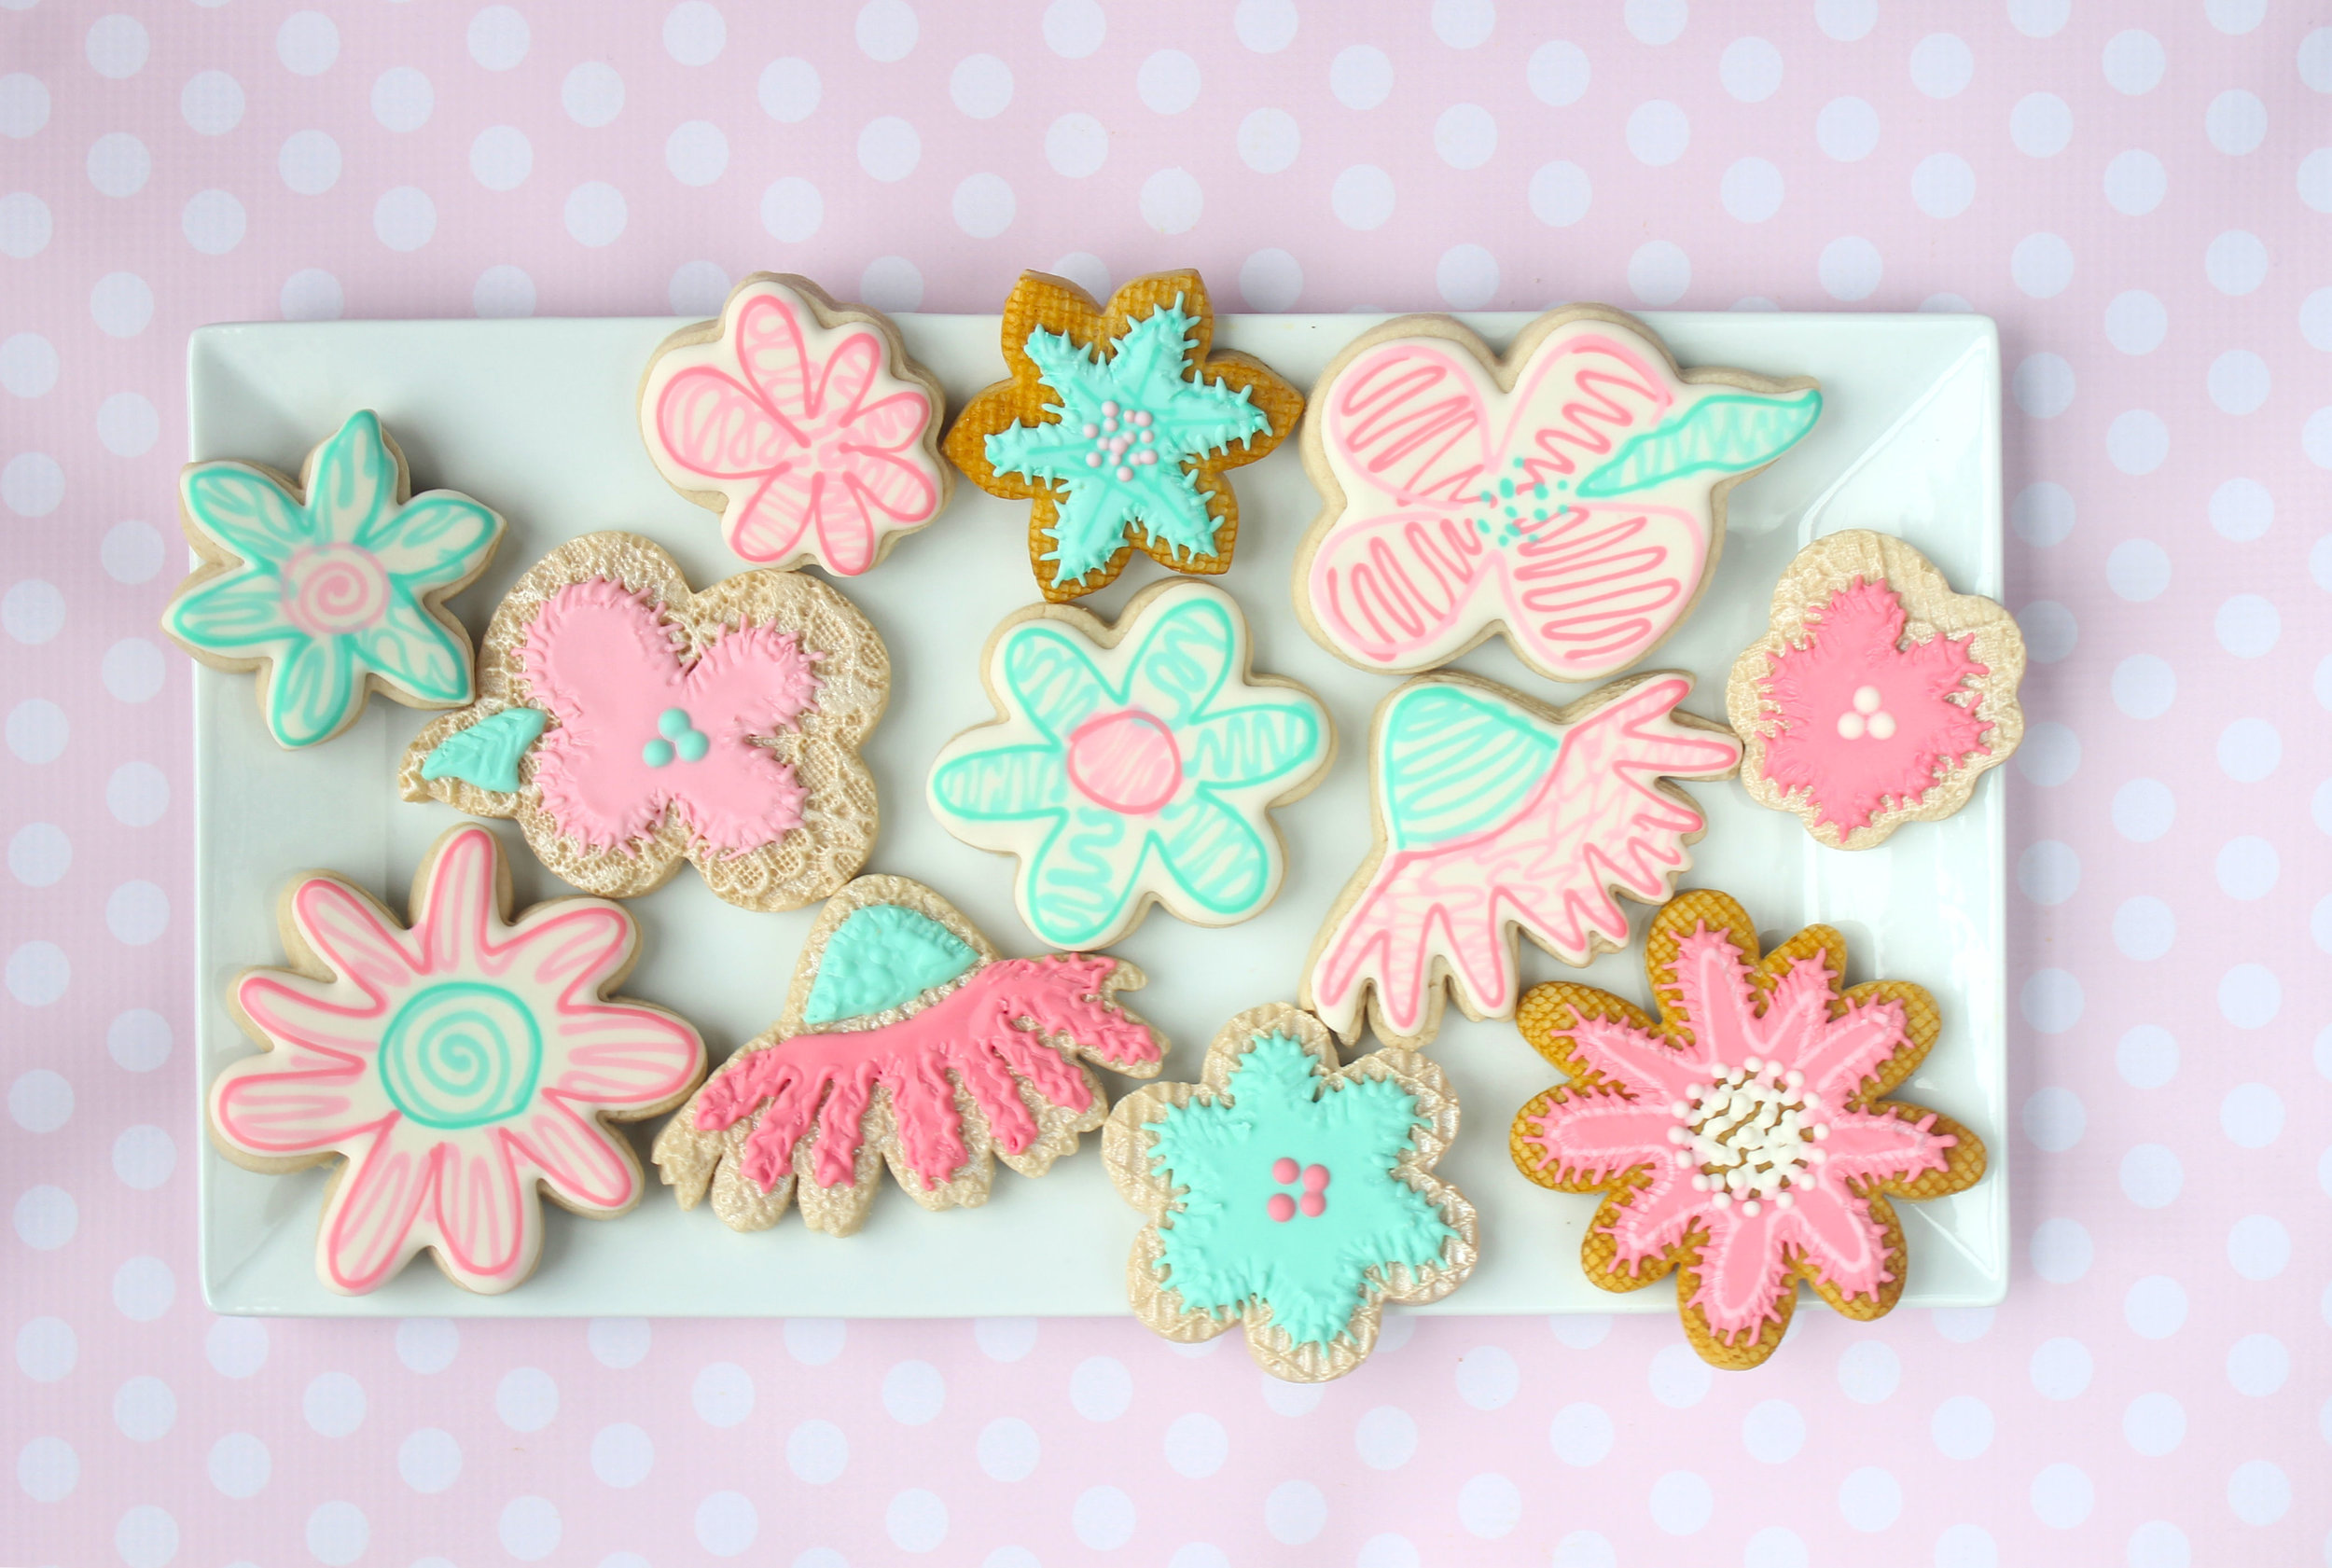
Even though this photo was not taken with the cookies featured in this blog post, I wanted you to see the set-up I used to create my watercolored cookies. Angela's YouTube video explains how to make the bottles of color.


Aquash Water Brush Spring Decorated Cookies

After CookieCon 2017, I was anxious to get home and try The Painted Box (Angela Nino)'s awesome watercolor techniques. But while I was waiting for the supplies to come in to make my watercolors, I remembered that I had an Aquash water brush that I could try out to at least get a feel for the watercolor effect.

This brush is not expensive and it's easy to use. Basically it allows you to fill up the "pen" with water and then load color to the brush and paint on the cookie. (I used it on glaze icing with success.....but I'm not sure you can use it on royal icing the same way.)

Once you're done with a color that is loaded on the brush, you squish the body of the pen to push water up into the brush and "clean out" the brush. (You don't want to actually squish the brush while you're painting on a cookie or you'll have a messy puddle.) Once there is only water coming off the brush, you can move to another color. Pretty cool!


For these cookies I used airbrush colors since they are already very liquid and not too concentrated. I chose AmeriMist Electric Airbrush colors this time around. It definitely made for a SPRING effect. :)


Spring Bloom Decorated Cookie Collection

The change of all the seasons is always such a special time of year,
but after a cold bleak winter, spring is most definitely welcomed.

What better way to celebrate spring than to observe every thing blooming all around!


Basket of Spring Flowers Decorated Cookie (Tutorial)

With this awesome basketweave mold, it's fairly easy to make basket cookies just in time to "fill" them with spring flowers.

Place the mold face down over sugar cookie dough.
Using a rolling pin over the top of the mold, impress the dough with basketweave.
Take the cutter of your choice (I chose a tall rectangle) to cut out the cookie.
Feel free to leave the top portion of the cookie smooth for adding flowers. (see photo below)
Bake and cool the cookies as normal.

Cut out flowers using mini cookie cutters. I like to make the dough fairly thin so the flowers are not too overpowering on top of the basket cookie. Decorate these beauties as desired.

Brush chestnut dust over the basketweave portion of the molded cookies.

Add a greenery background on top of the basket by outlining and flooding it with green glaze.

Adhere the flowers on top of the basket with more green glaze. Add additional flowers and vines as desired.


Poinsettia Basket Decorated Cookie (Tutorial)

At the last minute last Christmas, I made a basket cookie with a poinsettia, and decided to revisit it this year with a tutorial.

The sweet part about the time lapse is that I have acquired an even better basket weave texture mat. :)

Rustic Basket Weave by Karen Davies (favorite)
Basketweave Embosser

There are two ways to achieve the basket weave effect on the cookie.

  1. Impress the weave into the cookie dough before baking
  2. Flood the cookie with glaze and use the mat once it is partially dry


To impress the dough, you'll need to initially roll the cookie dough thicker than usual, and use the rolling pin on top of the mold to impress the weave deeply into the dough.

(see photo below)

Once the dough is molded, use your rectangular cookie cutter to cut the desired shape.

After the cookie is baked and cooled, brush dry cappuccinodogwood, and caramel dusts over the cookie for a more dimensional look.

(Note: I used these lighter colors on the dark chocolate cookie.
If the regular sugar cookies are used, you will need to use different colors of dust.)

Add the first layer of the poinsettia with red glaze.
(see photo below)
Add a second layer of petals at least 30 minutes after the first.

Carefully place yellow pearls within the center of the poinsettia.


For molding partially dried glaze, outline and flood the cookie with brown glaze.

Allow the cookie to dry for 4 hours and then press the mat into the glaze.

Dry the cookie overnight.

Brush over the dried glaze with dry chocolate dust.

In the same way as above, pipe a poinsettia with red glaze over the top of the basket.
Then add the yellow pearls to the center.

 
Member Login
Welcome, (First Name)!

Forgot? Show
Log In
Enter Member Area
My Profile Not a member? Sign up. Log Out