Technique

Embossed Cookie Dough Valentines Decorated Cookies

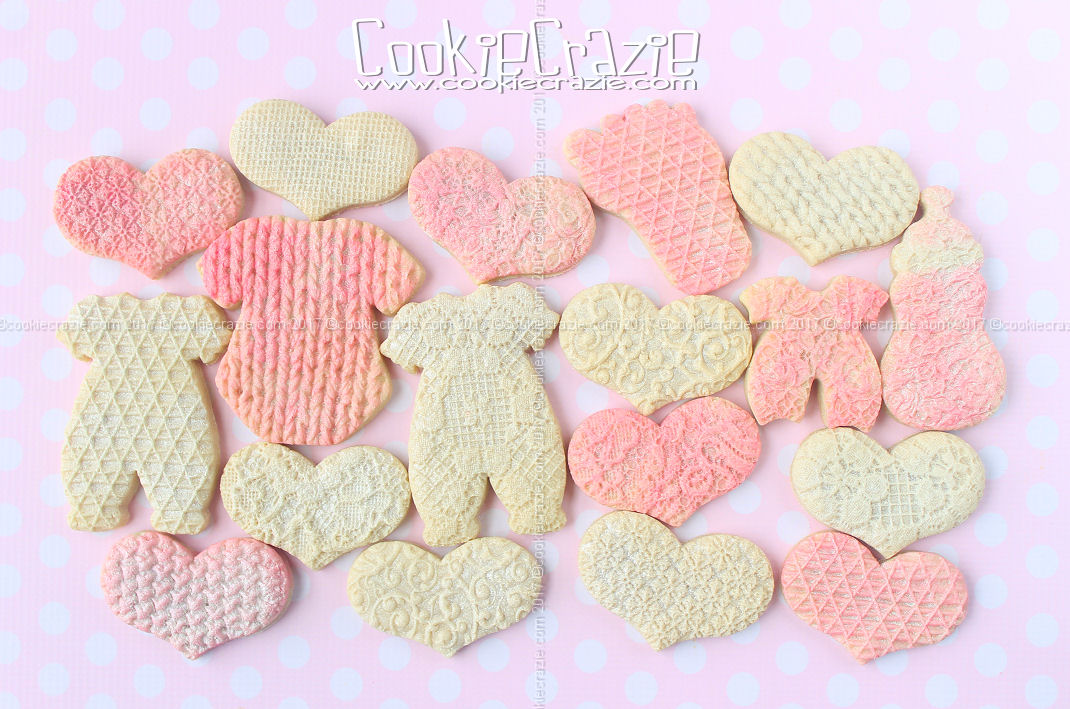
As this Valentines season drew close, I really wanted to incorporate texture into the cookie dough before baking... to take advantage of that beautiful 3D look. Once you've rolled it into the dough and baked it, all you have to do is dust it to emphasize the impressions.

The most important part of this process is rolling the texture into the dough before baking. Here's a video (of a different project) showing how to place the texture mat face down on the dough and use the pressure of the rolling pin to make the impressions into the dough before baking it. The relevant part is at the very beginning of the video.

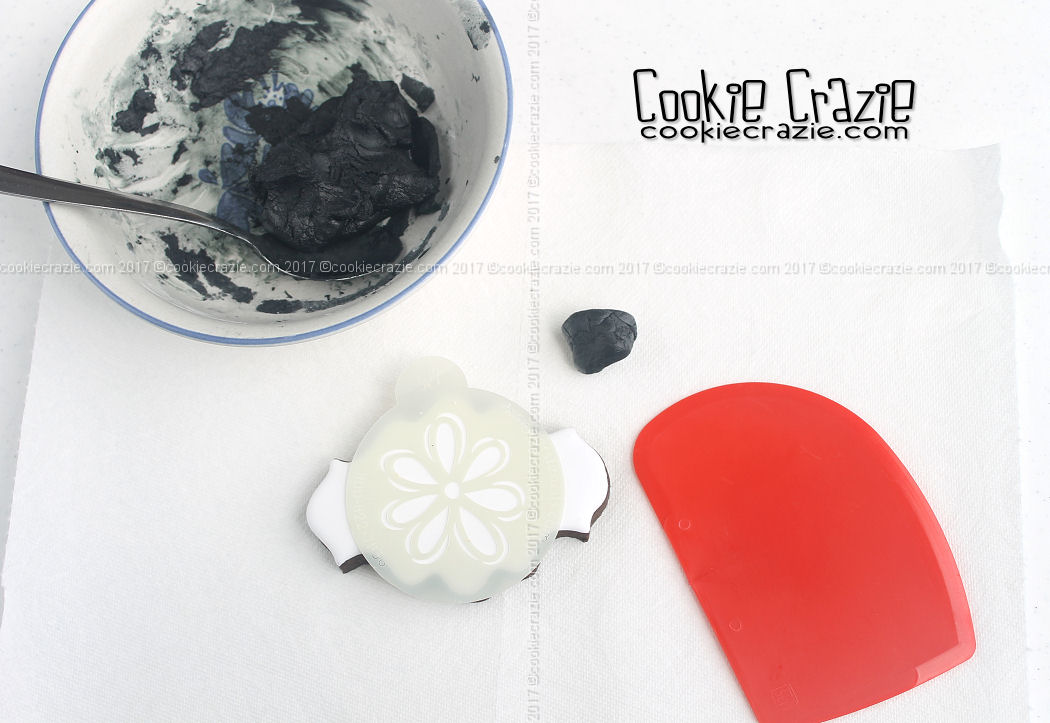
Once the cookies are baked and cooled, brush food coloring or dust over the surface to bring out all the details. For these Valentine cookies, I used Americolor Bright White gel for some and gold dust mixed with vodka for others.

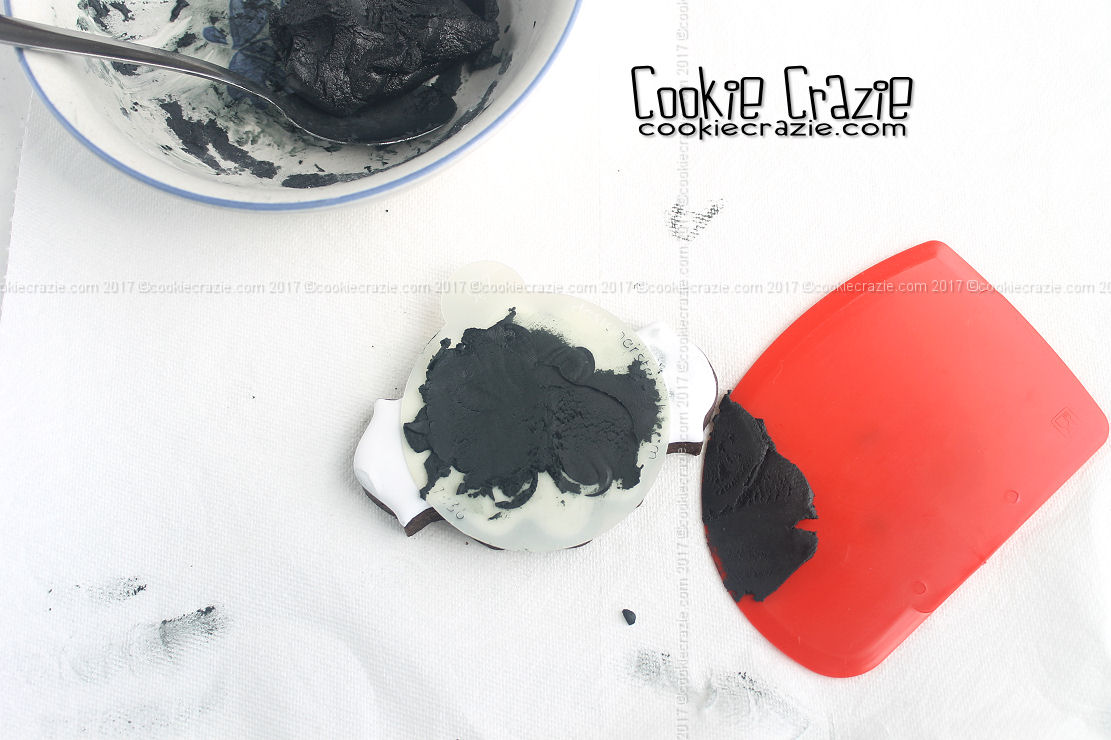
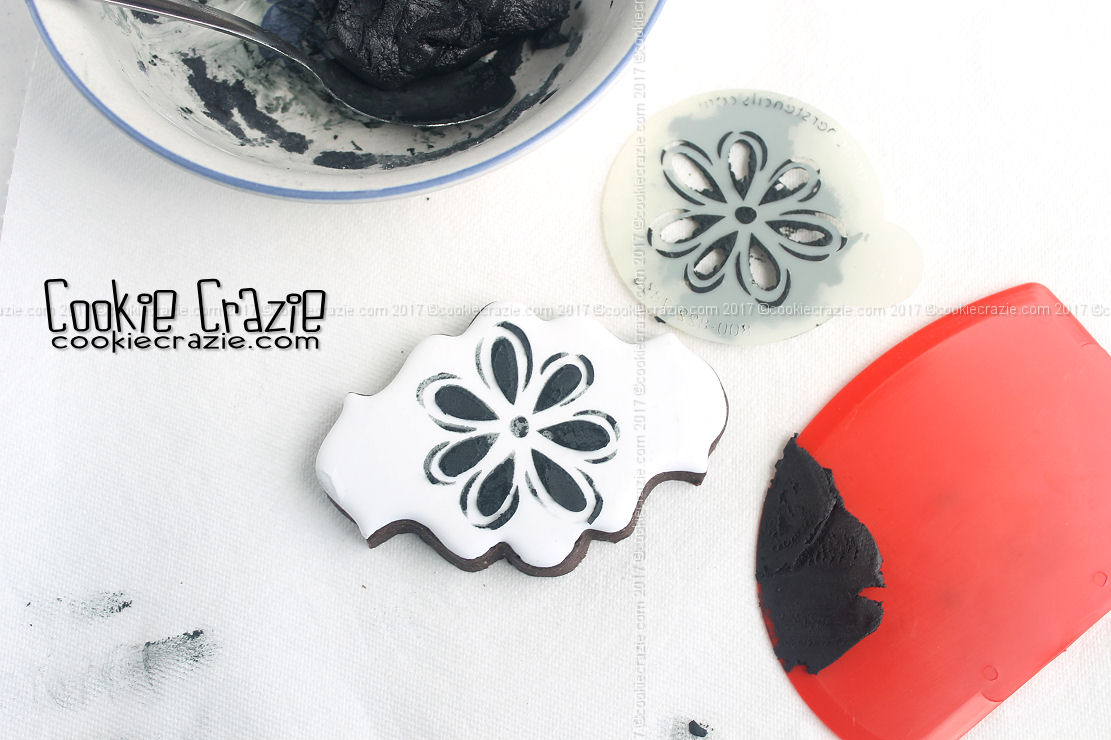
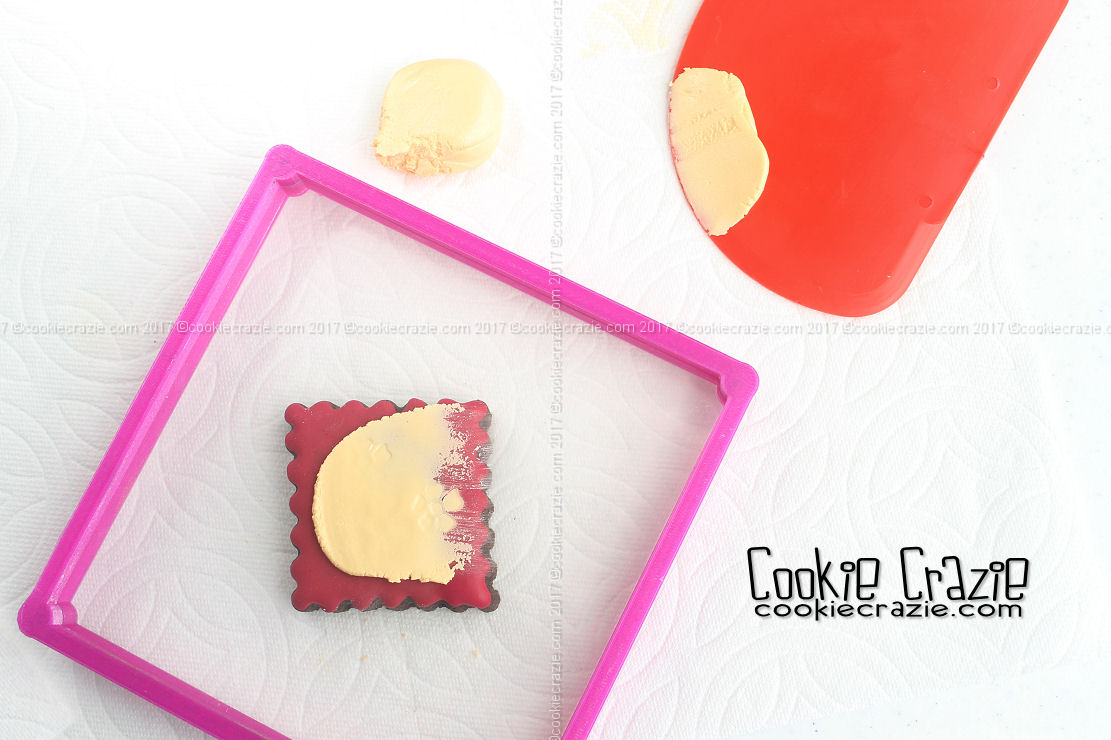
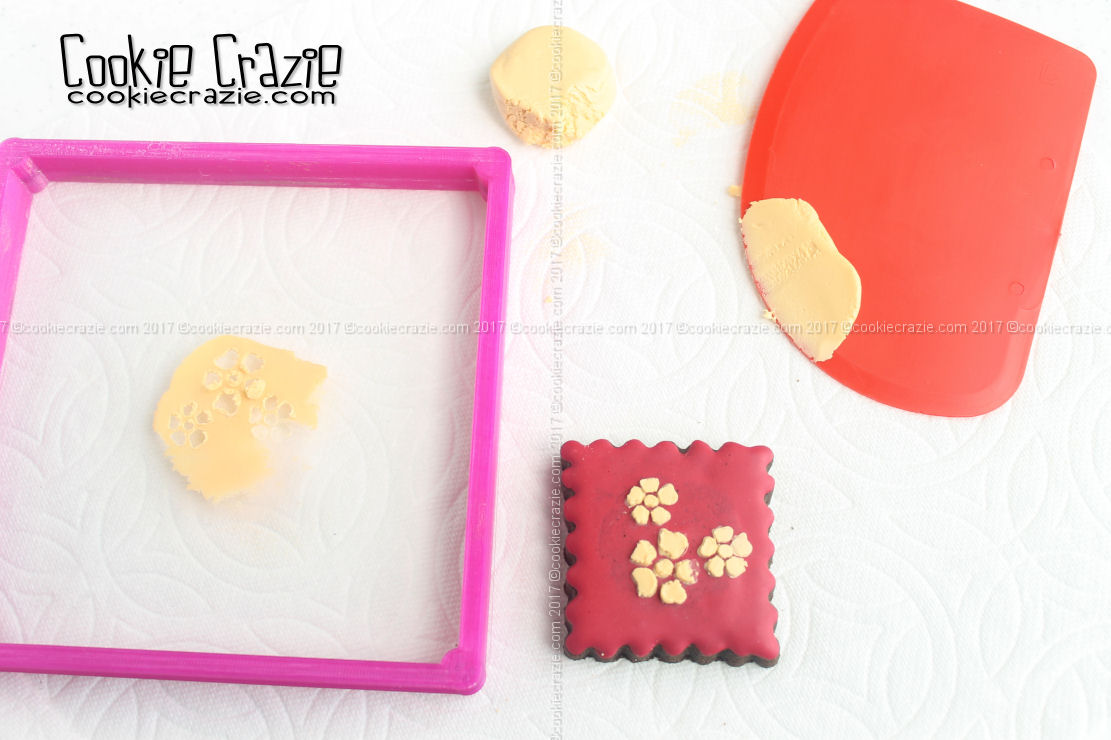
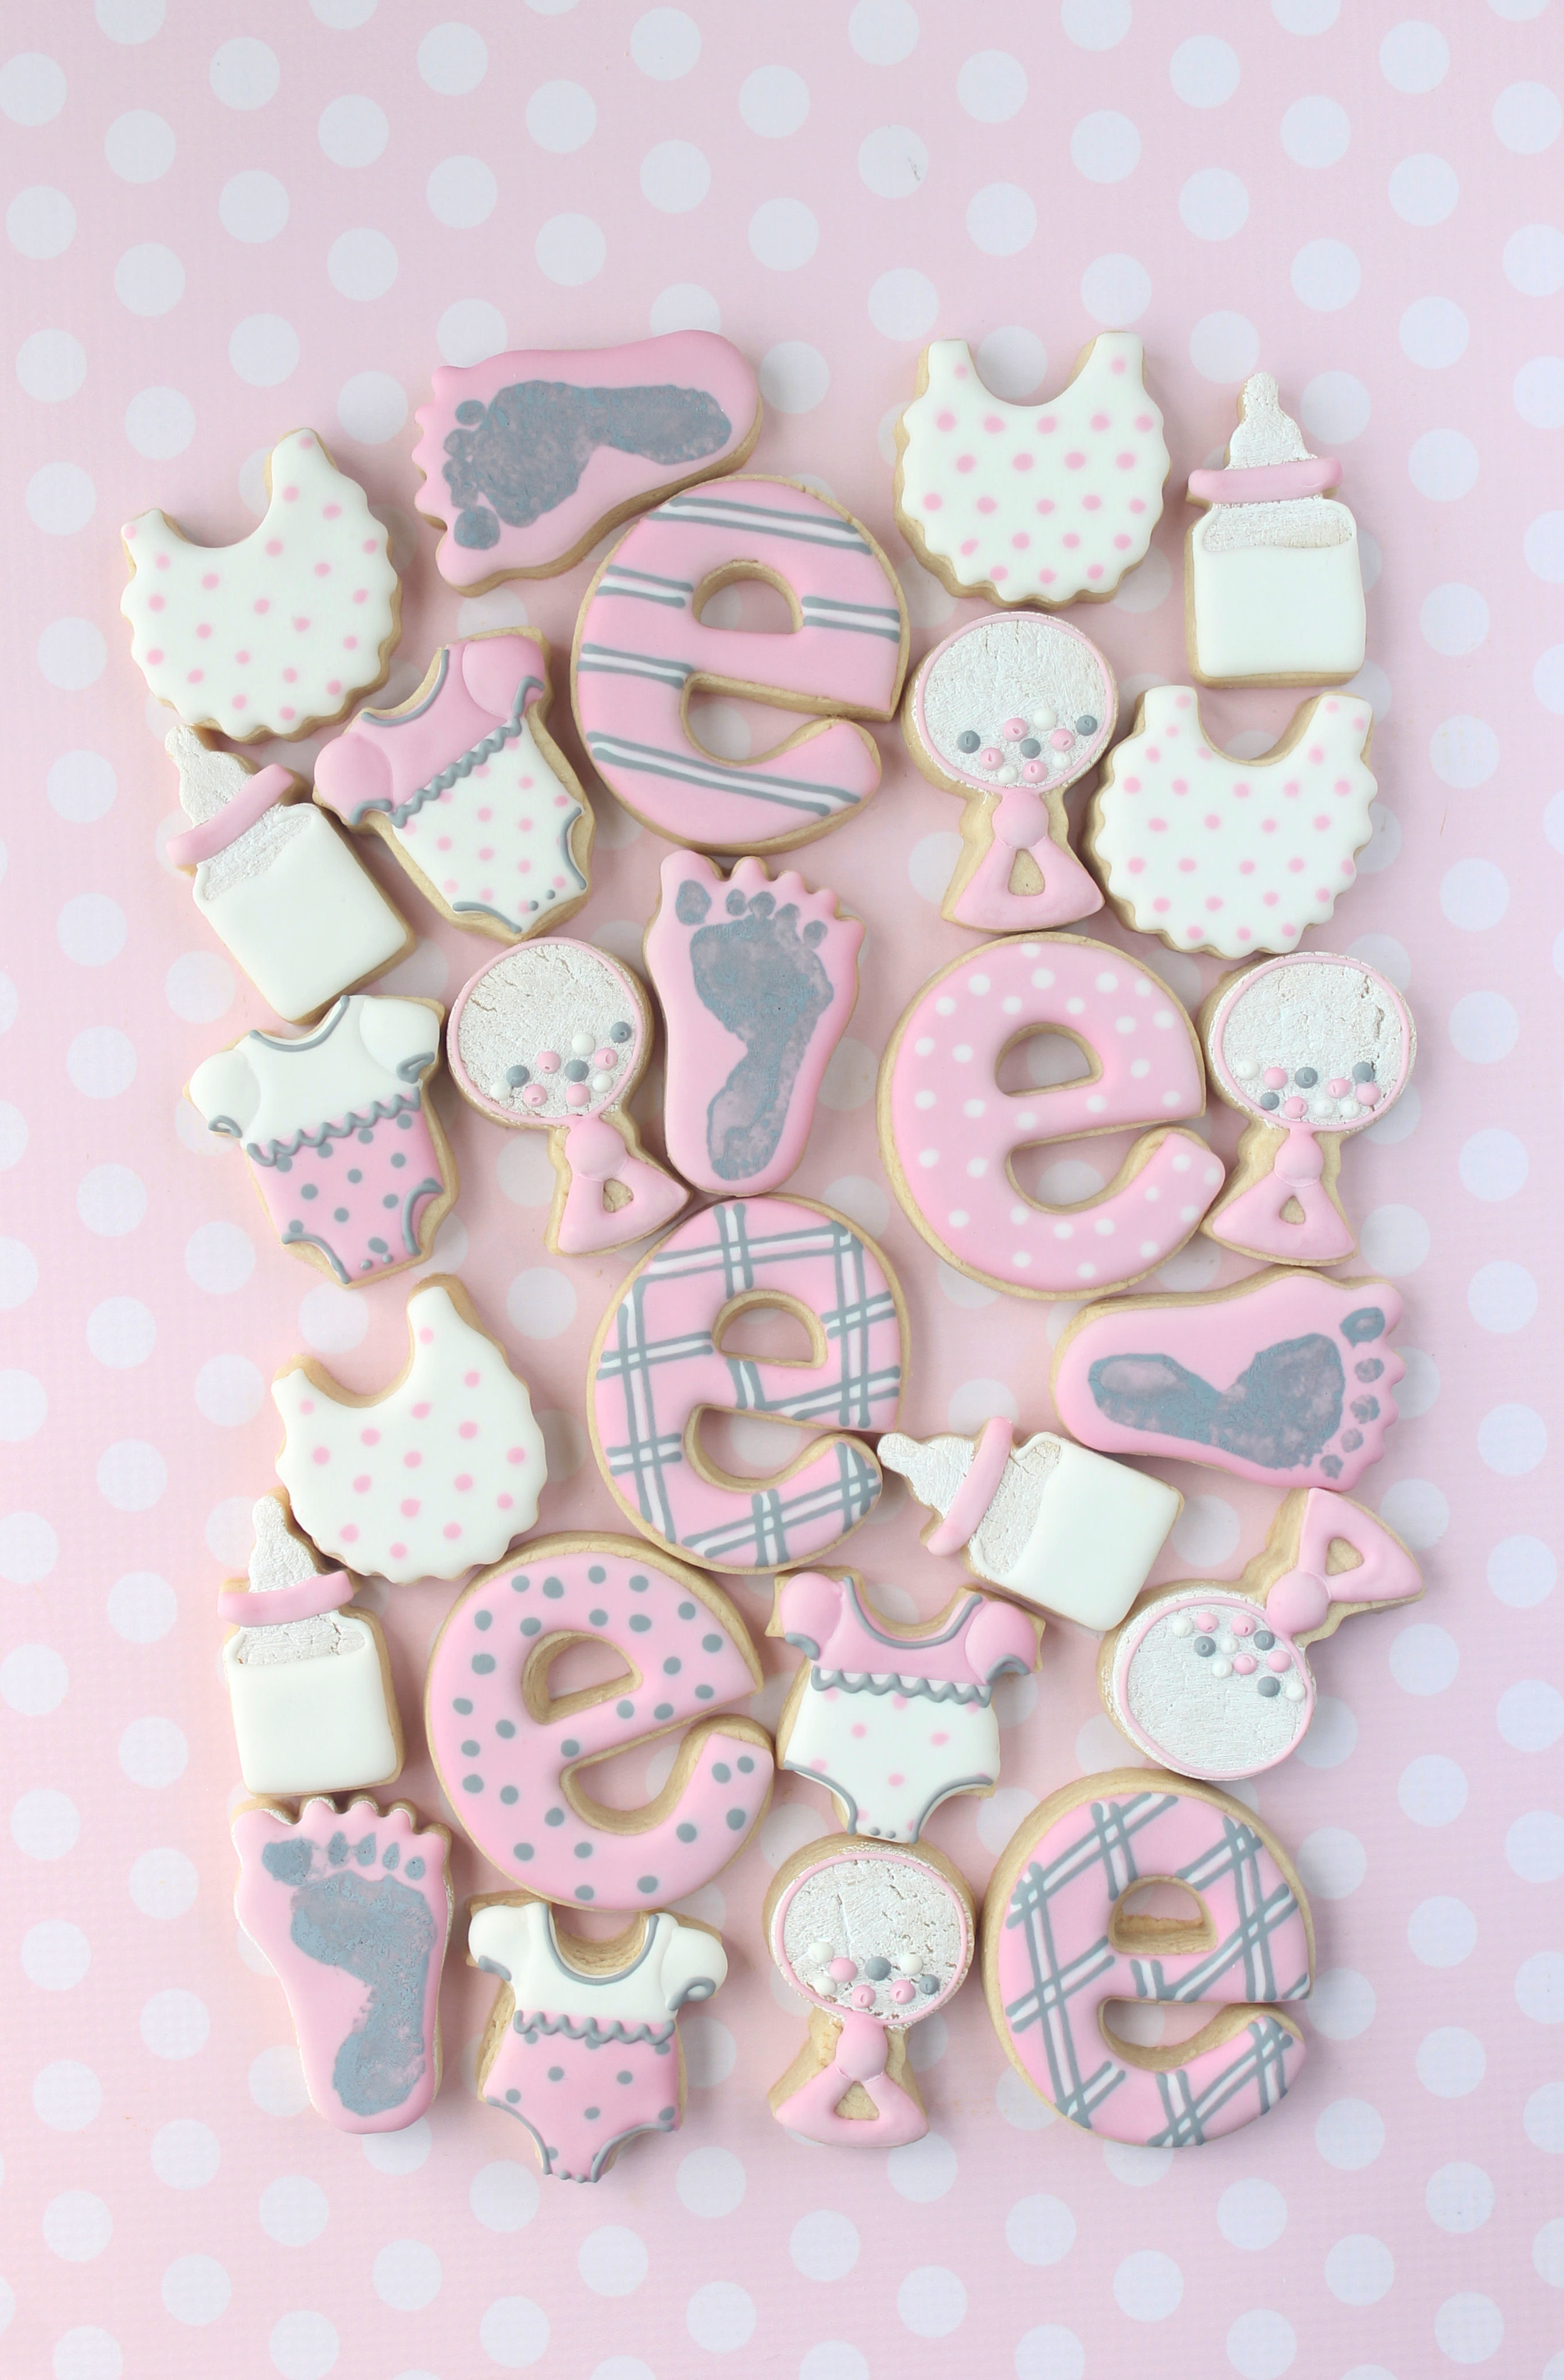
After completing the dusting of the textures, embellish the cookies with layered patterns, mini cookies, or cut-out edible clay pieces.

The background texture really makes these cookies "pop". 

❤️

Embossed Valentine Gift Tag Decorated Sugar Cookies YouTube video HERE        Tag Cutters found HERE

This set shows the same mold or texture shown on two different cookies. One cookie has impressed dough before baking, and one uses a edible clay mold added on top of a plain cookie. YouTube video HERE


Stenciling with Glaze

Stenciling with glaze has always been thought of as impossible. The composition of glaze and it's quality to flow into a level surface has disqualified it from being a contributor to stenciling on cookies. Or so I thought......

Recently I've been trying to use some of my stencils on cookies without using an airbrush. I tried many techniques and none of them were working consistently. I decided to try glaze once again, but thickened it more than I had in the past to see what I could do.

And here are my results. :) It surprised me. It's totally possible to stencil with glaze!

The consistency is important. The very thick (even moldable) glaze I used during this project was actually too thick. Even though I got it to work, it would have been easier if it had been a tad bit thinner. It was very difficult to spread this thick, clay-like glaze evenly across the stencil. Plus, it was so elastic, it didn't want to break away from the stencil when it was pulled up. 

I'm going to experiment with this more......but wanted my readers to know that this is possible and you should totally try it. FINALLY I have a use for some of those stencils I've been storing away for so long. :)

Add powdered sugar to glaze until it nearly comes together like clay. But make sure it is still sticky and not too thick. A friend described it as pasty, thicker than toothpaste, but not moldable. 

Place a small amount on top of the stencil to act as a "glue" to keep the stencil in place. Pull your scraper from top to bottom making an even coat of glaze. Then pull up the stencil. And there you have it.....a beautiful stenciled pattern. :)


Adding Sparkle to Textured Cookies (Technique)

Textured cookie dough is an awesome way to add dimension to cookies with very little effort. Now you can even add a little color and/or some sparkle to the beautiful texture.

As shown in previous blog posts, you only have to roll a texture mat directly into the dough in order to mold a texture into it.
(see photo below)

Once the cookies are baked and cooled, you can add a little color by using "watered-down" color gel. For these particular cookies, I used my "water colors" made from The Painted Box's methods. Check out her YouTube video HERE
Add a drop or two of color to your palette and then brush it onto the textured cookie. Easy!

To add sparkle, brush on some dry SugarArt sterling pearl dust (Brilliant Sparkle used on these cookies).

Beautiful and yet so simple.....

 
Member Login
Welcome, (First Name)!

Forgot? Show
Log In
Enter Member Area
My Profile Not a member? Sign up. Log Out