
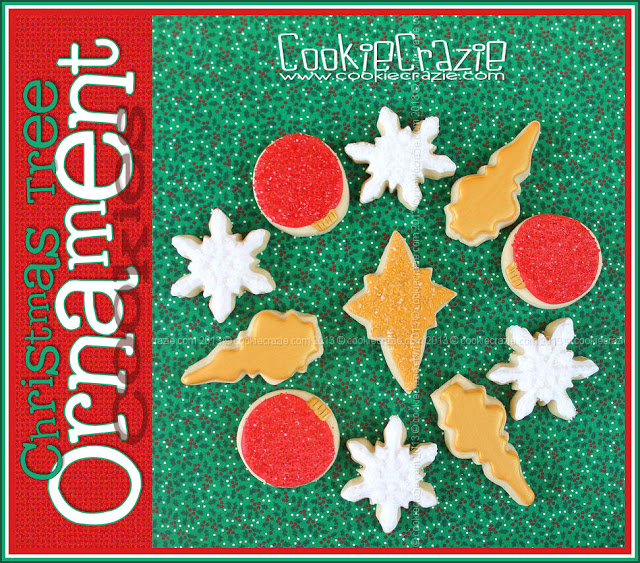
In preparation for making a Christmas tree cookie platter,
I need to make cookie ornaments to "place on the tree".
I happen to choose two fairly "classic" ornament shapes, a snowflake, and a star......
but there is unlimited possibilities of ornament cookies you could create.
For the snowflake, outline and flood it with white 10-second glaze and allow to dry overnight.
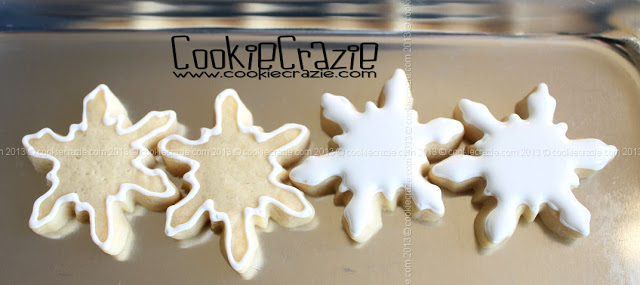
Once it is completely dry, add any detailing in white glaze on the flake.....
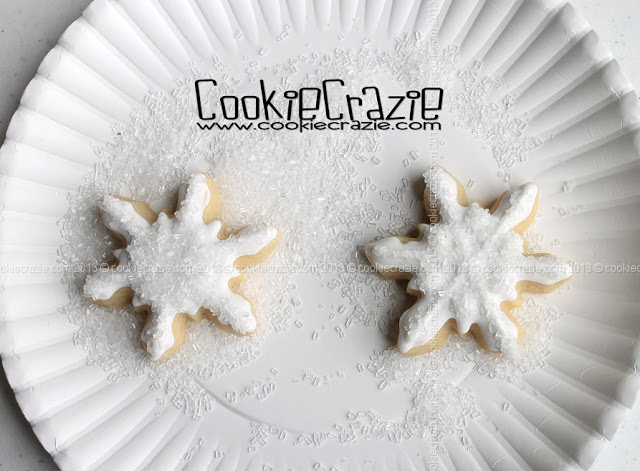
and then cover it in white sanding sugar or white sugar crystals and shake off the excess.
(I used white sugar crystals on these snowflakes.)

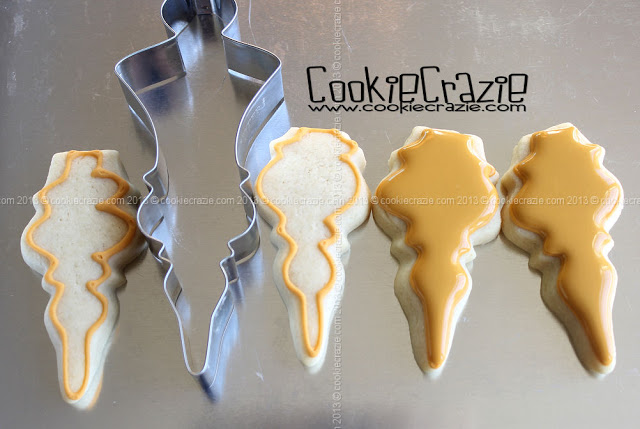
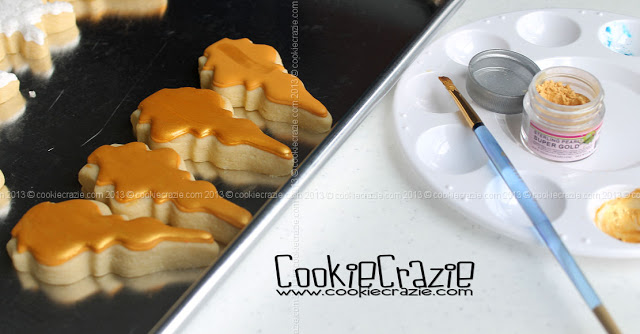
For the gold "fancy ornaments",
use the bottom portion of a much larger ornament cutter to make smaller cookies.
Here's the cutter used.
Outline and flood with gold 10-second glaze and dry overnight.
Using a mixture of almond extract and super gold petal dust,
paint on a beautiful gold sheen.
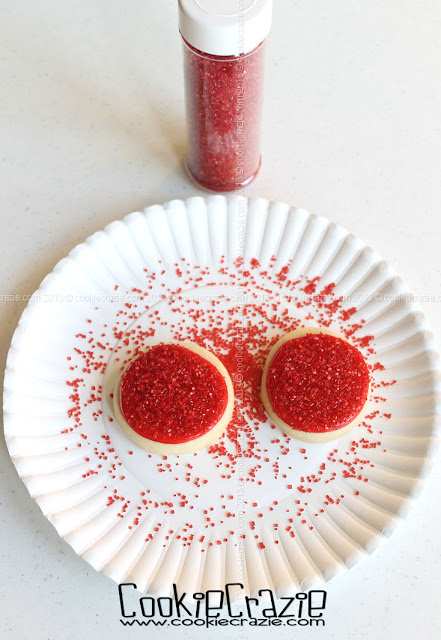
For the classic round ornament, no need for a specific cutter.
Just cut a round cookie and make the glaze circle a bit smaller to
make room for the golden ring at the top.
Outline and flood the circle in your color of choice and
immediately cover in a coordinating sanding sugar color.
After it has dried about an hour, add the gold rim at the top (see photo below).
Allow the cookie to dry overnight.
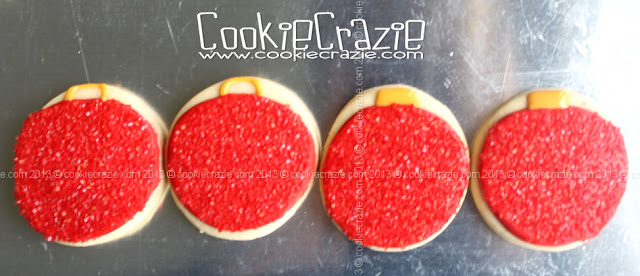
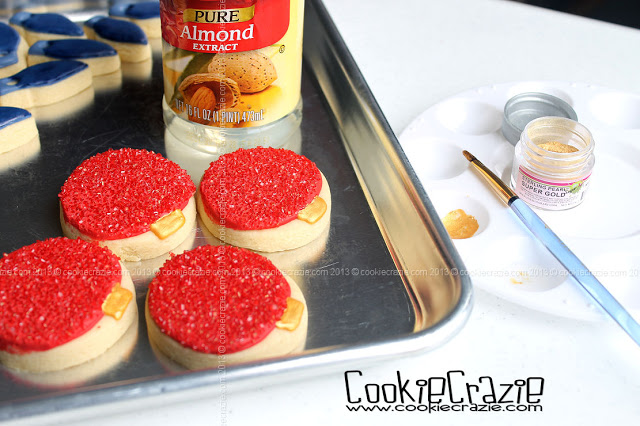
As with the fancy gold ornament, paint gold pearl dust onto the gold rim of the ornament.
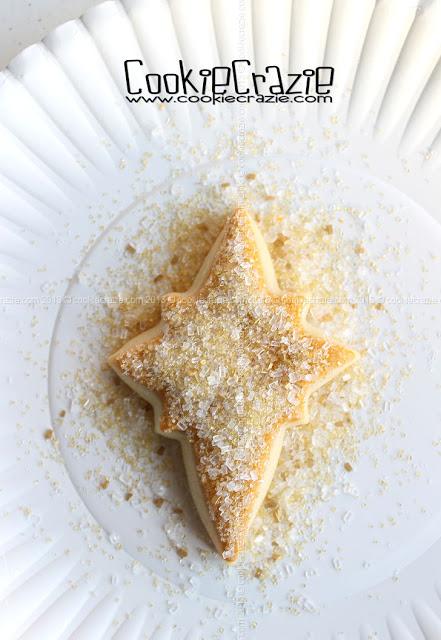
For the star topper, use a cutter like this one.
Make a mixture of sanding sugars (white and gold) and gold crystals.
Make a mixture of sanding sugars (white and gold) and gold crystals.
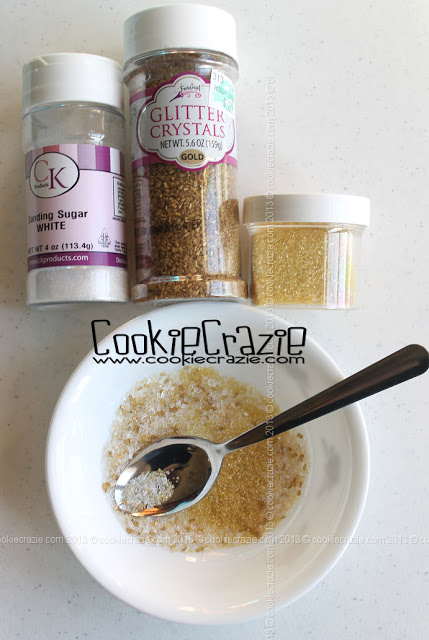
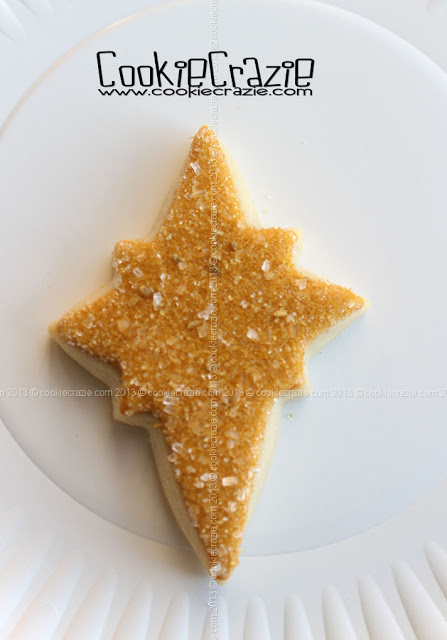
Outline and flood the star with gold 10-second glaze,
and then cover in the mixture mentioned above.
Shake off the excess.
Even though this is a rather dull set of cookies at the moment......
soon you will be seeing them in a much more beautiful setting. :)
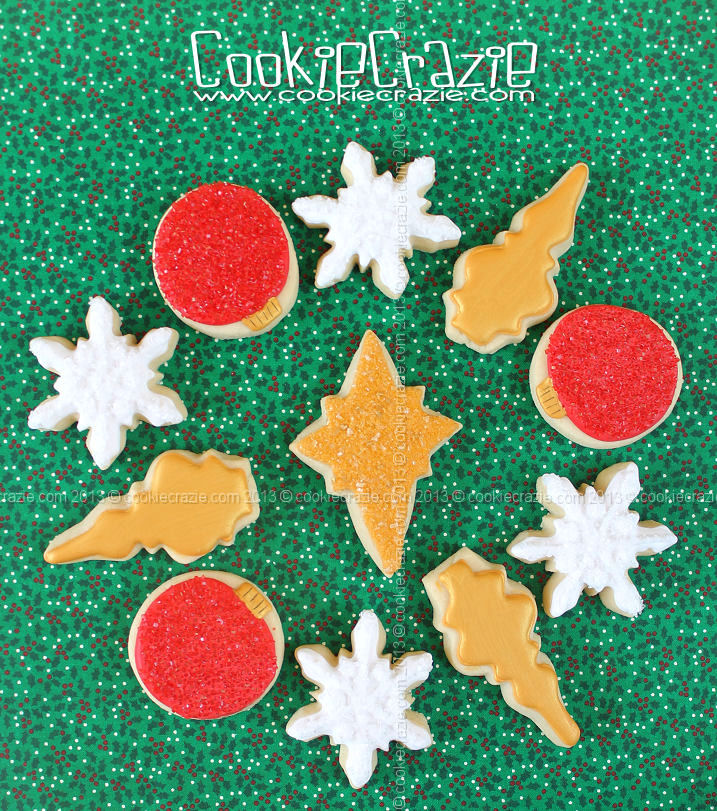
Christmas Tree Cookie Platter