
Time to get all BUGGY!
Lots of insect cookies coming your way.......
Let's start with the ladybug. Once of my favorites!
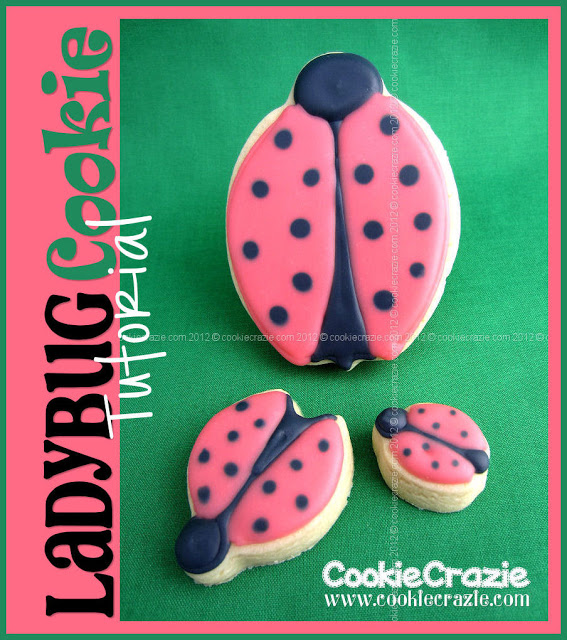

To make ladybug cookies, you'll need:
- Ladybug Cookies (large cutter, medium cutter, mini cutter)
- Black 10 second icing
- Red (or pink or orange) 10 second icing
Outline the head and inside body with black.
Allow to dry for 10-20 minutes.
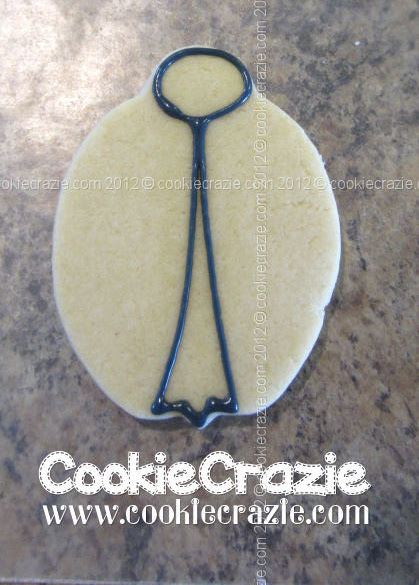
Flood black portion and allow to dry for a few hours.
I avoid putting anything next to black icing
until it is good and dry......overnight
would be best, but several hours should work OK.

Outline the red portion and allow it to dry for 10-20 minutes.

Flood with red icing and immediately
add black dots (wet on wet).
One of the wonders of the world......
why don't colors bleed when
you add them wet on wet???

I love these guys.
At first I wasn't too sure about the
watermelon-y color just by adding a little red gel.
But now that I see it with the red background......
I like it.
I reminds me of summer. :)

Here's some previous ladybug posts:
Cookies To Go (lady bugs I took to Ukraine)
More Spring Cookies (pastel ladybugs)
Happy Birthday America! (patriotic ladybugs)
Gone Buggy Tutorial Collection
Bumble Bee Cookie
Caterpillar Cookie
Butterfly Cookie
Gone Buggy Tutorial Collection
Bumble Bee Cookie
Caterpillar Cookie
Butterfly Cookie